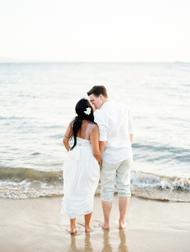
My favorite thing about this wedding? The Bride and Groom thought of everything. From the circular seating so that all the guests could feel included in the ceremony to the surprise performance from On the Rocks, an A Capella group the couple’s alma mater University of Oregon, this wedding is full of special touches. See them all from Olivia Leigh Photography in THE VAULT!


| Share this gorgeous gallery on | |
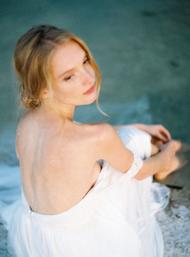
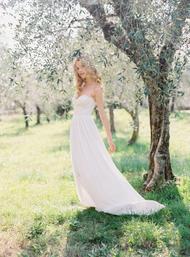
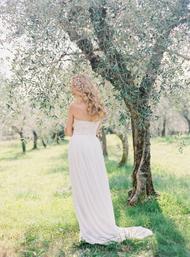
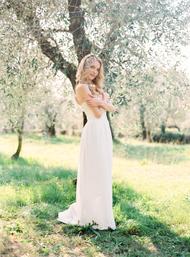
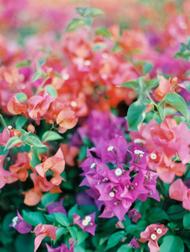
From Allure With Decor…When you fall in love, you begin picturing the day of your dreams. The day you say “I do”, the moment you step into The Dress, the feel of that bouquet in your hands. All that imagining becomes reality on the day, your day…the wedding. This wedding truly was something from a dream…with it’s peachy, blush tones and the location nestled in the lush green background of Southern Oregon, it was picture-perfect. Andrew and Nicole said their vows to a forever love at a park in gorgeous Southern Oregon, and the result was an enchanting evening by the river. Nicole, the stunning bride, requested a mix of ivory, peach, and blush, and instantly, we paired that vision with glamorous gold. The gold stood out against the chic vintage decor, and it all worked seamlessly. Gold chargers and plush, tufted chairs lent the elegant air, while the more rustic pergola kept the whole look grounded and natural. With floral by Jeanie Payne of Orchard Home B&B, it couldn’t have been better.
“May your love be firm,
and may your dream of life together be a river between two shores — by day bathed in sunlight, and by night illuminated from within. May the heron
carry news of you to the heavens, and the salmon bring the sea’s blue grace. May your twin thoughts spiral upward
like leafy vines, like fiddle strings in the wind, and be as noble as the Douglas fir. May you never find yourselves back to back
without love pulling you around
into each other’s arms.”- James Bertolino
From The Bride…There wasn’t a specific moment of proposal because we knew right away. We met when I spontaneously signed on for a spring break trip to Oregon with a mutual college friend. We stayed with Andrew’s family and hung out with them for two weeks. It was incredible. Neither of us was looking for someone but we were blown away by how much we had in common, shared goals, interests, and how much we loved being around each other. Three months later we both moved to Eugene and both attended the University of Oregon.
My ultimate goal was for everyone to have fun and feel welcome. We’re both really laid back, fun-loving, and a little geeky so we wanted our wedding to reflect that. After meeting with my planner, Terrie Day, I realized that I would need to do research and learn quickly because I had lots of decisions to make!
I know what it’s like to be stuck in the back of the wedding and not be able to see or hear. It makes you feel unimportant and bored. So I chose circular seating so there could be fewer rows and everyone could be closer. I made sure the tables were arranged in a way that everyone could see the wedding party table and dance floor. We had a comfy lounge area alongside the dance floor so everyone could feel like they were part of the action.
We put a lot of thought into our ceremony music. We walking down the aisle to Vitamin String Quartet’s “Concerning Hobbits” and our recessional was “Life’s A Happy Song” from the 2011 movie “The Muppets.” Our Postlude was “Skullcrusher Mountain” by Jonathan Coulton. They all have significant meaning to us.
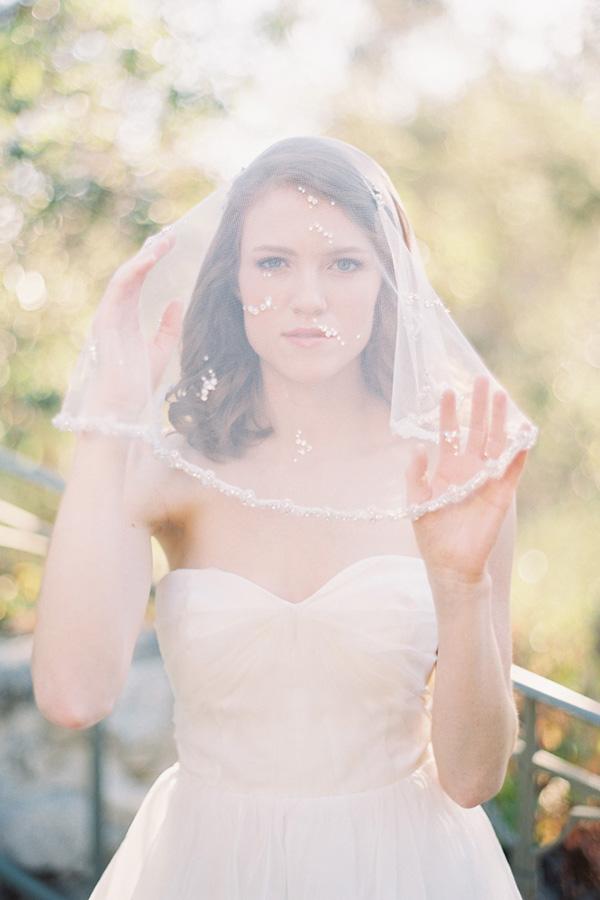
I wore my mom’s cathedral length veil as my something old and borrowed, new was my sparkly silver shoes, and blue was my flower girl, Greta’s, earrings.
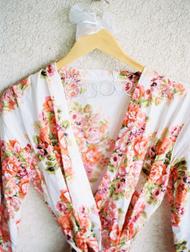
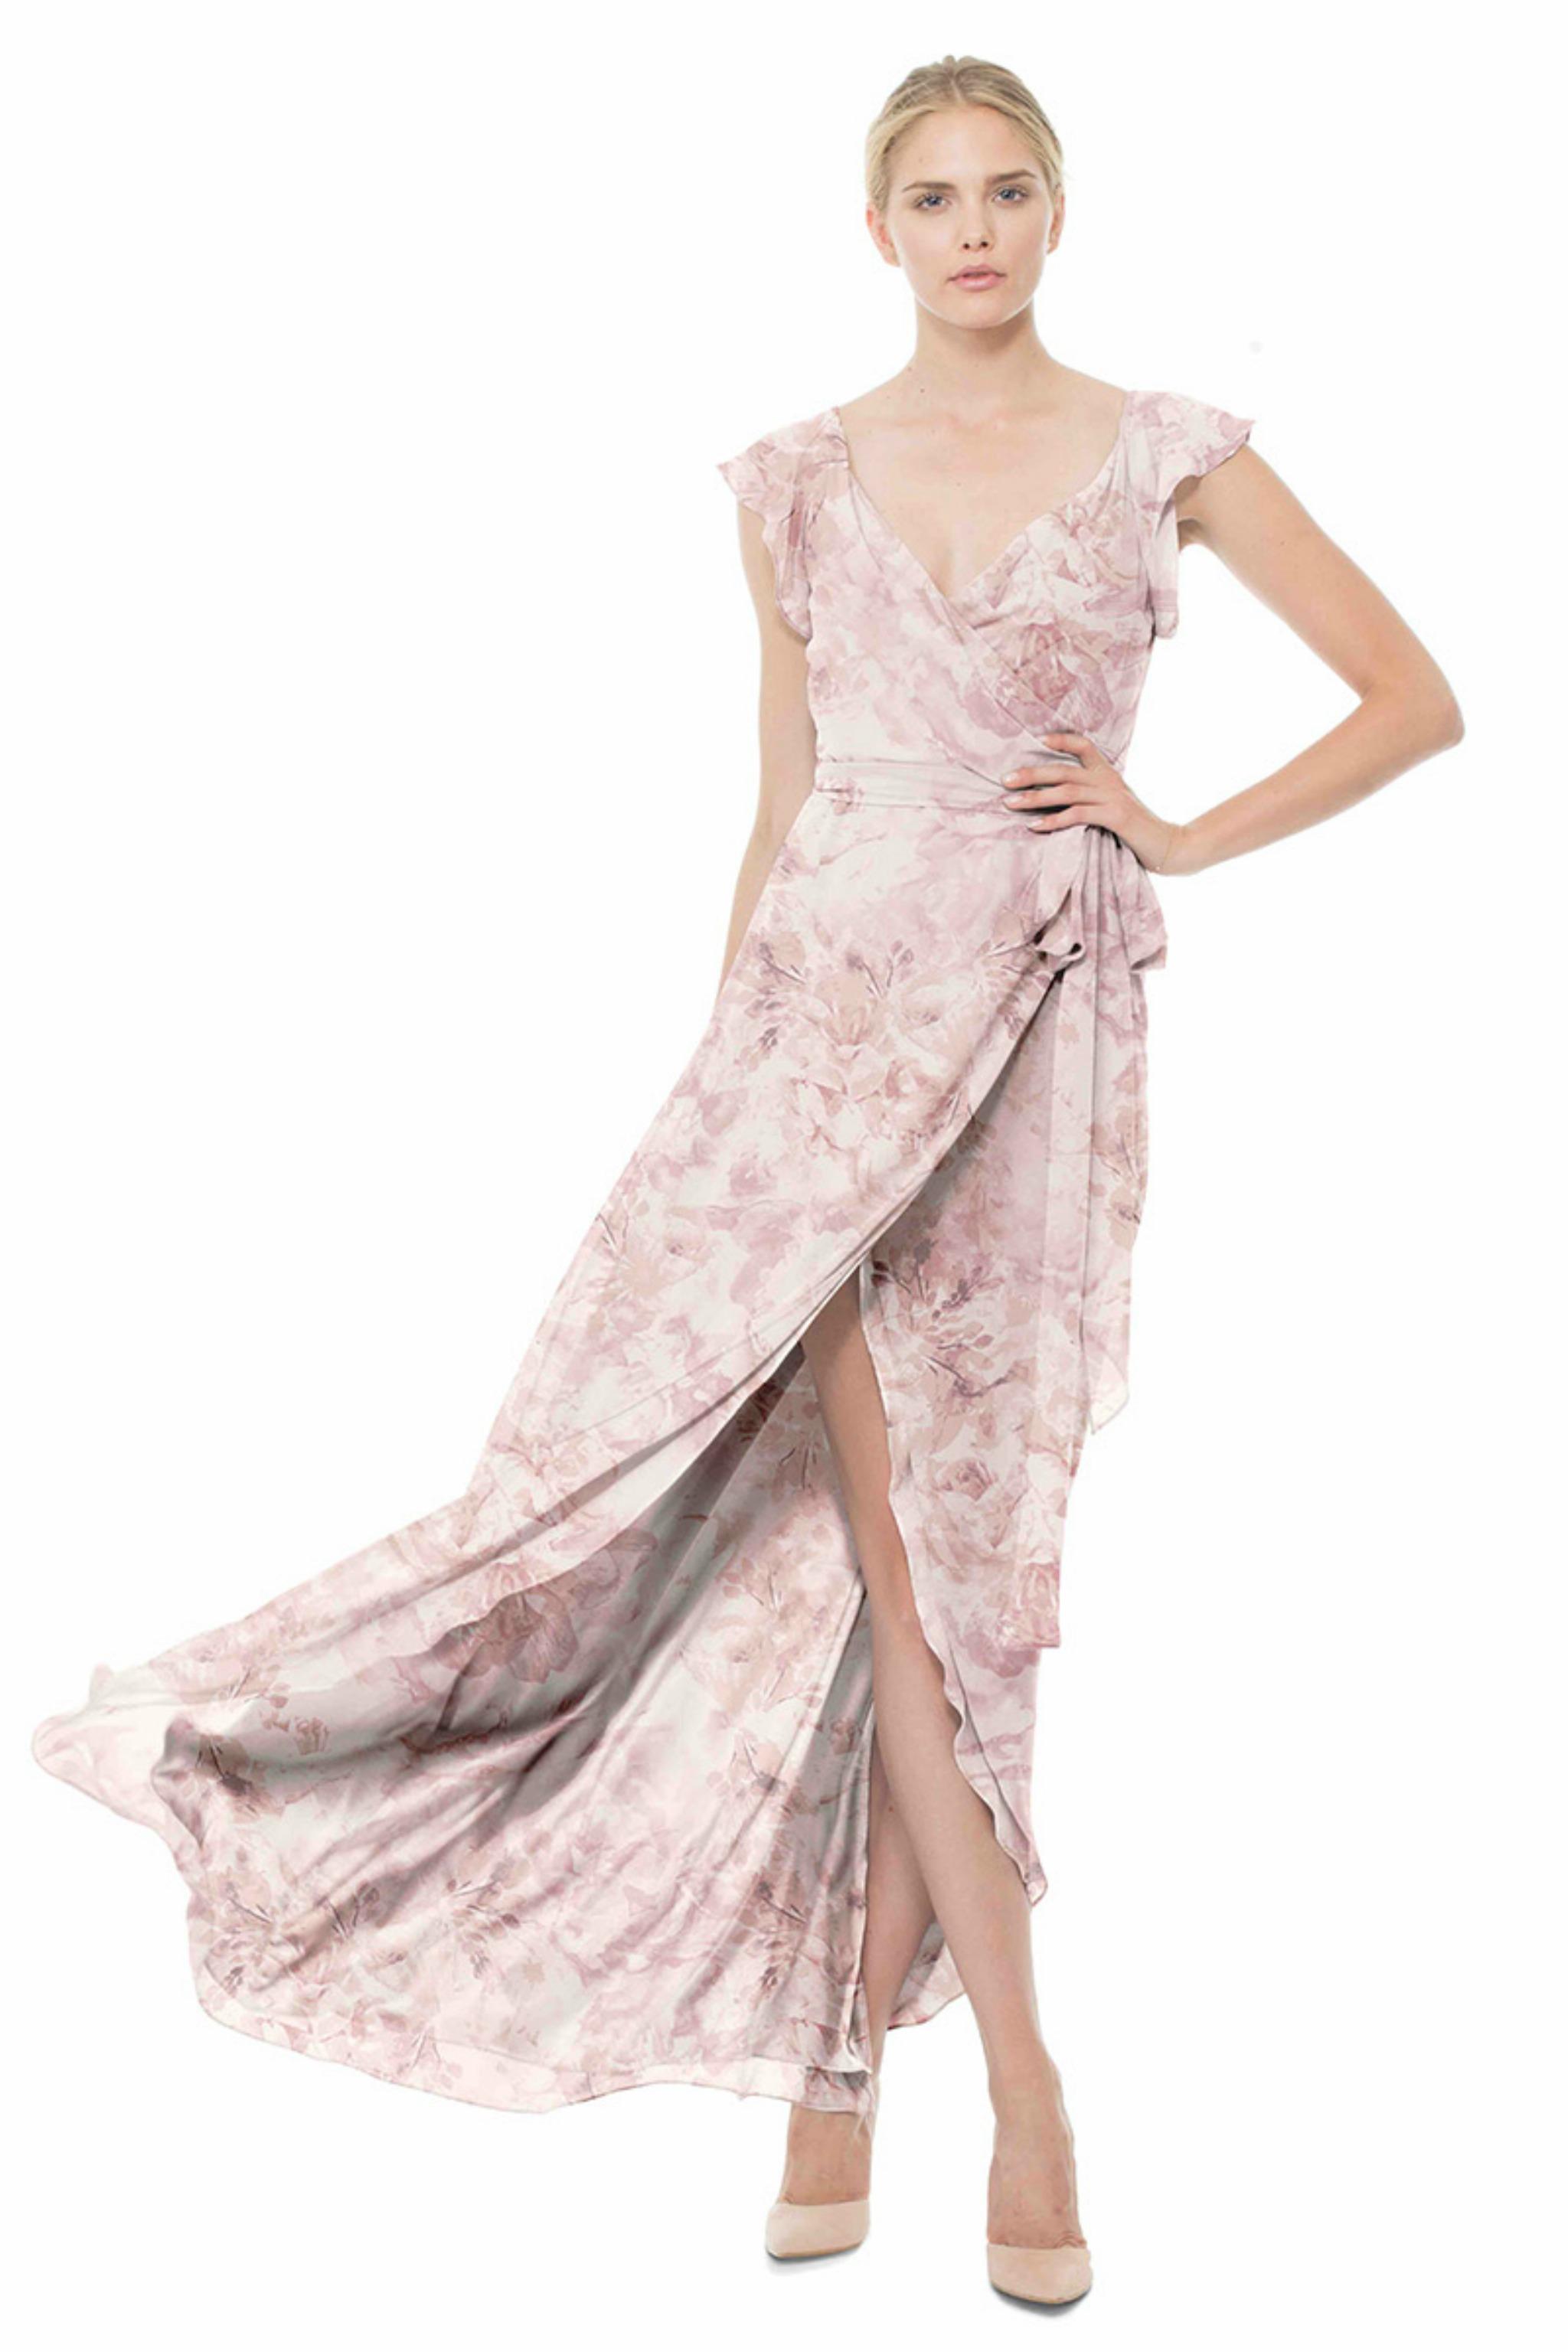
I wore a light pink vintage inspired reception dress with a homemade birdcage veil.
I put a riddle on the wedding website that, when solved, took guests to a hidden page full of pictures of the wedding party and planning teasers.
My favorite moments of the day was UO’s A Capella group, On The Rocks, during dinner. We planned for them to surprise his aunt with a modified version of “Cecilia” because it was her birthday. I also requested that they surprise his mom with a modified “Stacey’s Mom.” On The Rock’s enthusiasm and upbeat energy was contagious and set the tone for the rest of the night.
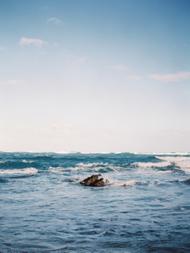
The wedding party jumped into the river after everyone went home. It was around 100 degrees all day so the water was the perfect way to end the night.
My advice for future brides and grooms is don’t be afraid to share the spotlight. The wedding is about two families coming together. Including special moments that make them feel important or loved will make everyone happy and enjoy the wedding more. It makes people feel welcome, fosters a spirit of togetherness, and down-to-earth fun.

Photography: Olivia Leigh Photography | Event Coordination: Allure With Decor | Wedding Planning: Allure With Decor | Floral Design: Orchard Home Bed And Breakfast | Cake: Mrs. Cards Cakes | Catering: ABC Kitchen | Makeup: Robin Opal | Venue: Cave Junction, Oregon | Dress Alterations: Mount Tabor Park | Furniture & Rentals: Allure With Decor | Gold Chandelier: Branches, Blooms And Blings | Photography Assistance: Gabriela Ines Photography | Rentals: Rosewood Vintage Rentals | Signs: B&D Vinyl
Join The Conversation
favorite (0) share share (0) pin (0)


 Cut a 6″ length of gold string and hot glue the string into the trunk straw.


 Add 4 self-stick foam rounds to the bottom of each coaster to protect your surfaces, and you’re done!