SUBMIT WEDDING
View Posts By:

categories


tags

 
Quebec Engagement + Pre-Wedding Shoot from Lydiane Gaborieau Photographe

You know what I love? A Bride-to-be that isn’t afraid to dance around in a gown before her big day. And with her groom no less. I mean, how many times in life will you actually have a perfect excuse to twirl around in such a fabulous frock? Not many. So this pre-wedding engagement shoot is just perfection and then some in my eyes, and you can see why here.

From the Bride… It was love at first sight… from the moment we met each other in Toronto. We knew our long relationship was a challenge but our love kept us going, and as the time kept passing, our love kept growing stronger. After four and a half years of dating, we got engaged on September 3rd, 2010. We will getting married on August 2nd, 2013 in Montreal, Quebec

[dotted]

Photography: Lydiane Gaborieau Photographe | Flowers: Fleuriste Tigon, Montreal, Quebec | Location: Bois-Franc, Montreal, Quebec | Invitations: Minted | Shoes: Michael Kors | Dress: The Bride’s ProjectToronto, Ontario | Accessories: Senhoa

Chic Paris Elopement from One and Only Paris Photography

I love elopements.  The word alone brings a smile to my face a mile wide.  So when I spotted this beautiful affair captured by the ever-wonderful One and Only Paris Photography, I was instantly mesmerized. Because this, my friends, is the epitome of elopements; exactly the way you imagine every wedding for two should be.  A breathtaking bride, a dapper groom and the City of Light shining brightly in the background of every last love-filled moment of beauty.  See it all right here in the full gallery.

From One and Only Paris PhotographyA simple yet extremely elegant elopement in Paris. Josh and Brittany are Canadians who recently moved to England but wanted to elope in Paris.

From the Groom… Our wedding plans began in December 2011 on bended knee in the snow under a beautiful tree somewhere in Nova Scotia, Canada. I had spent the previous months convincing Brittany that a wedding and a proposal were years and years away. She thought we were just taking photos together, something that we did often as I had been a photographer before moving into medicine. With the camera firing away I proposed, she said yes, and I whisked her off to Montreal to celebrate our engagement.

We tried our best to plan a “normal” wedding, it felt like such a chore, trying to make everyone happy, the more we planned the less it felt like US. One night while browsing for wedding dresses, Brittany found Style Me Pretty. Her breath was taken away. Just the two of us, alone in Paris, photos by this amazing photographer. It felt like US.

“Do you want to Elope?” she asked me. “YES!” I replied.

There was no other option than Paris. We had had our second date in Paris the year before, spending a week together. It was here that we fell deeply in love. It was our city, it was US!

We spent 5 days in Paris for our wedding. It was incredible– we focused on each other and created the perfect way to start our lives together. Everything from our hotel to our dinner was perfect, nothing felt rushed or harried. We couldn’t be happier. We had heard many friends say they couldn’t wait for their wedding to be over. We felt the opposite, wishing to stop time and stay in that moment forever. It was and is the perfect way to celebrate one another.

Many thanks to our families for being so supportive and to Audrey for creating our wedding photos. They are a perfect memory of our elopement!

[dotted]

Photographer: One and Only Paris Photography | Hotel: Royal Monceau | Shoes: Christian Louboutin | Gown: Vera Wang | Cinematography: The Bride & Groom 

These Featured Designers are members of our Look Book.
For membership information, click here
Doie Lounge + A Giveaway!

Although I’m almost at the tail end of my years filled with bridesmaids’ duties, I can’t help but wish there was just one more soiree that involved the ever-fabulous Doie Lounge robes! The most perfect bridesmaid gift, these super luxe robes are made of incredibly soft bamboo jersey + patterned silk and look amazingly cute in all of those wedding morning photos! Offered in a beautiful selection of colors and prints, you’ll be sure your ladies are looking gorgeous from start to finish!

Loved by bridal parties and celebrities alike, Doie Lounge’s robes come in sizes x-small to x-large and look awesome on both short and tall frames! The best part? These pretties aren’t going anywhere. With a permanently attached outer silk tie and an interior tie, once it’s tied, it’s staying put! With tons of color options to choose from (and some that aren’t on the site — be sure to ask if there are any combos in hiding behind the scenes!), and bulk discounts for 3+ robes, my dears, I think we’ve found the perfect bridesmaid gift!

Email sara{at}doielounge.com with any questions about sizing or color combinations and head over here to check out some fabulous real-wedding inspiration! And if you thought you couldn’t love these pretties anymore, well, get ready for this! Doie Lounge is giving away a Lilian robe to one of our SMP readers! To enter, head over to Doie’s site and take a peek at all the gorgeousness! Then come back here and let us know which one is your favorite. A winner will be randomly chosen and announced on August 30. 2013. Best of luck, my dears! xo

dottedline

Photo Credits:  Katie Hall  /  Justin Coit  /  ES Creation Photography  /  Valorie Darling (Make-Up by Artistry by Danika +  Hair + Hair Pieces by Trace Henningsen)

Sponsored-Post

Boston Wedding at the Ritz Carlton from Studio Atticus

When I first moved to Boston, I remember seeing a Bride walk out of the Ritz Carlton Boston in a gorgeous gown with a stunning smile – in that second, I had my very first “I love this city” moment. It was the perfect fall day, and the Bride couldn’t have been more breathtaking. This gorgeous wedding from Studio Atticus brought me right back to that very moment. And I am sure some young girl probably thought the same thing as this lovely Bride chasséd through the common. You can just tell the entire day was magical, and all the magic unfolds right here.

From Studio Atticus… Marisa and Adam celebrated their fall wedding at the Boston Ritz Carlton. There were many classic elements involved in their elegant event, but the formality was all counter-balanced nicely by the lighthearted nature of the couple.  Marisa even opted to go barefoot for the larger part of the day, her cute little bare toes hidden stealthily under a billowing and decidedly dreamy Vera Wang gown.

[dotted]

Wedding Photography: Studio Atticus | Event Planner: Janie Haas Events | Wedding Venue: Ritz Carlton Boston | Wedding Dress: Vera Wang | Floral Design: Winston Flowers

These Featured Designers are members of our Look Book.
For membership information, click here
Vinewood Plantation Wedding from Slava Slavik Photography

There’s a magnetic force that drives me to country-style weddings.  A sort of “can’t stop thinking about it” vibe that makes me want to pull on some boots and join the party.  This is one of those weddings.  A BBQ meets cowboy boots meets crazy gorgeous shindig held at the breathtaking Vinewood Plantation boasting some of the prettiest Southern-inspired details you will ever see.  Get your pretty on in the full gallery captured by Slava Slavik.  It’s a must-see.

From the Bride… Mike and I are simple people and I have never been one of those girls who dreamed about her wedding day since I was a little girl, but when Mike proposed we knew we wanted something simple to reflect our everyday lives. We wanted a unique wedding that all of our guests would talk about for years! We had quite a few guests coming from the North and we wanted them to feel like they have stepped into our lives here in the South with every detail from the chalkboard mason jars cups, homemade corn hole boards, DIY fabric bouquet, cowboy boots, wildflower centerpieces, DIY jute utensil pockets and vintage china collected by the mother of the bride. Our bridesmaids were in floral sundresses from American Eagle Outfitters which the mother of the bride added eyelet to the bottom to add an additional southern flair finished with a belt and cowboy boots. The groomsmen were in jeans, gray vests, ties and cowboy boots accented with a baby’s breath boutonniere. We wanted our guests to feel comfortable like they were at a backyard BBQ and not feel like they could not wait for the night to be over to get out of uncomfortable clothing, so we asked our guests to dress comfortable to stick with the casual feel.

Vinewood was the perfect venue for us! The restored 1800’s house, transformed stables and lush wedding tree were the perfect setting for our guests to feel Southern charm at its finest. The staff at Vinewood Events are truly amazing! They made our day flawless and fun. Every detail fell into place just the way we imagined!

Our favorite part of our wedding day was our first look. I highly recommend this to brides because it definitely eased the nerves of walking down the aisle and it was a great moment for Mike and I to be able to talk prior to the ceremony. Having our photos completed prior to the ceremony made it easy for us to slide right into the party after the ceremony.

Our ceremony was accompanied by white washed pews rented by Crush Rentals and acoustic instruments played by Capo3 Band. The music carried into the cocktail hour where we served hush puppies, cheese straws, mini crab cakes and collard green dip.

The reception was full of dancing, cigars, corn hole games, eating and drinking. Our menu consisted of a a sliders station (pulled pork BBQ, jerk turkey and cheeseburgers), mac and cheese station and a kabbos station, red velvet cake, peach ice cream in mason jars, bourbon pecan bars, brownies and mini apple pies. One of the bridesmaids is a firefighter with the groom so they arranged for one of their fire trucks show up to the reception. At the end of the night we left through a line of sparklers with a vintage chevy truck to get away in.

We are very glad we stuck with our theme to show our family and friends our lives here in the South and keeping true to incorporating things we do in our daily lives. Over the years, I will love looking over or photos and remembering the best day of our lives!

[dotted]

Photography: Slava Slavik Photography | Wedding Venue + Coordination: Vinewood Events | Bridal Gown: Belfiore Bridal Salon – After 6 Designs | Bridesmaid Dresses: American Eagle (Customized) | Floral Design: Pat Sena of Its Your Party | Catering: Kimble’s Catering | Desserts: Blooming Flour Bakery | Transportation: MTI Limo Service | DJ: Bwells Productions |  Invitations & Paper Goods: Moore Creations | Hair & Make-up: Claudia Mejerle | Brides’s Boot: Lane  via Horsetown Marietta | Vintage Pews: Crush Rental | Ceremony & Cocktail Music: Capo 3 band

Southern California Wedding from Closer to Love Photography

This wedding is a little vintage, a little Italian, a little bohemian… and I’m obsessed with it. It’s absolutely stunning and filled to bursting with so many heartfelt details the likes of which I’ve never seen before. But the thing I love most is the way Closer to Love Photography was able to capture the absolute love between these two.

From the stunning bride… Brian and I had an amazing time planning our wedding together over the year and three months before ‘I Do.’ Our inspiration was romantic, vintage Italian. We really strived to make our wedding a reflection of us as a couple. When looking for a venue, we were focused on finding something unique and romantic with a beautiful view. If I had my way I would have dragged everyone to Italy, but knowing that was not a possibility, the next best thing was a gorgeous vineyard. It really helped set the tone for the wedding of our dreams!

We chose to incorporate a lot of DIY details. We printed our save the dates with the Florentine symbol map of Italy painted in watercolor by our good friend and artist, Holly Bliss Rogers. We handmade and wax sealed envelopes for our Italian inspired invitations – design elements hand drawn by groomsman and talented artist, Nicolas Gibson. It was so important to have the hands of our family and friends in our wedding. We are so grateful for them using their incredible talent to enrich our big day!

The invitations were just the beginning. I insisted on making just about every detail, big and small, in the wedding. We made several trips to flea markets, craft stores and the hardware store over the course of our planning. It started with the table numbers, which was a big project – wood was cut, stained, hand painted and drilled to add vintage key plates and crystal doorknobs. The vintage romance look was enhanced by the work of our incredible florist. The mercury glass and vintage inspired vases we collected was enhanced by the beautiful floral arrangements with all their color and texture. I was completely blown away by the creative beauty Cachet Fiore came up with. They even arranged all the DIY elements in a beautiful display that really show cased all our hard work!

Beyond table décor, my biggest vision for the wedding was incorporating cork art. With the help of friends and family to collect, paint and cut corks, we were able to create three beautiful and large cork art pieces. They turned out even better than I had imagined. Corks were also incorporated in the Mr. and Mrs. Signs hung in front of the sweetheart table and served as nametag holders. As guests walked into the reception space, they could see the escort displays, which we painted and added lace to for a romantic touch. The attached escort keys served a dual purpose – guests were to write their “Key to a Happy Marriage” and return them to the guestbook box. We wanted to keep the skeleton keys from Brian’s family, and it is so meaningful to have a guestbook we can display in our house. The Irish handfasting knot was another very important piece made by our good friend, Eric Anderson. It had lace from both of our mom’s dresses attached and the Celtic knot to symbolize eternity along with the two lover’s knot which is the strongest for joining two lines together or “tying the knot.”

Some of the most important DIY projects to us were the little details. I had the most fun creating all the boutonnieres, with berries from our front yard and feathers, for my favorite guys. I learned a new wire wrapping skill to make the earrings for my bridesmaids as well. My garter was likely the most challenging – there were a lot of layers and I didn’t realize how difficult it was to work with elastic, but it turned out just how I envisioned. It has my signature feather attached – I had to be able to add a little bohemian, hippie (which I am known for) element to the wedding. I also created my cuff and hairpiece to add a little shimmer.

Something Old: Lace from my mom’s dress wrapped around my bouquet

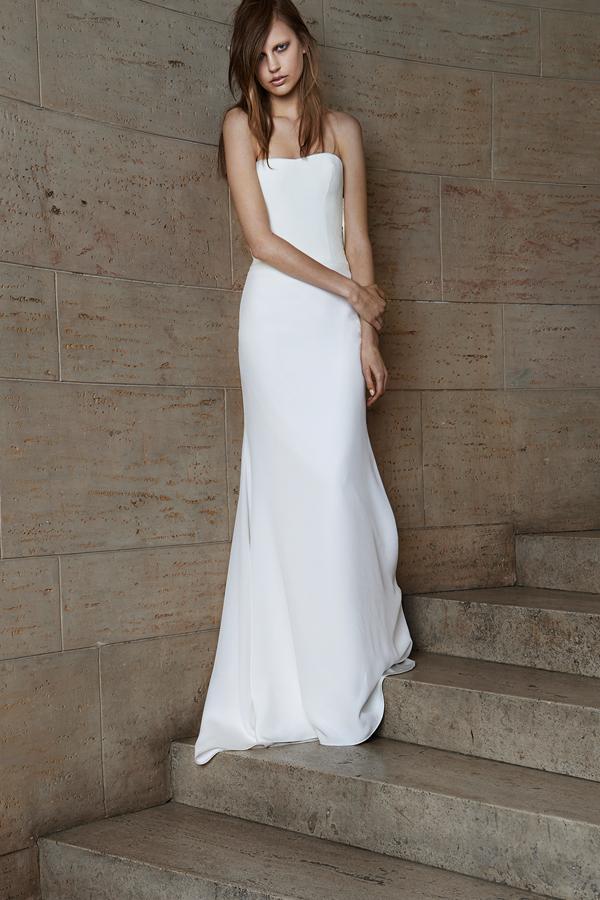
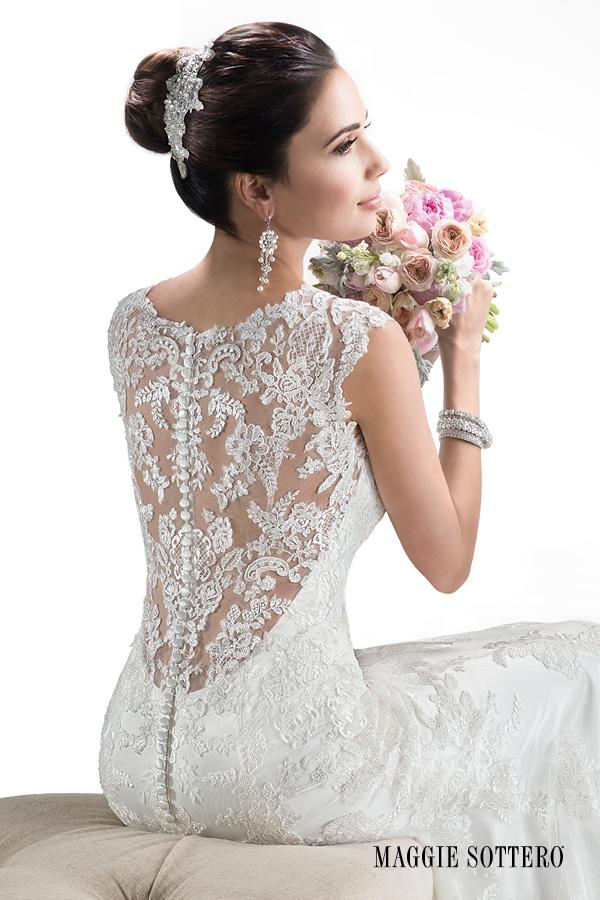
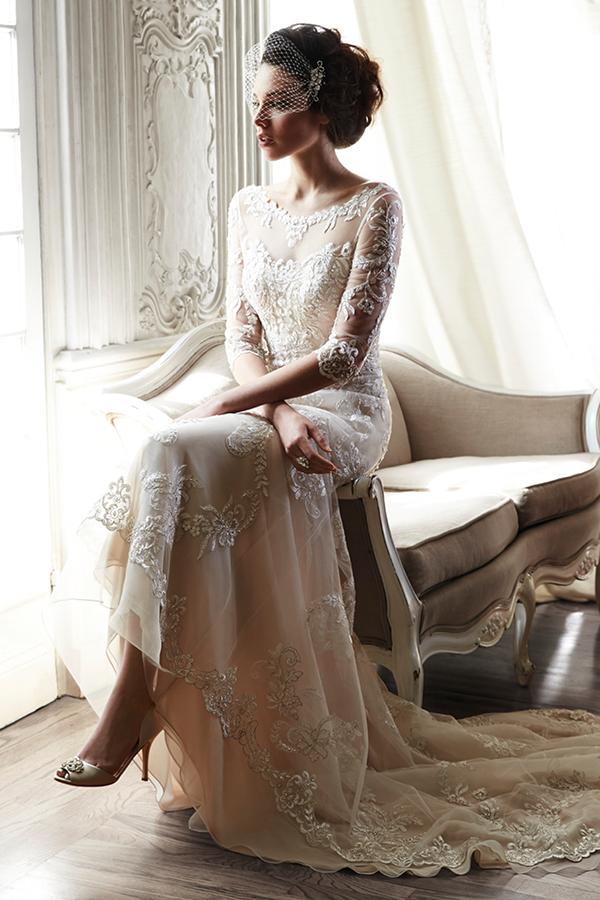
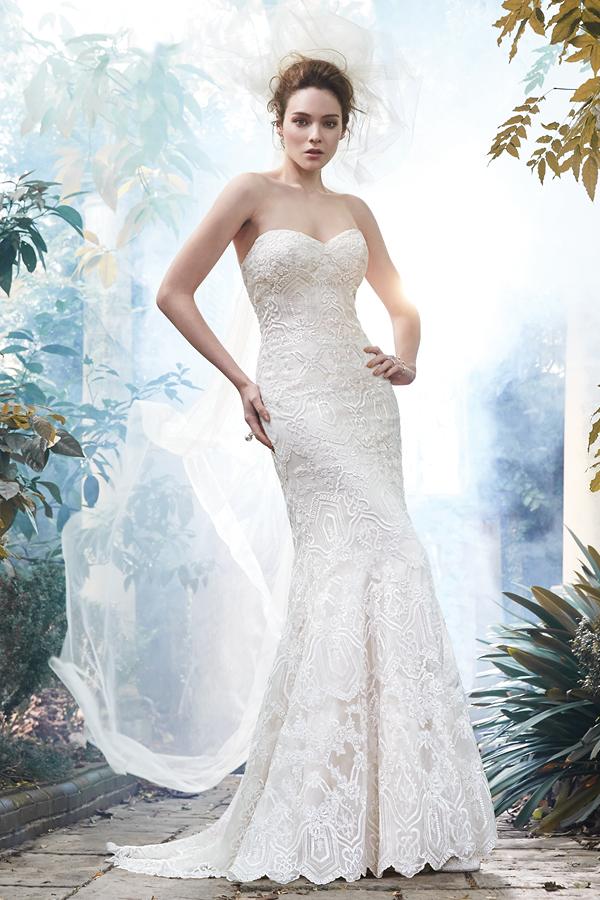
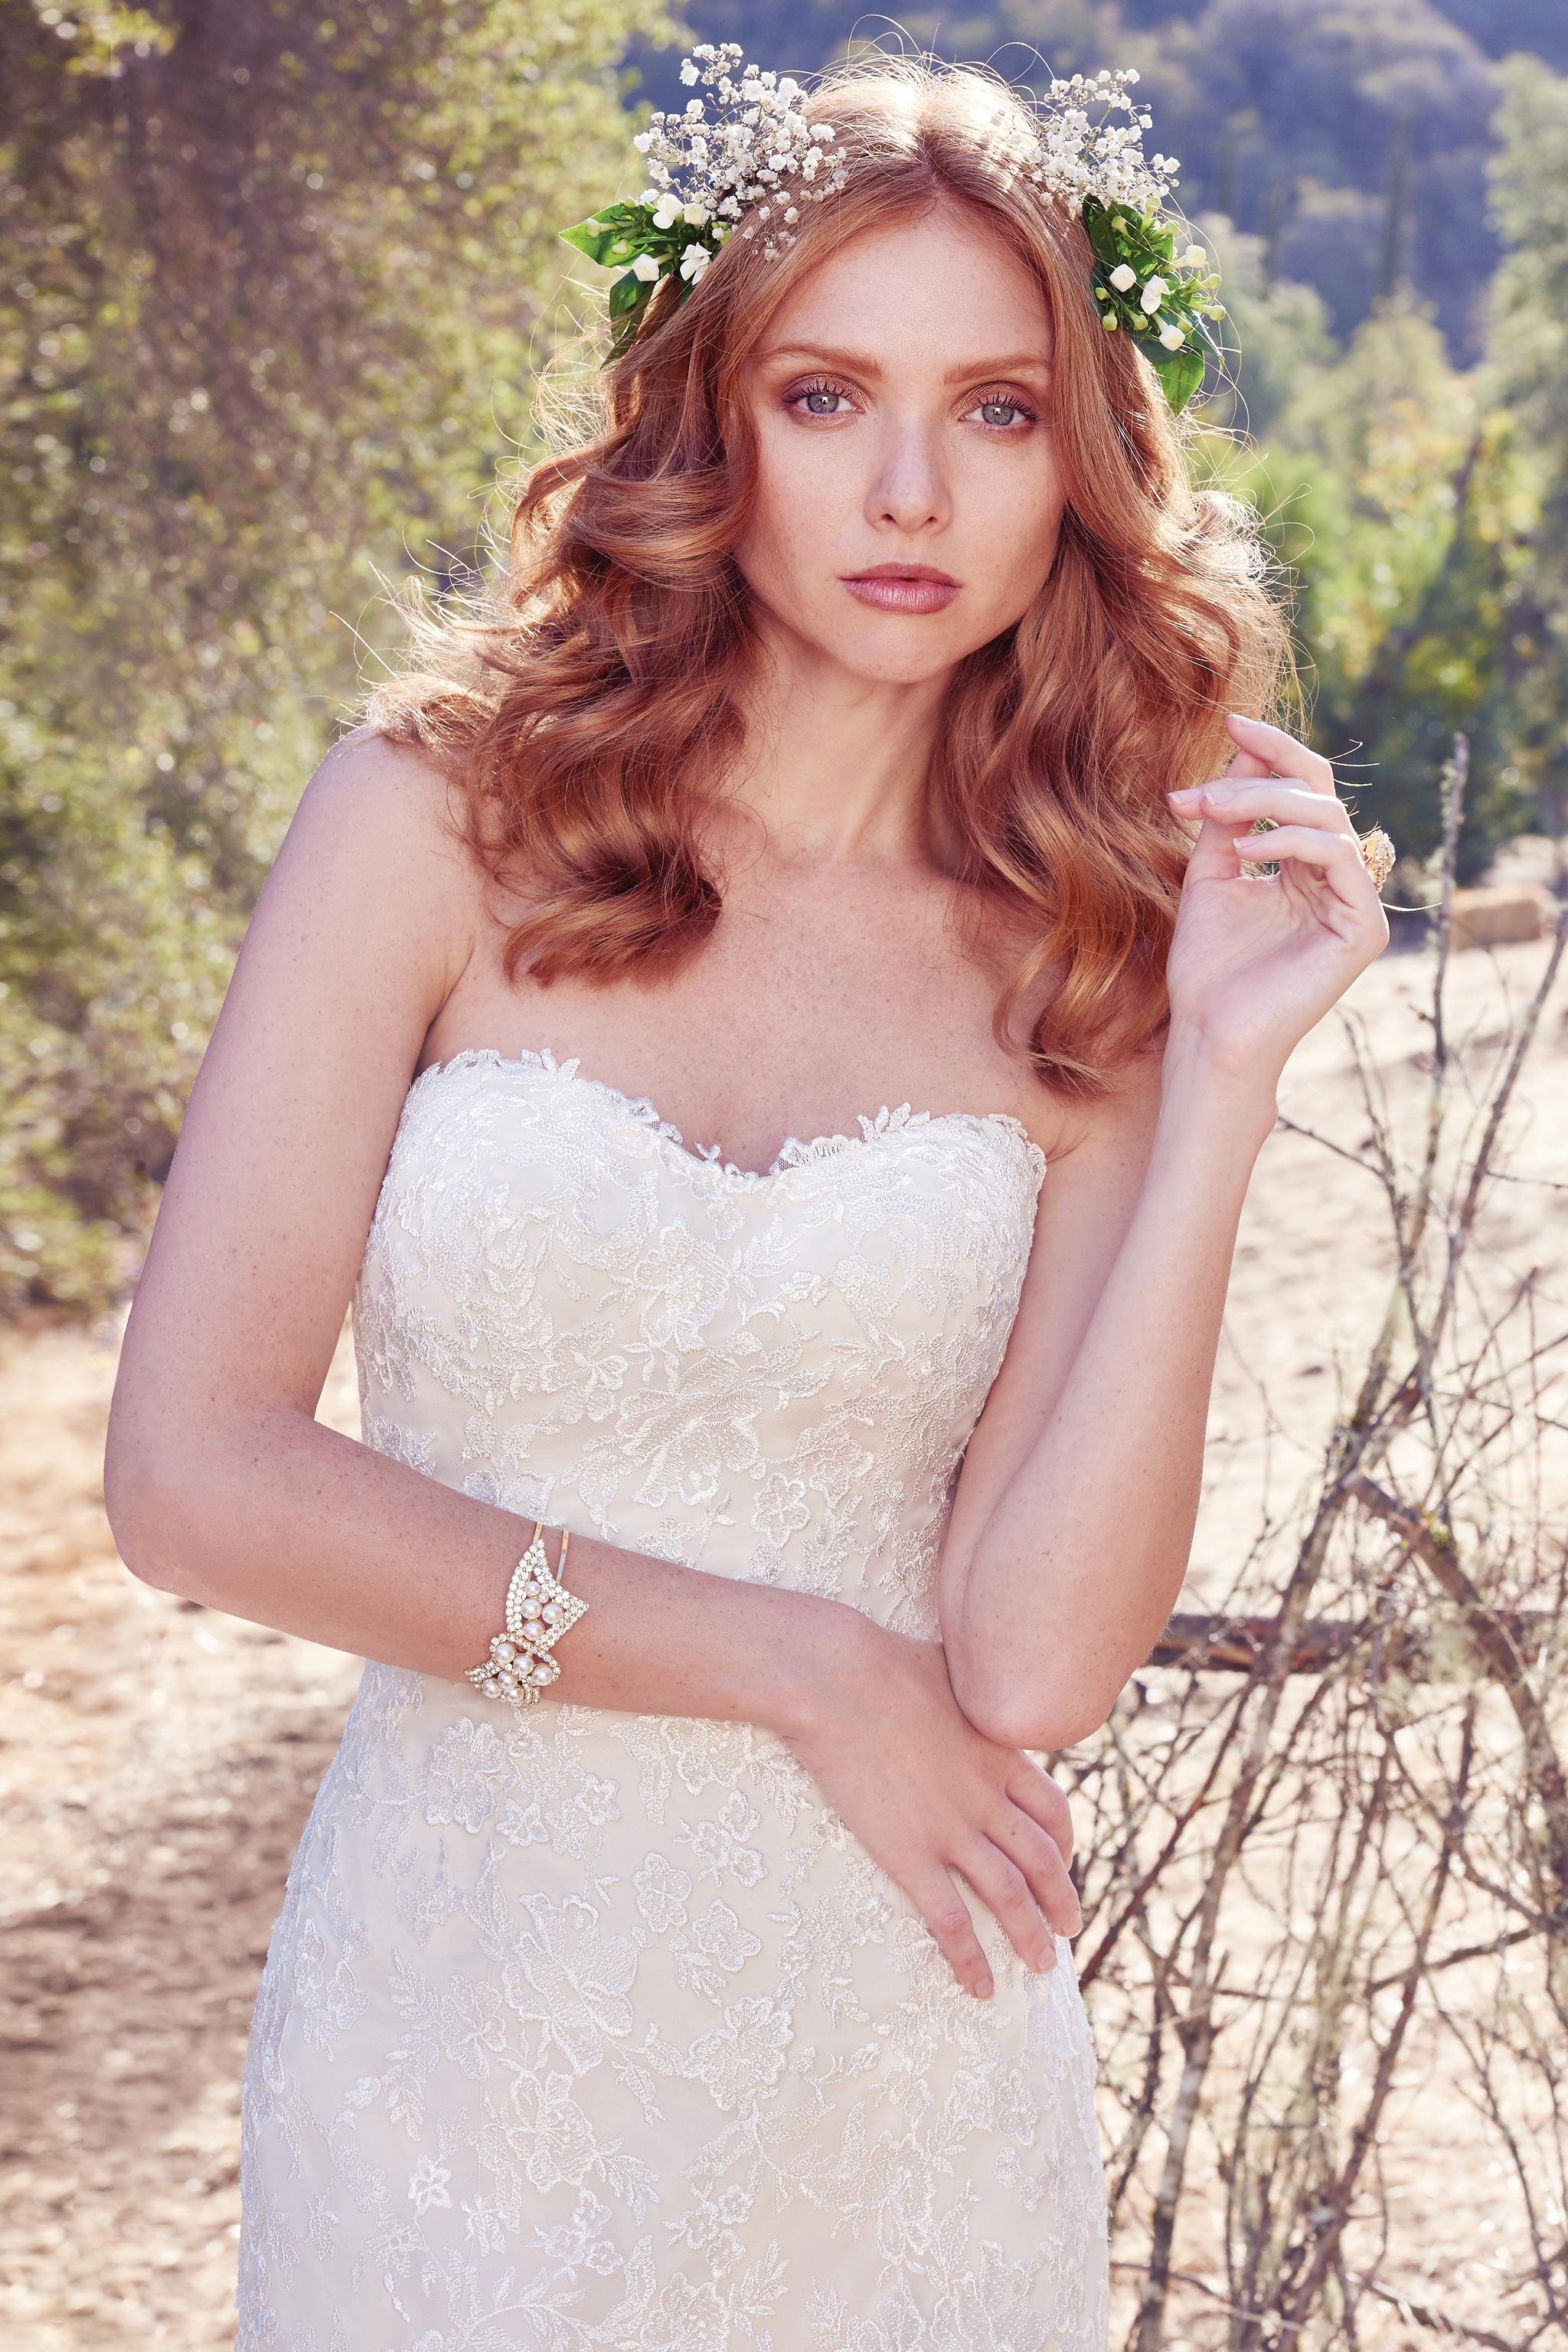
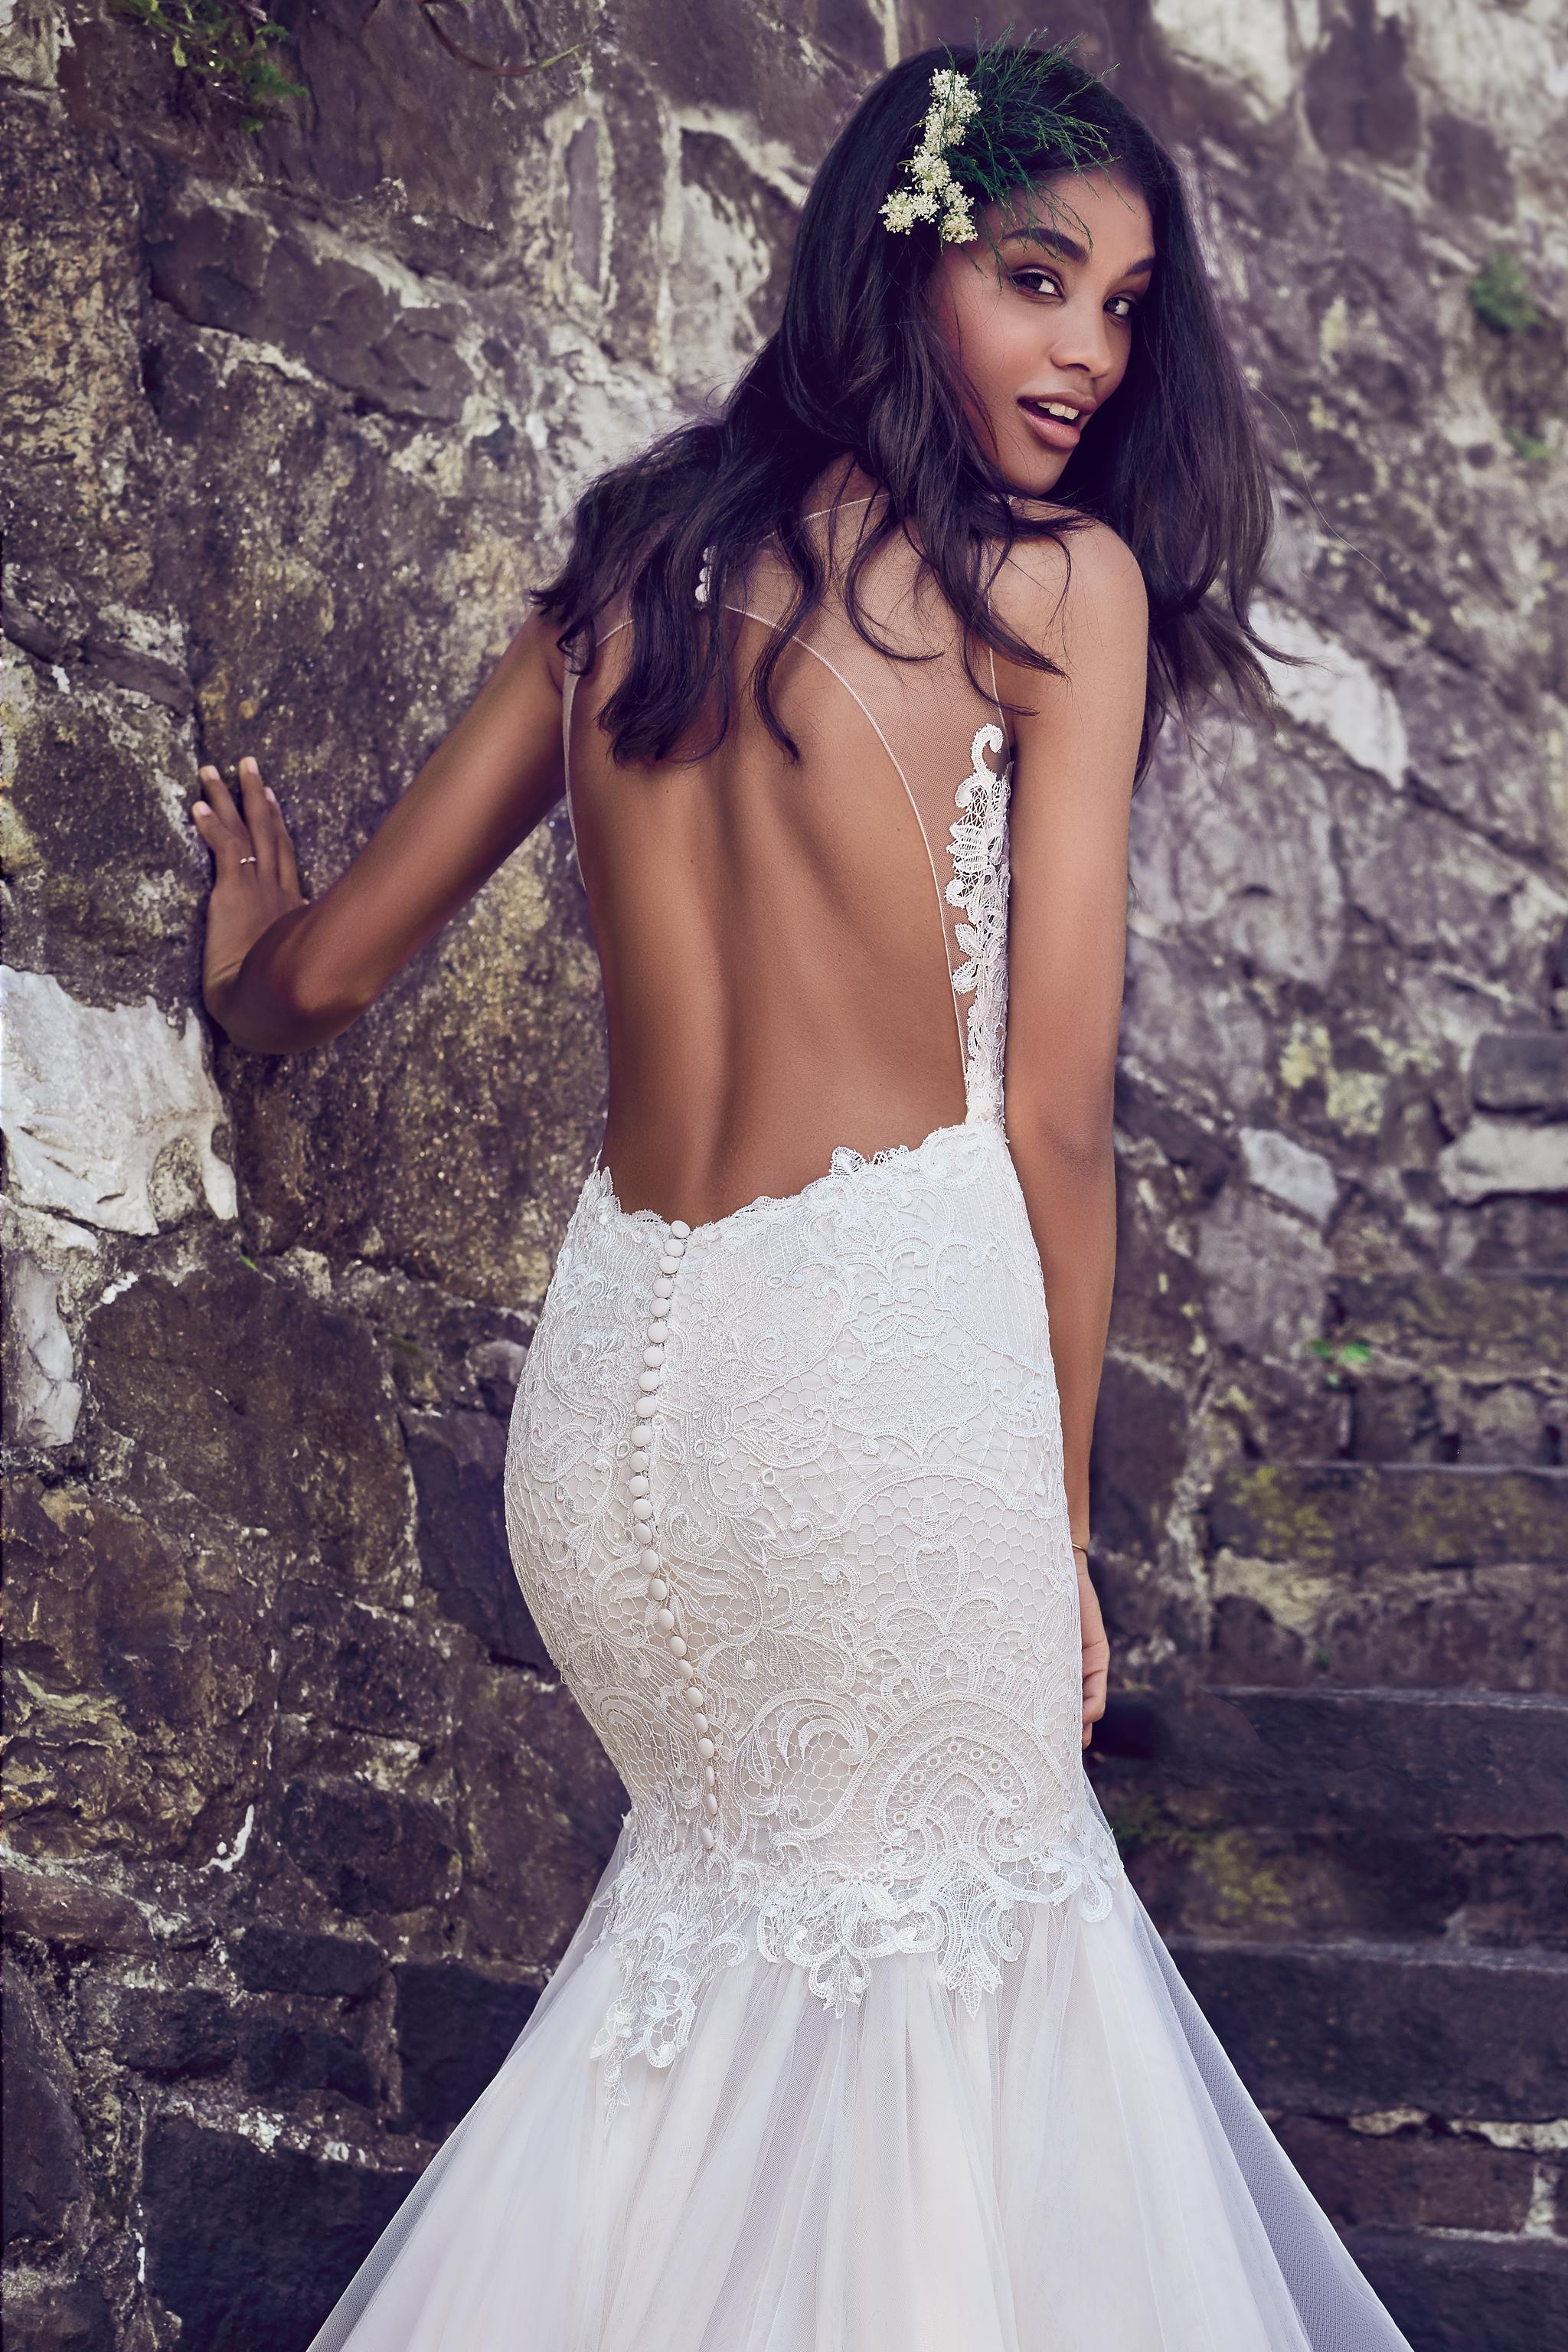
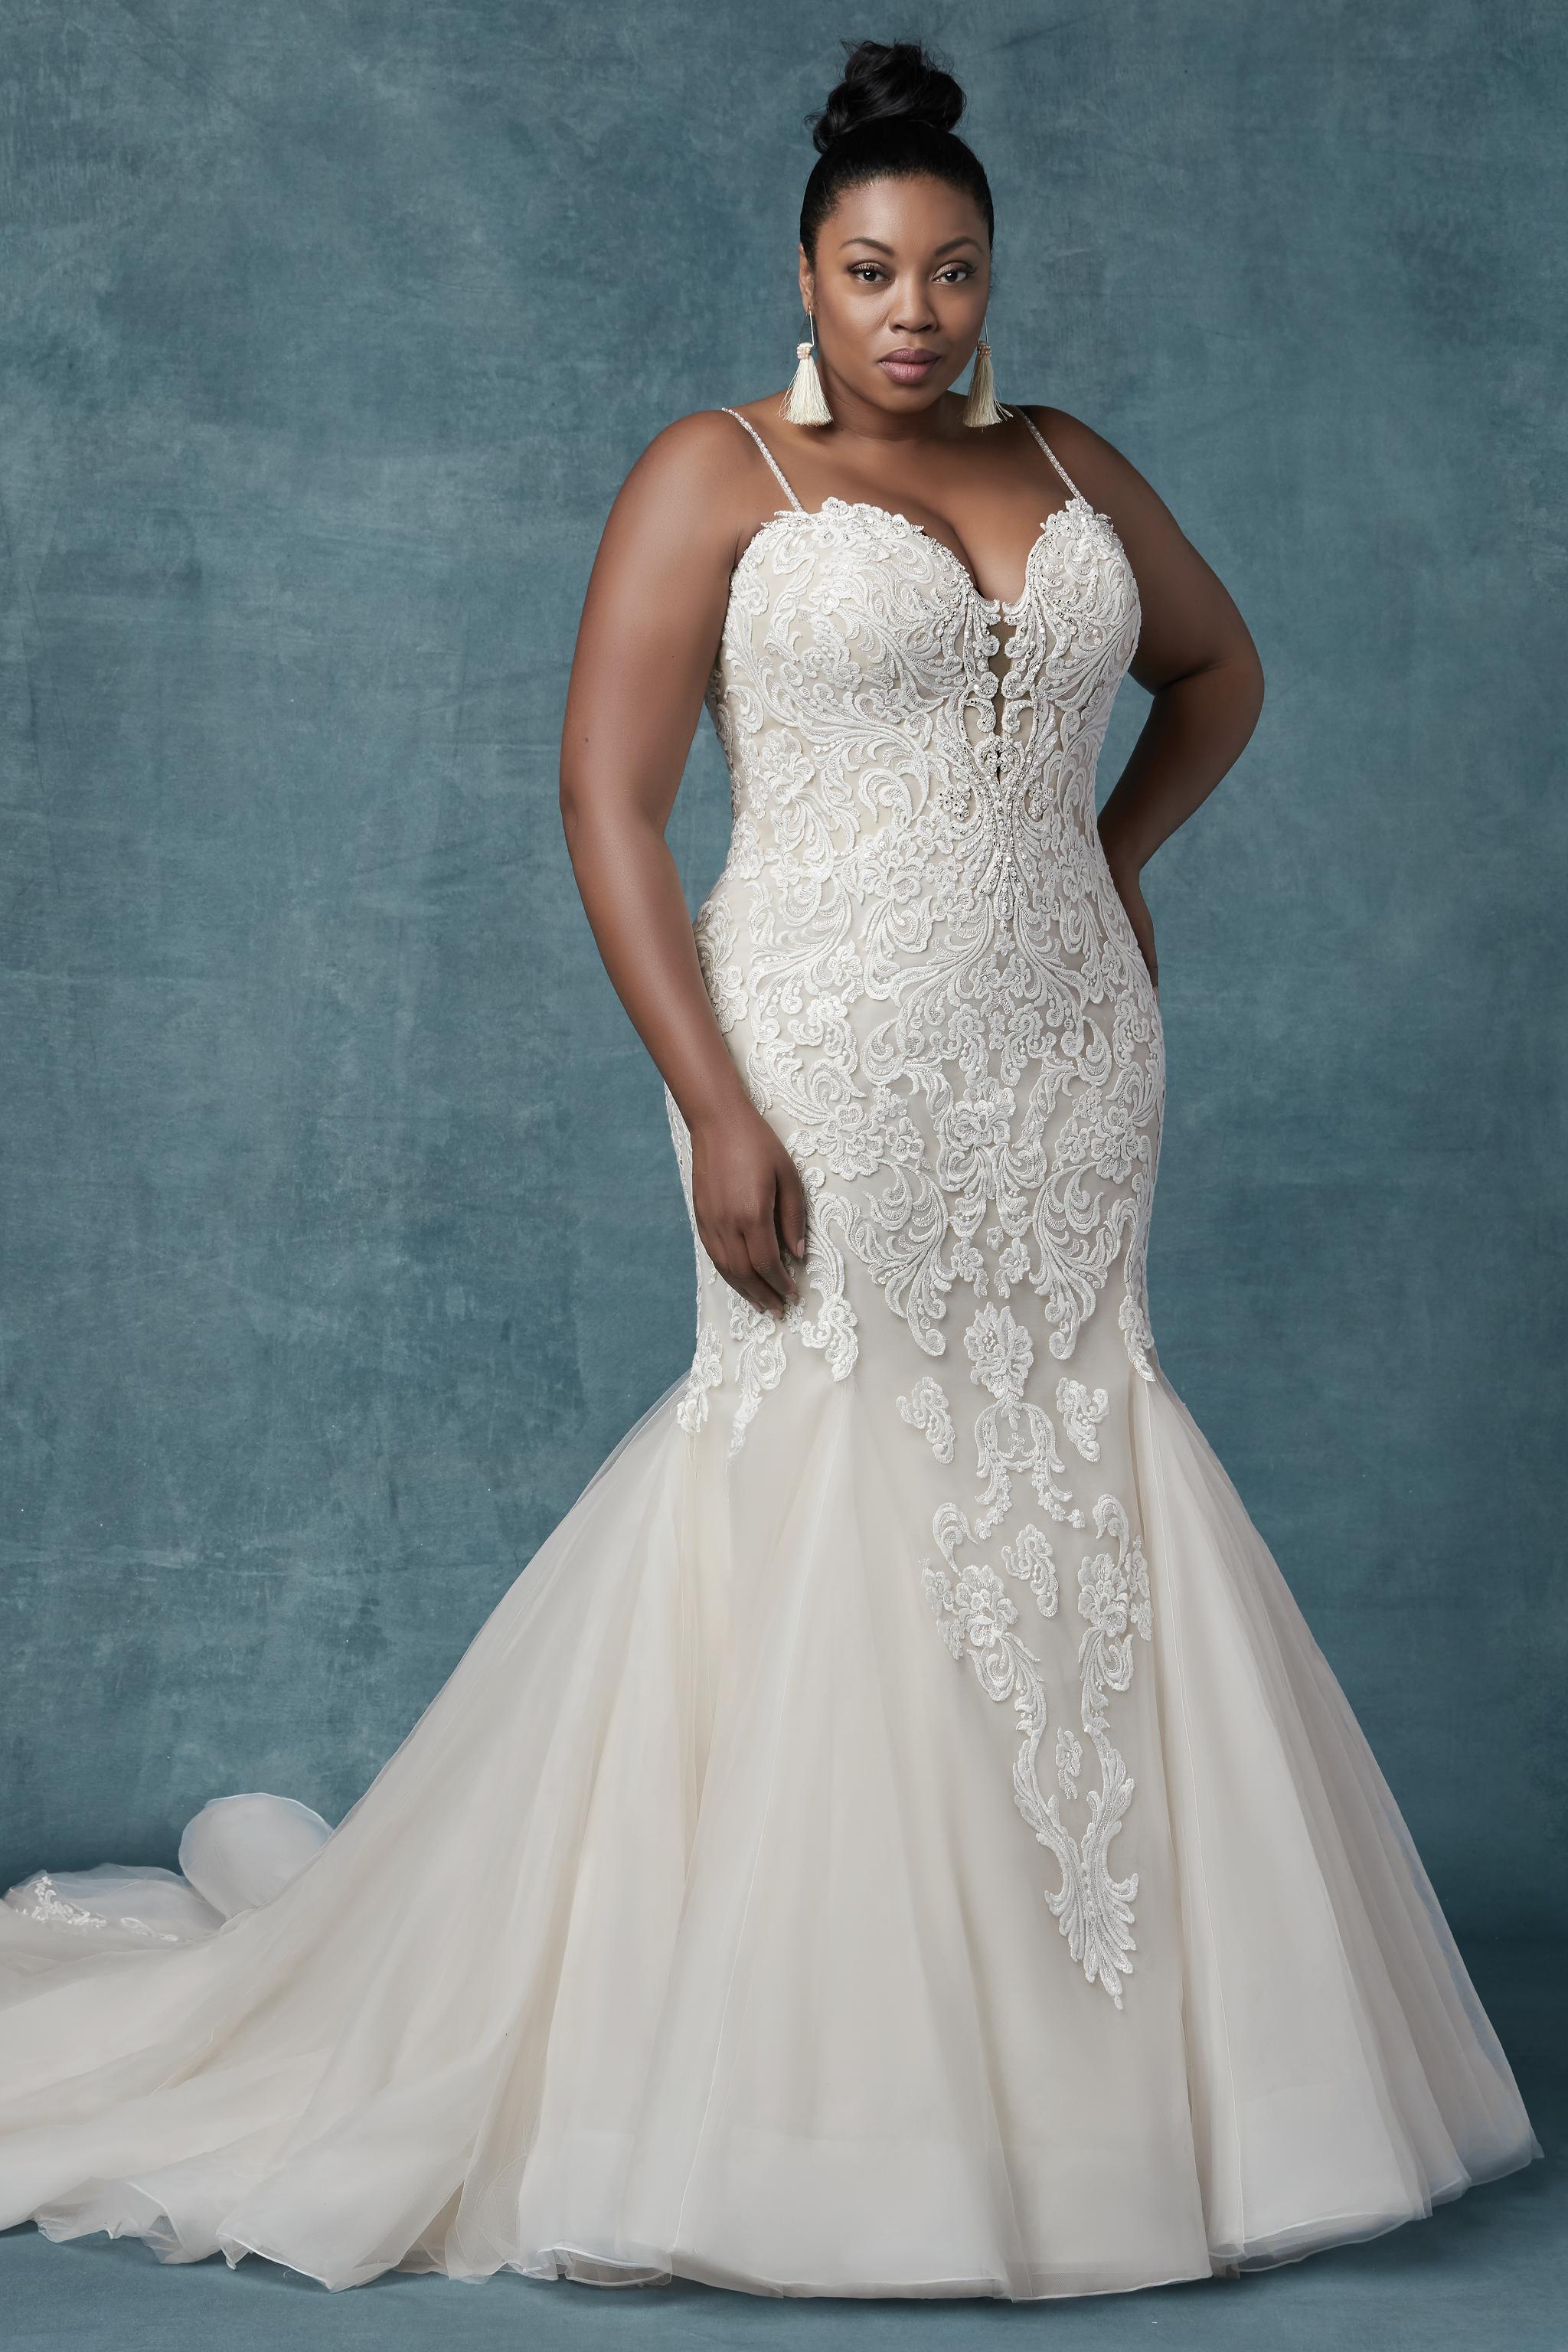
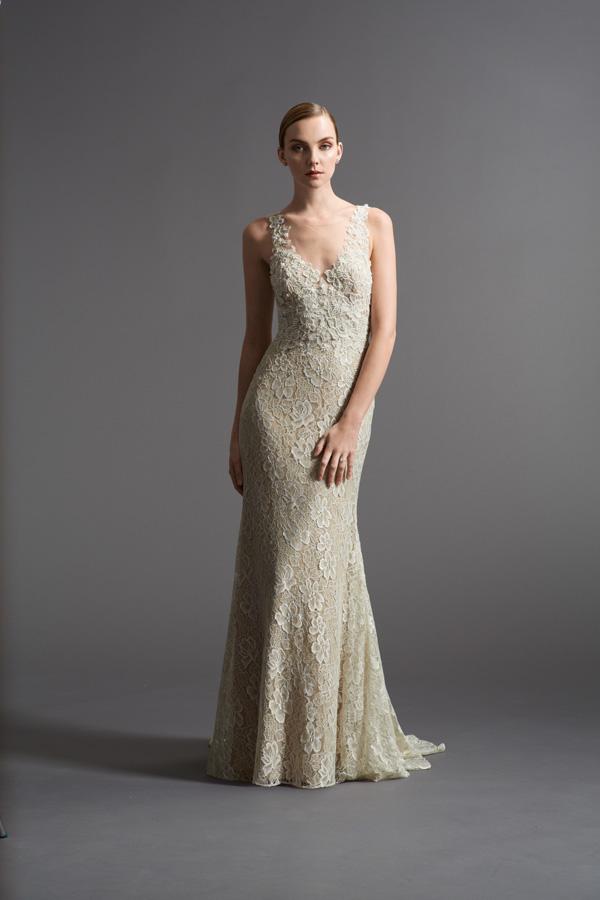
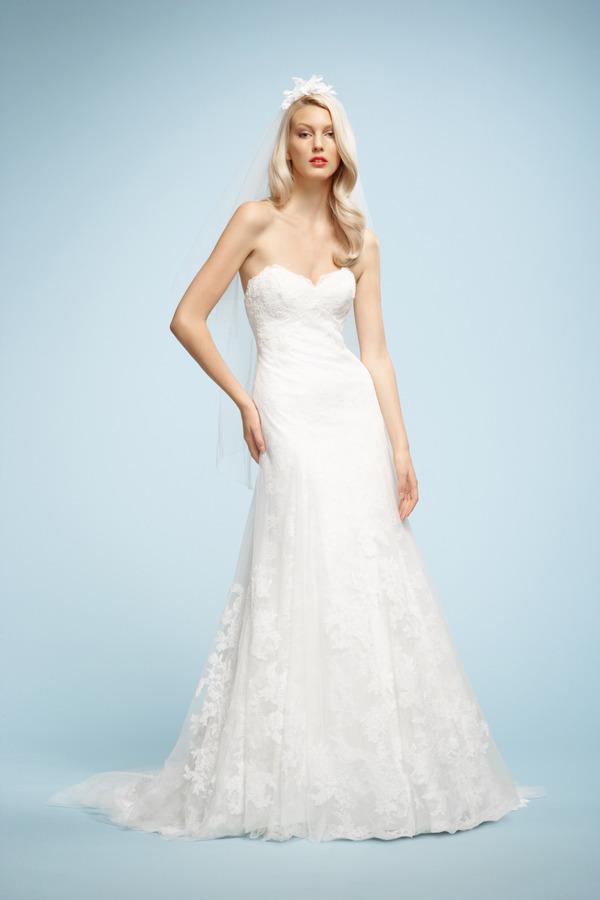
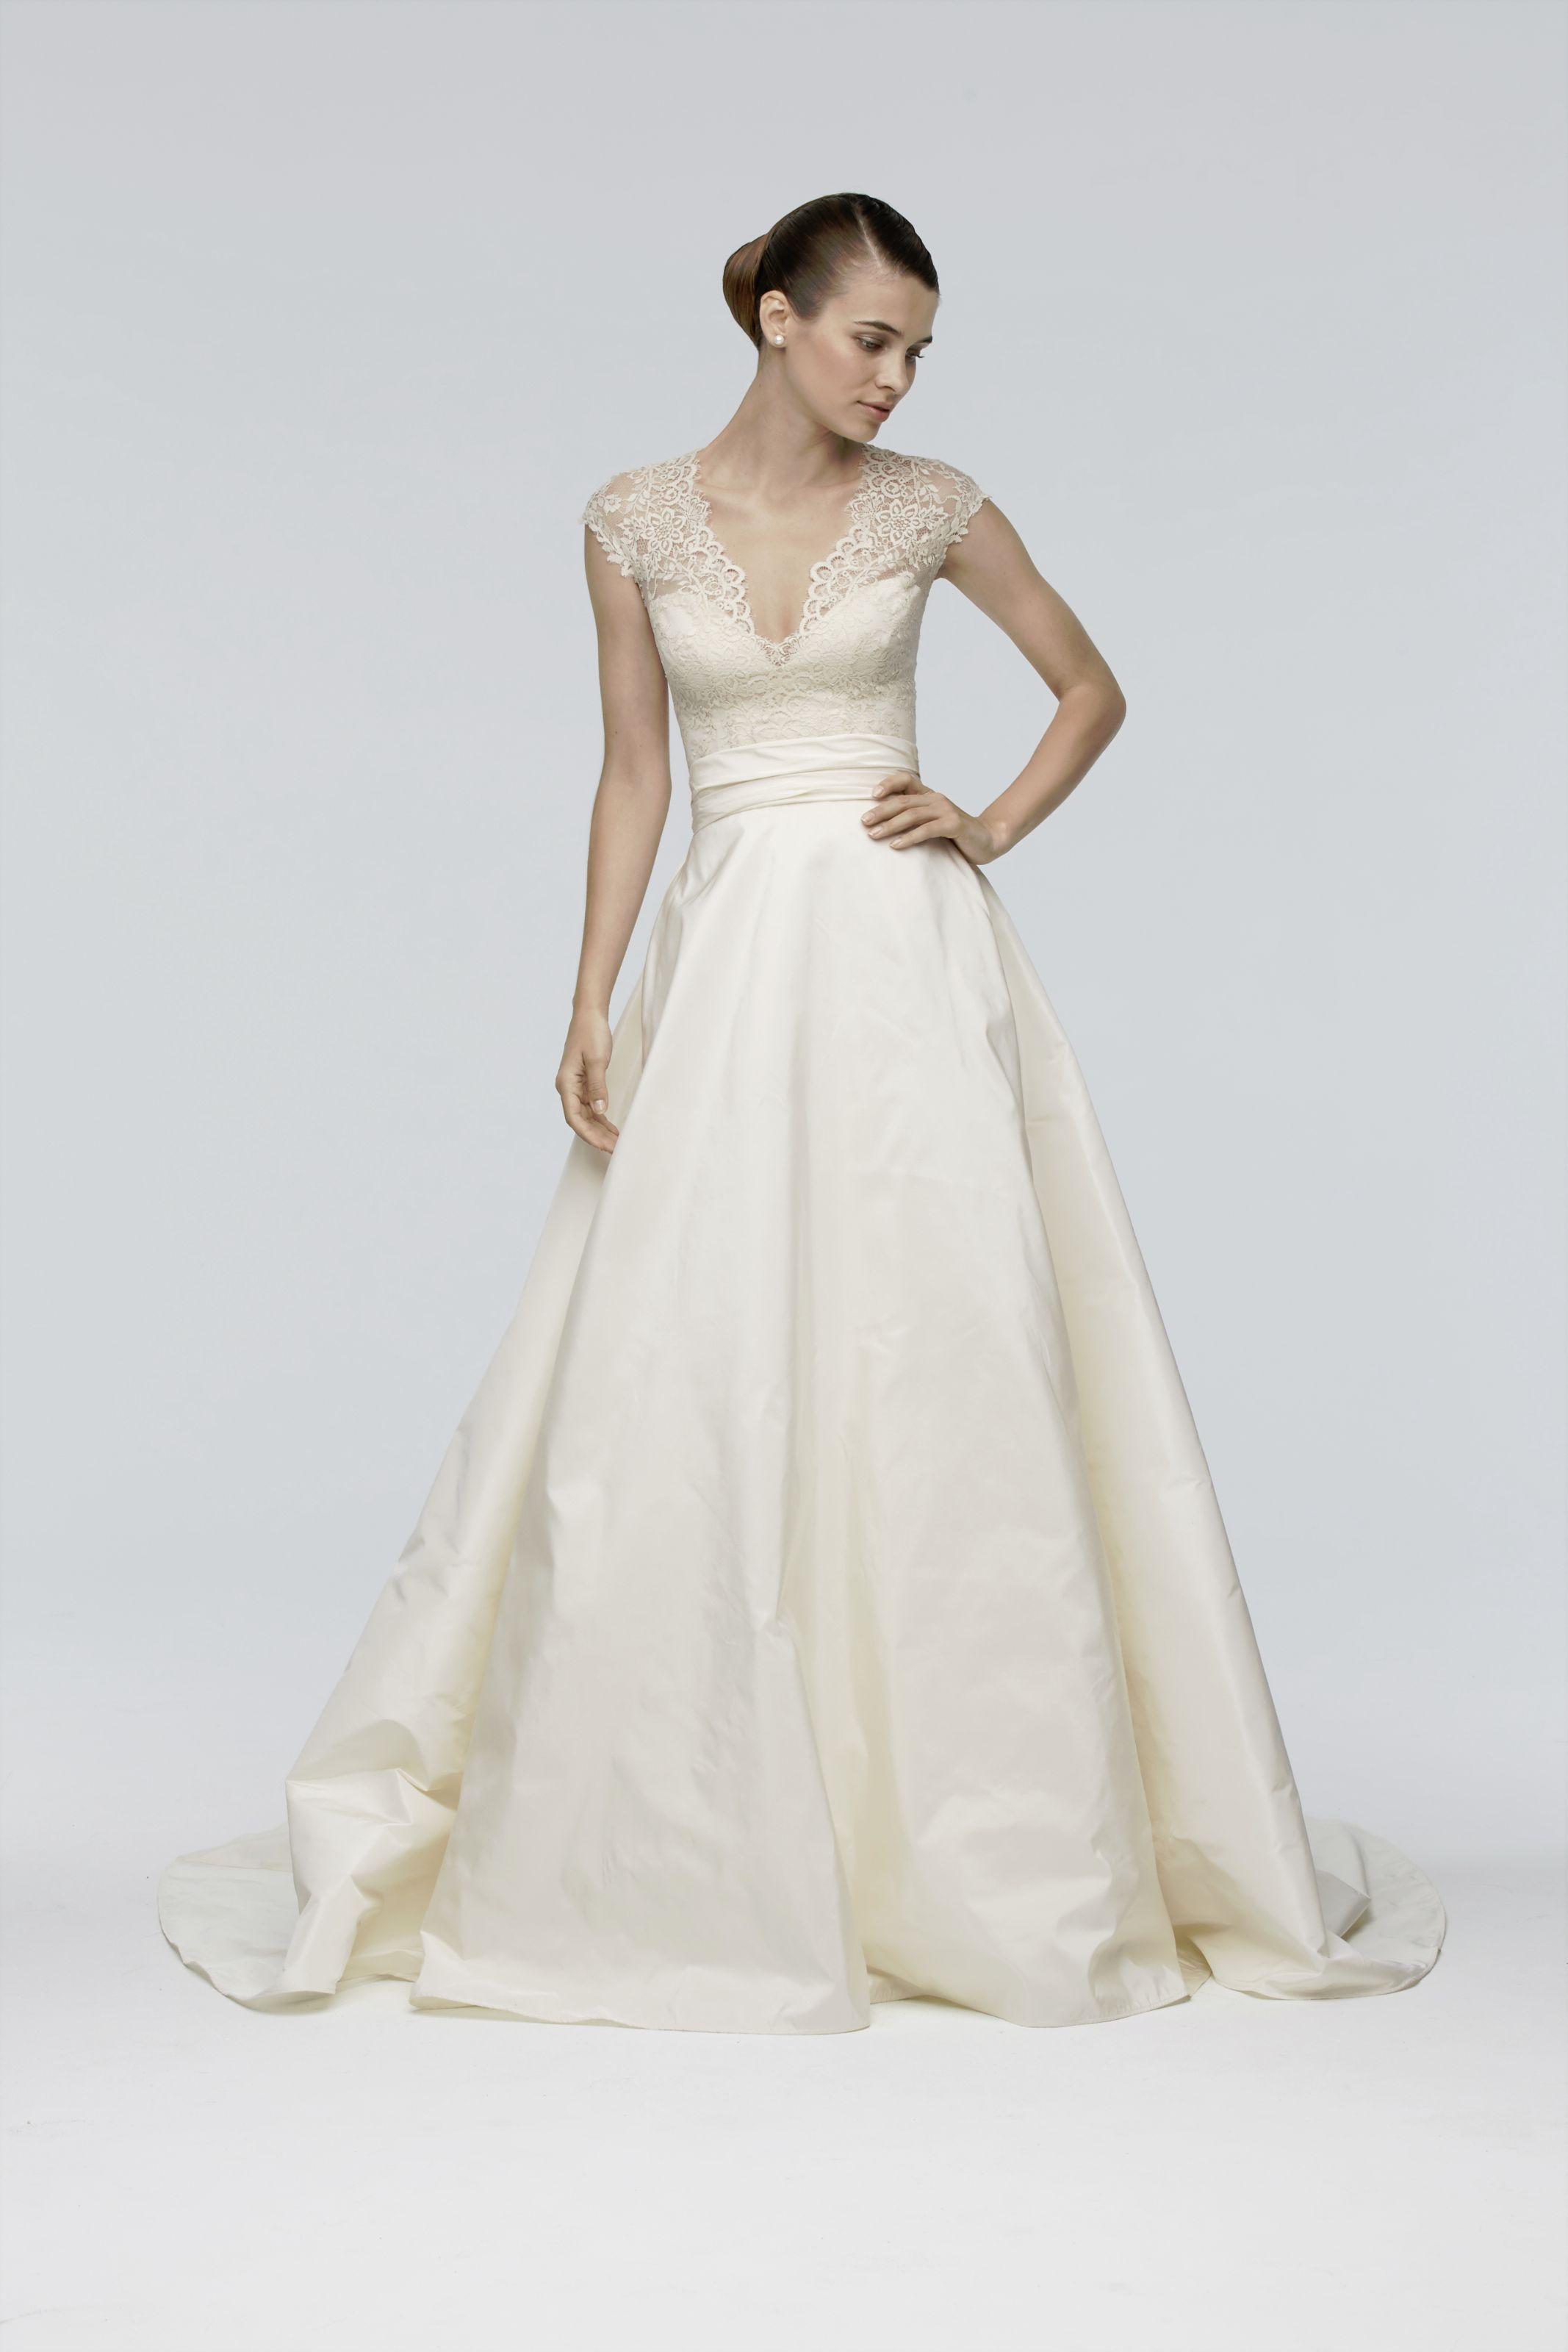
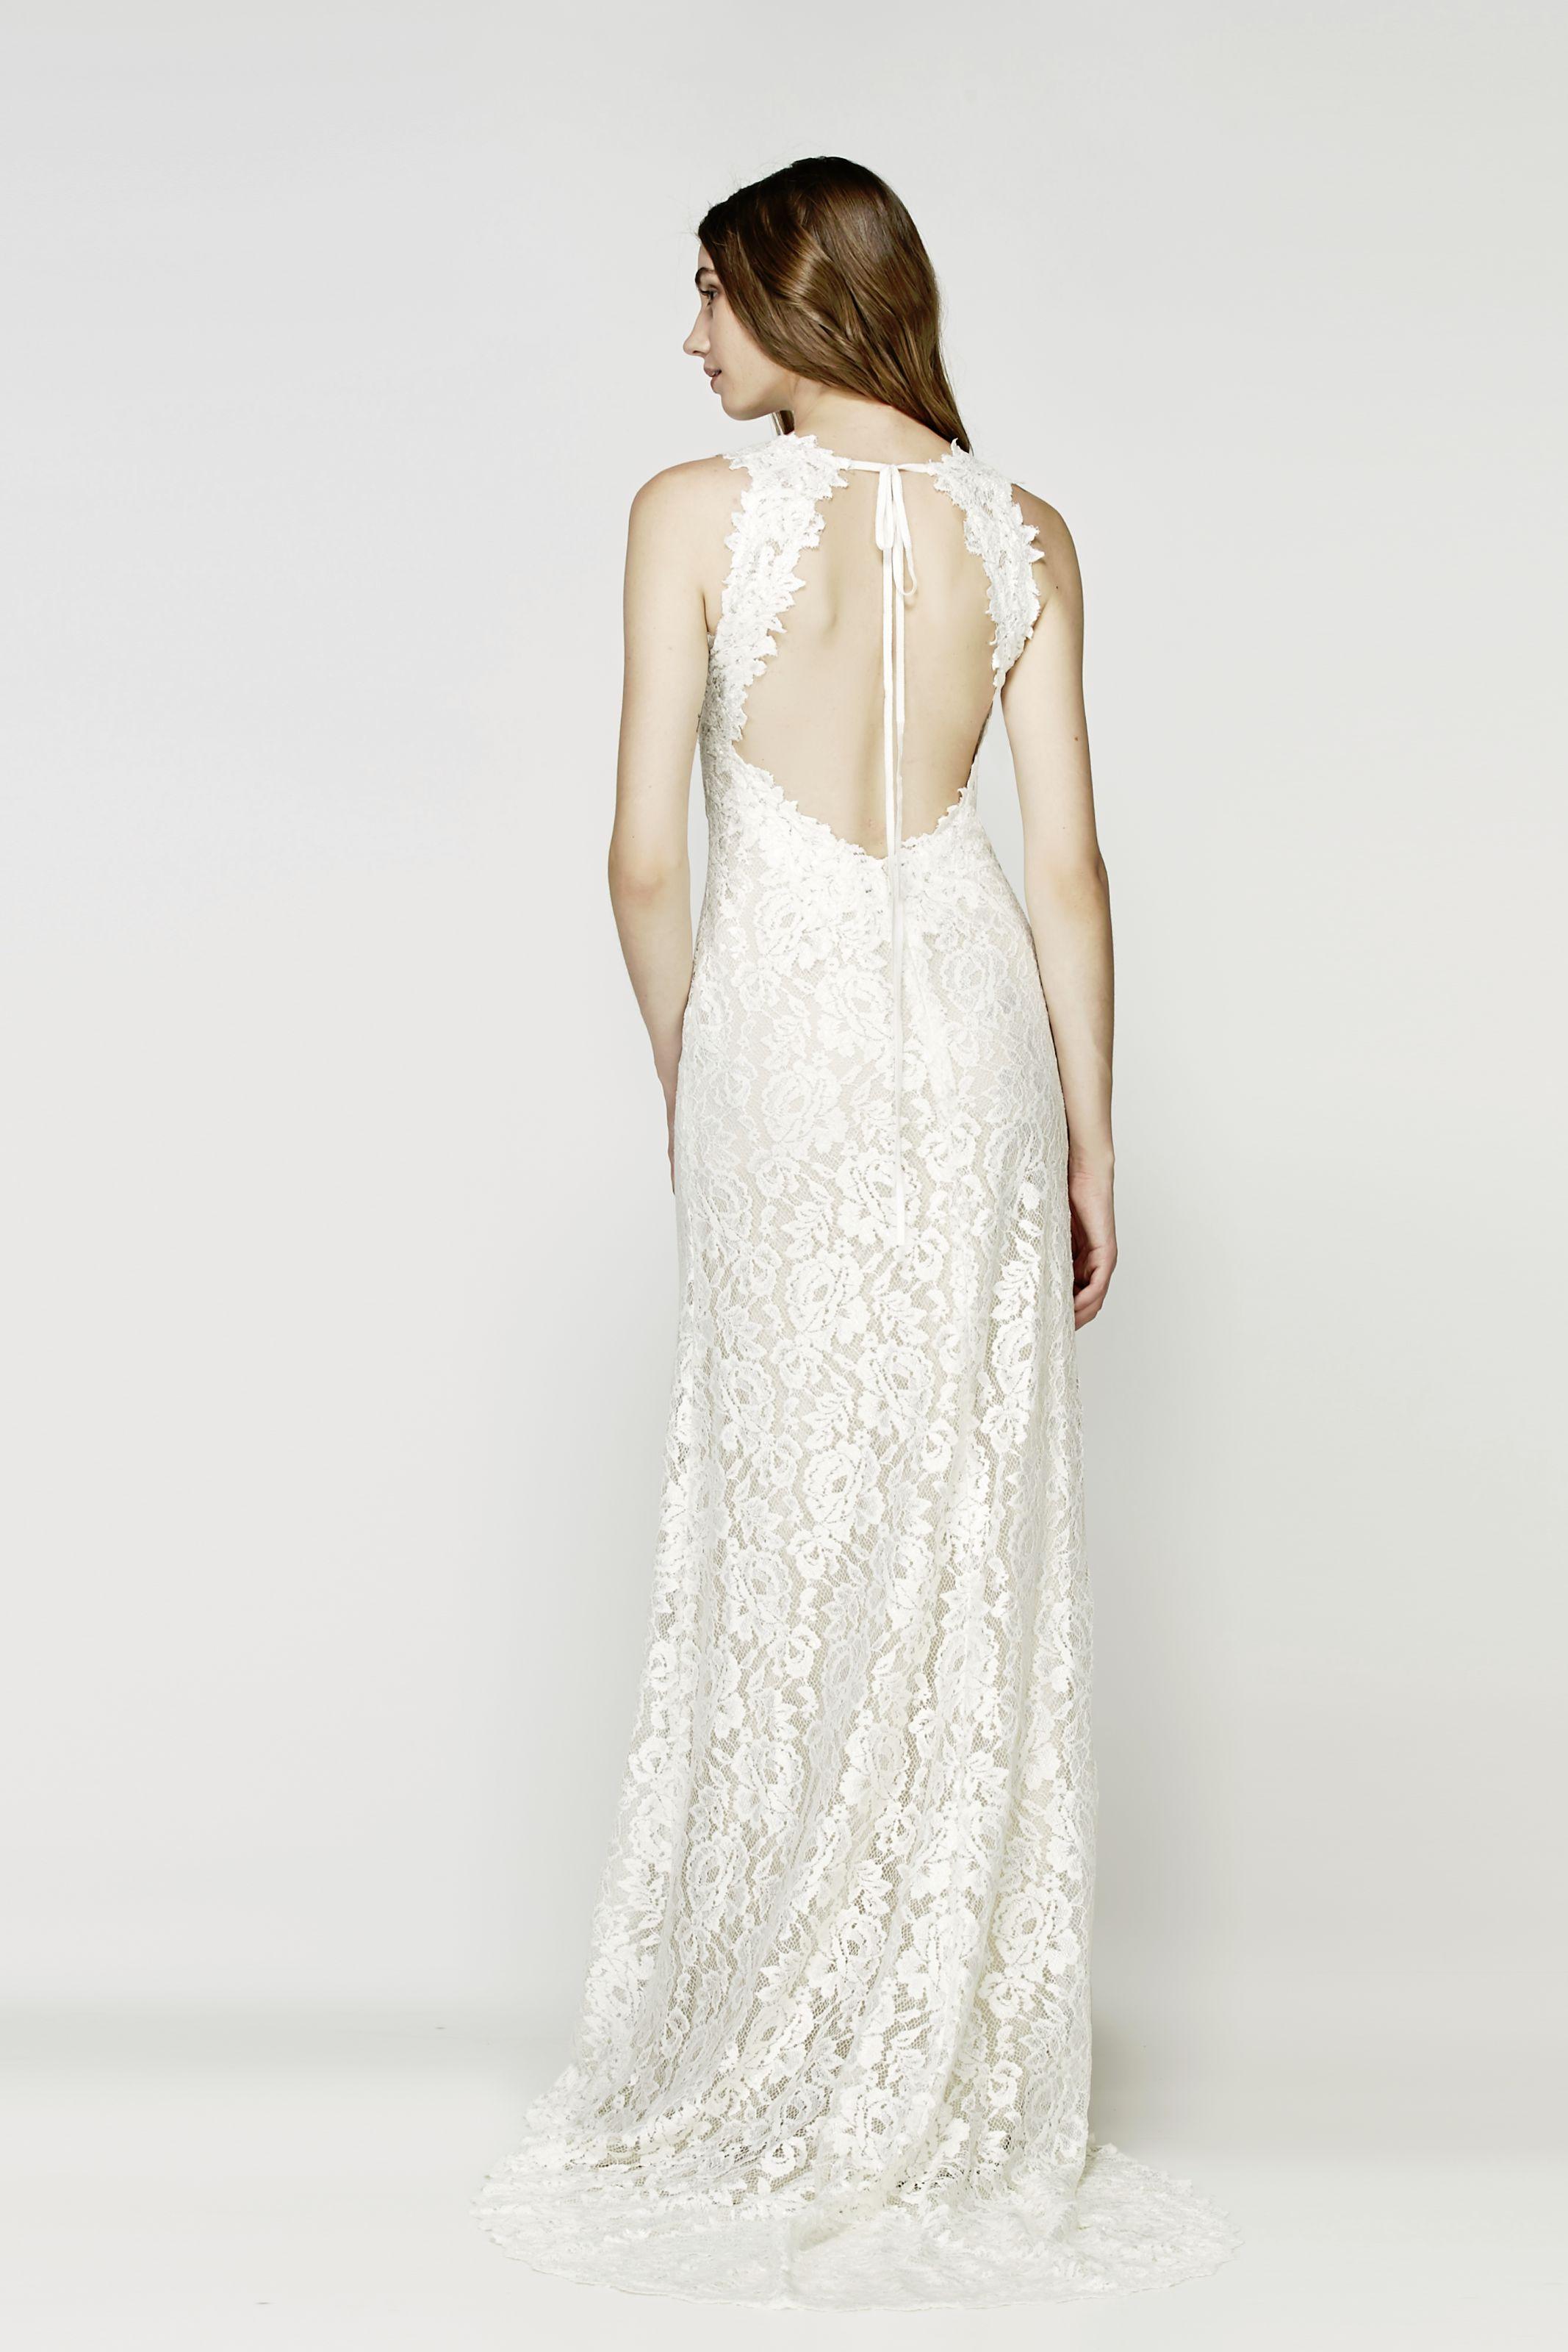
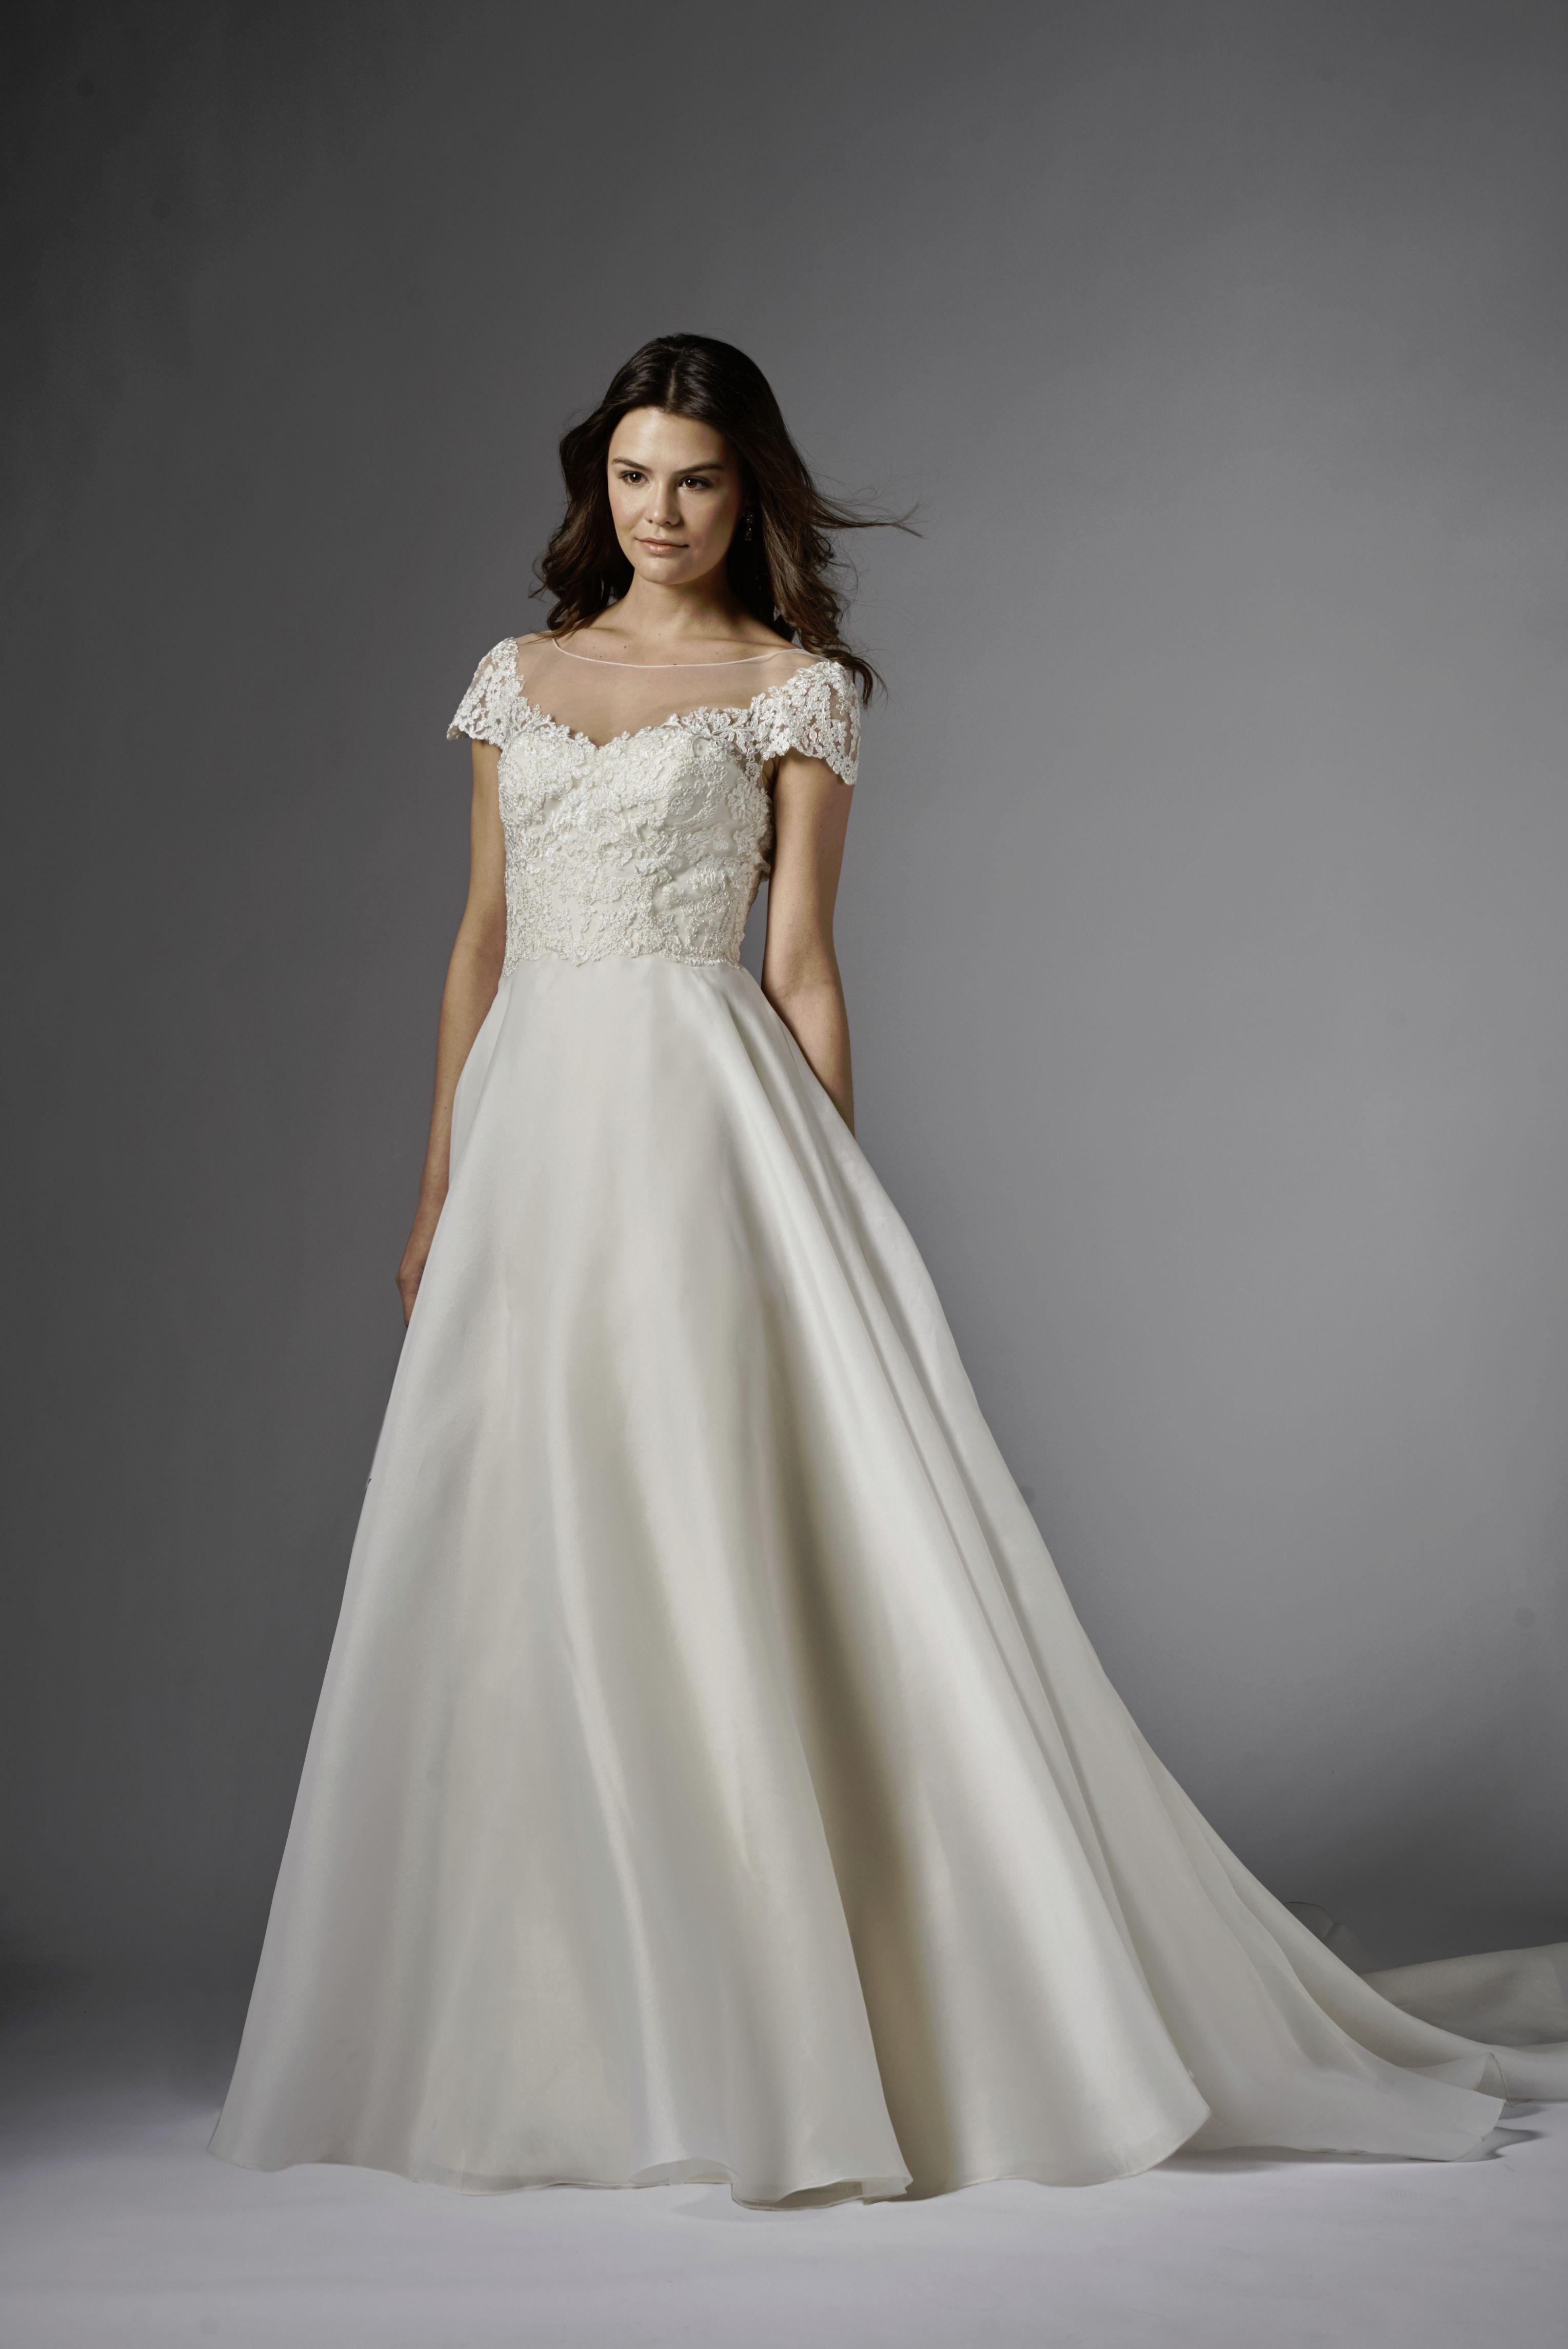
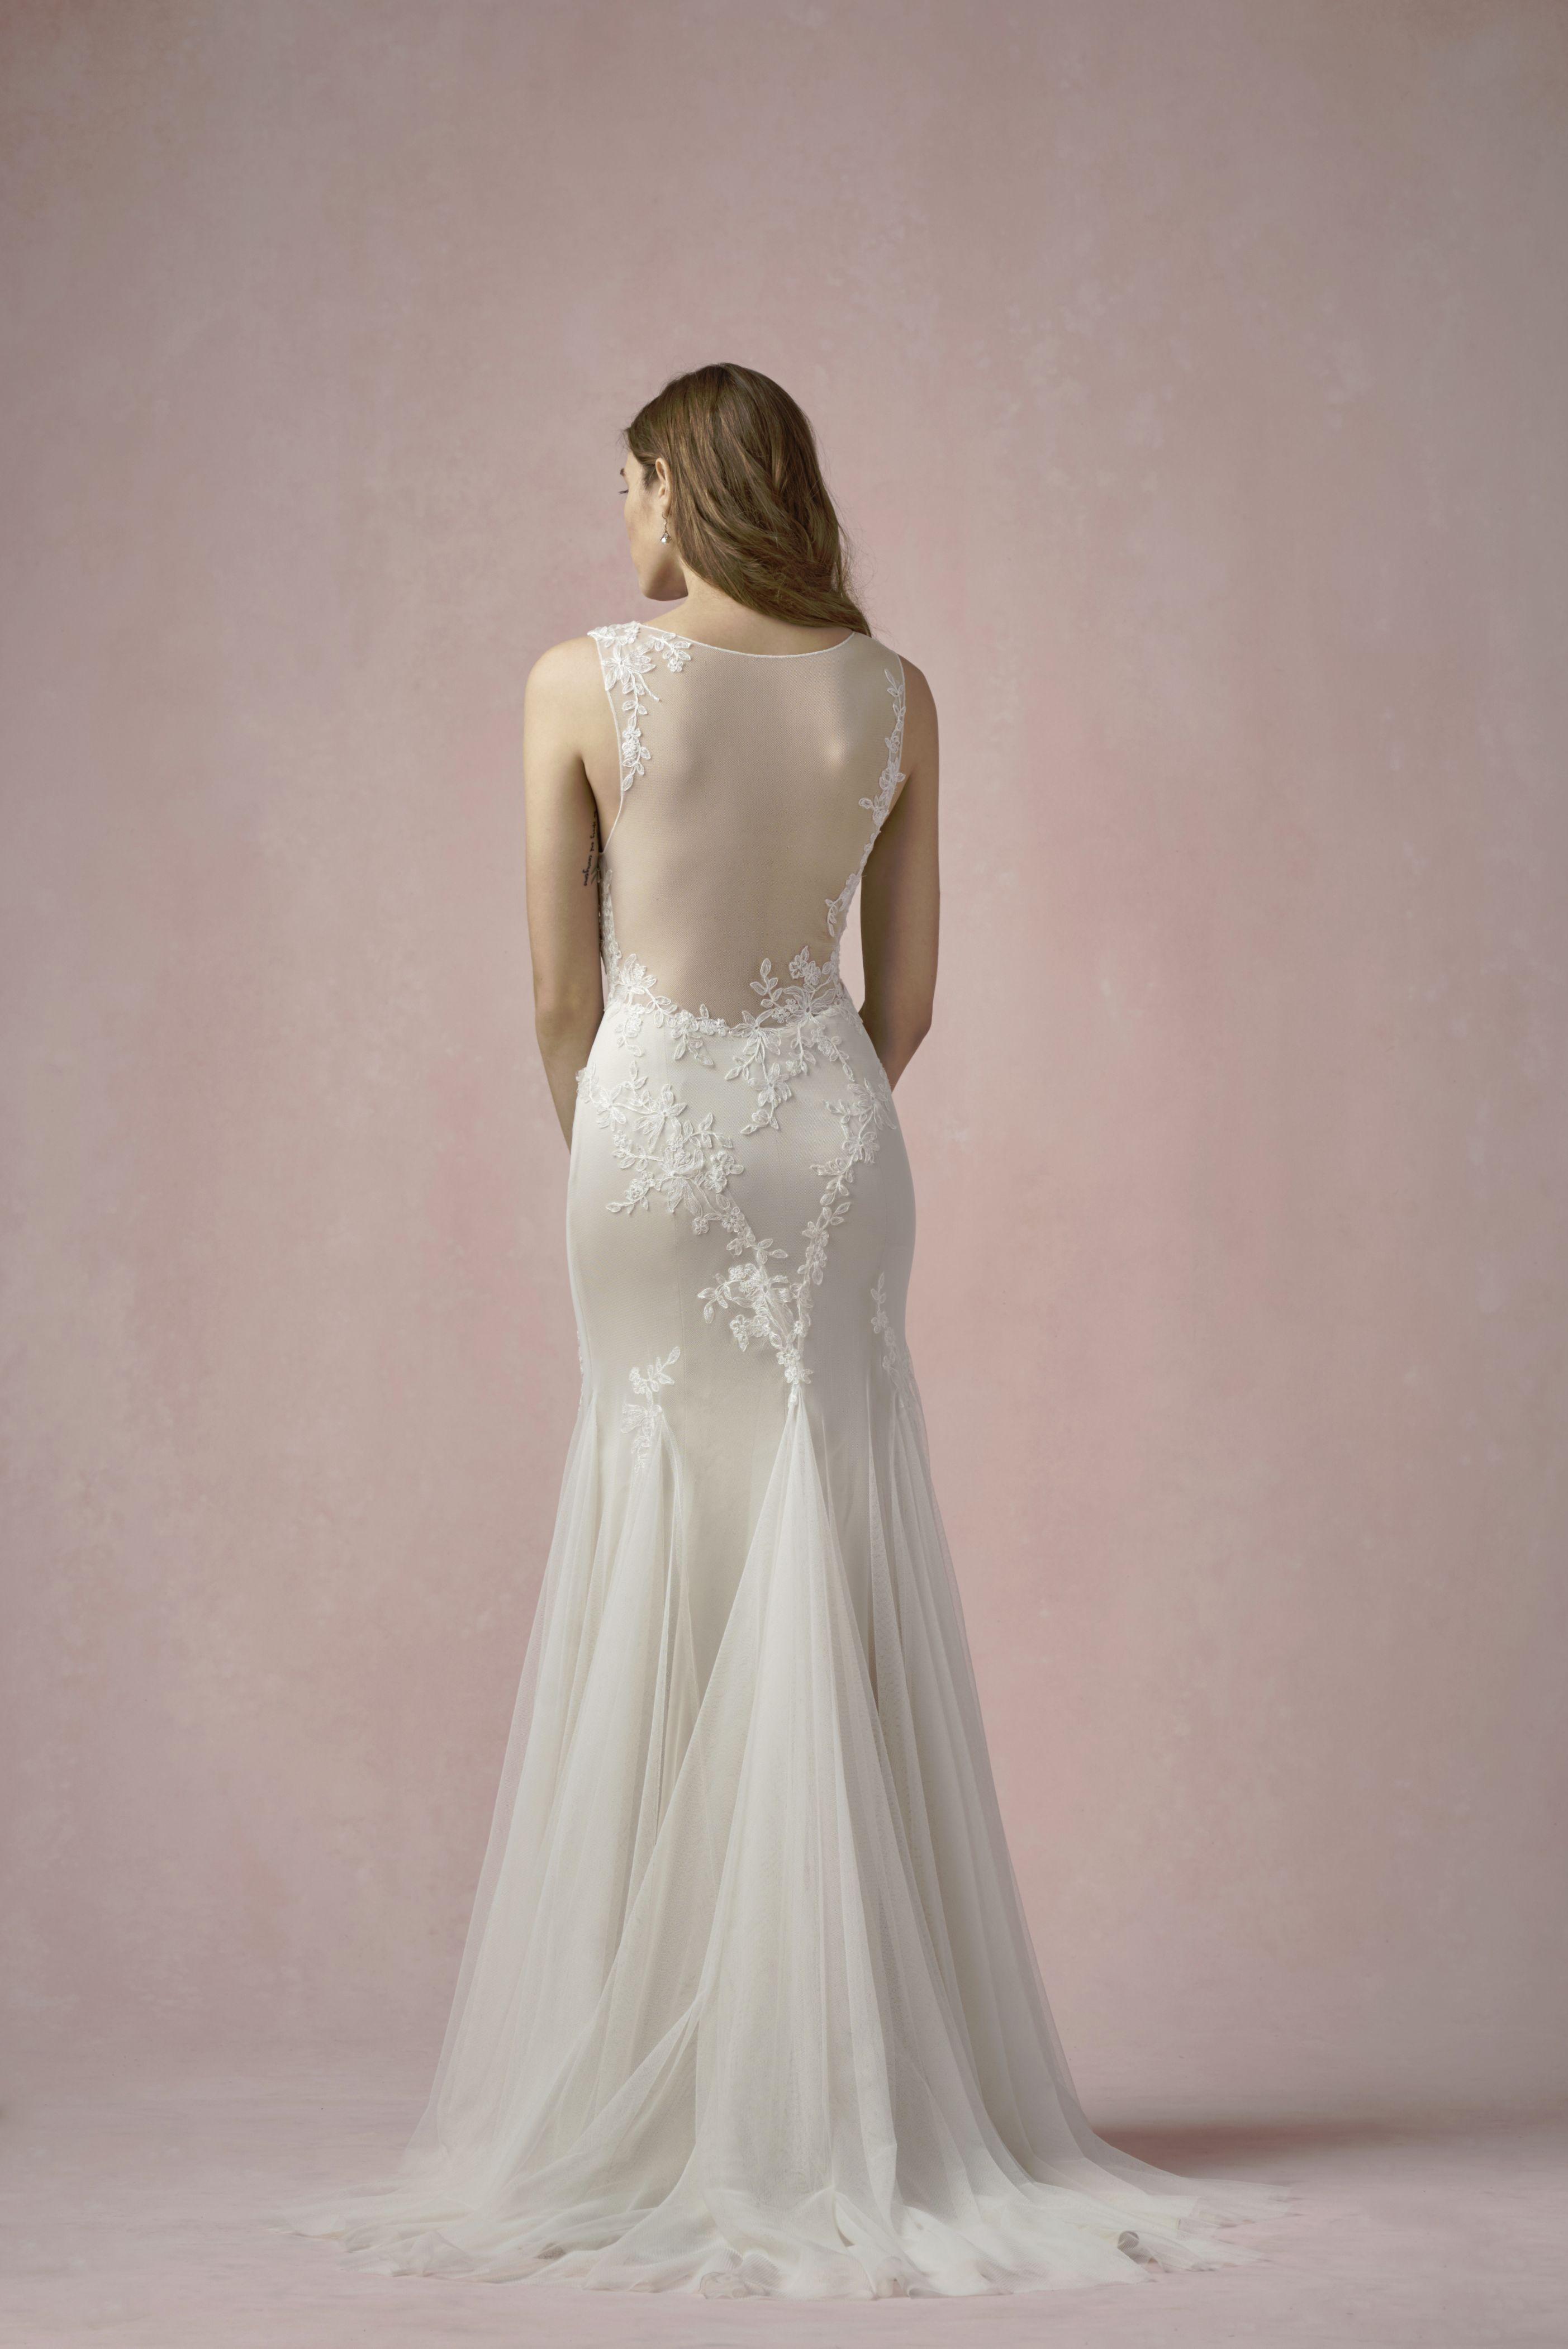
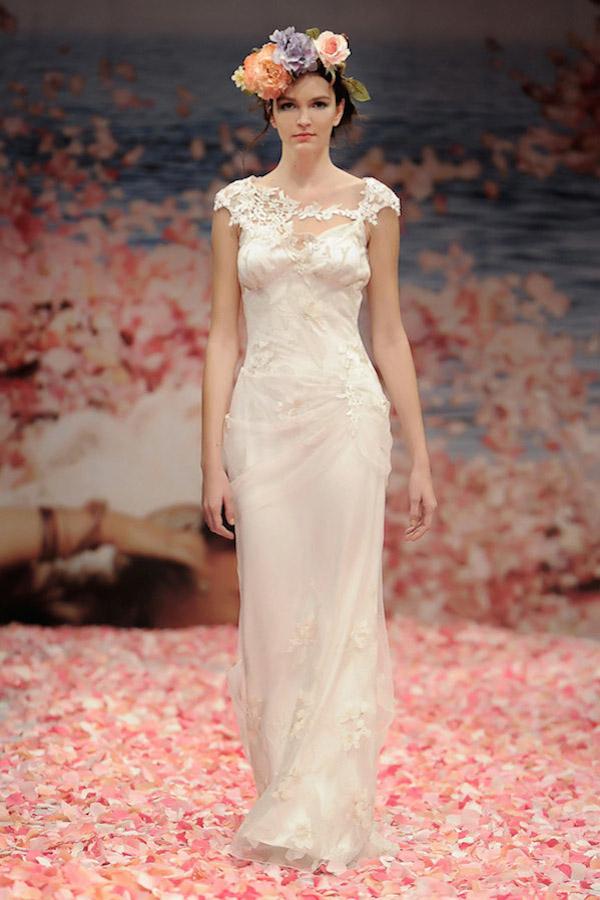
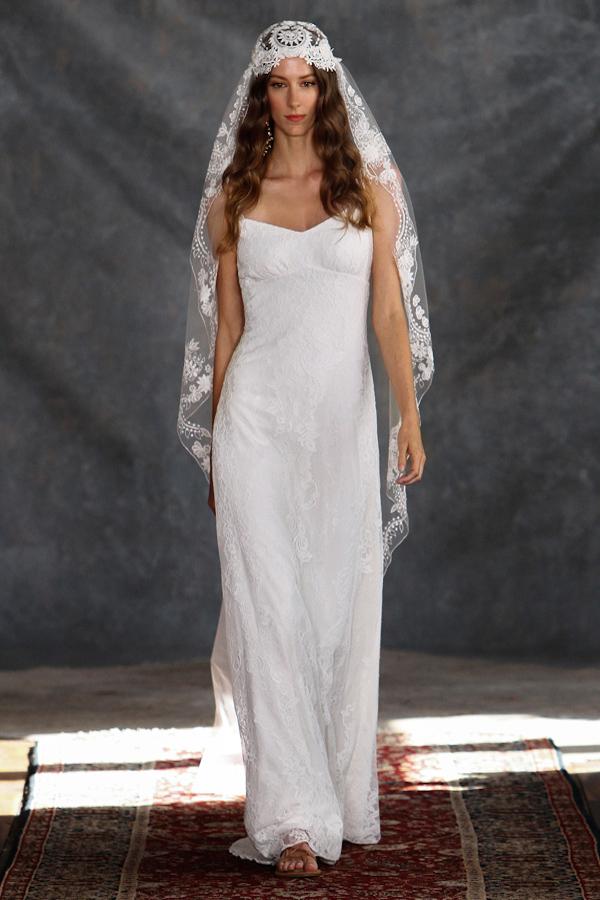
Something New: My Maggie Sottero Bernadette gown and sheer lace booties

Something Borrowed: My Matron of Honor, Megan’s crystal hair pins

Something Blue: My great grandmother’s ring passed down to me by my mom

And a sixpence in my shoe…

The most important element of our wedding was love. We were surrounded by love from family and friends, which we hoped was evident in all the details of our special day. Most importantly, the deep, unending love expressed to one another through our written vows was the moment we will forever celebrate and cherish.

[dotted]

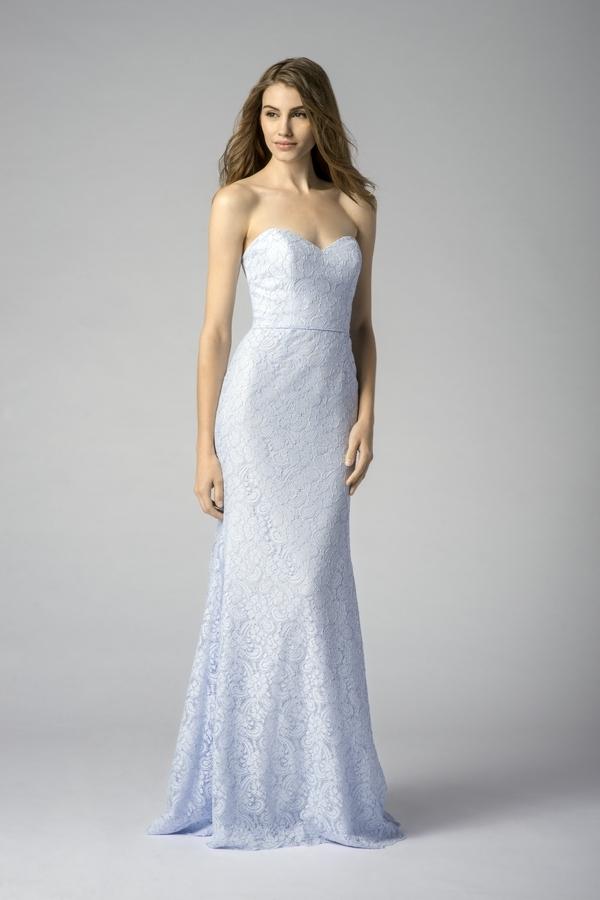
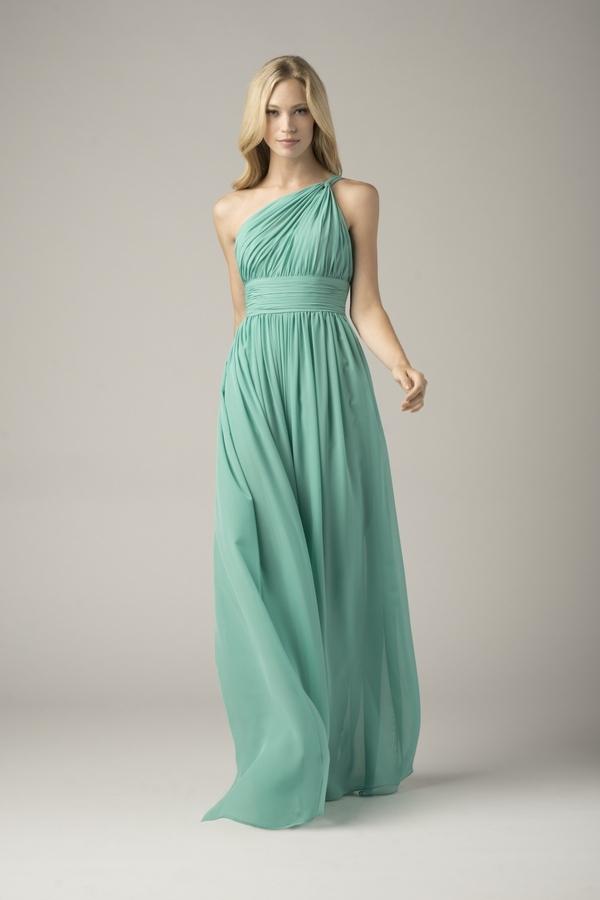
Photography: Closer to Love Photography | Venue: Ponte Winery | Bride’s Dress: Maggie Sottero from The Dresser | Bride’s Rings: Affinity & CO Jewelers | Bridesmaids Dress: Wtoo by Watters from The White Dress | Groom’s Suit: Indochino | Groom’s Ring: Minter and Richter | Groom’s Shoes: Steve Madden | Groom’s Cufflinks: Kristin Victoria | Groom’s Tie Clip: Royal Countess | Groomsmen Suits: Alfani from Macy’s | Flowers: Cachet Fiore | Cake: Cakes-to-Celebrate | DJ: Chris Paul

These Featured Designers are members of our Look Book.
For membership information, click here
Behind the Scenes With Claire Pettibone

I can spot a Claire Pettibone dress from a mile away. There’s a sense of effortless whimsy and romance woven into every collection that’s completely beyond compare. And since we happen to be some of Claire’s biggest fans (seriously, we should make t-shirts), we decided to catch up with everyone’s favorite design darling to find out just what makes her tick. Elizabeth Messina captured the loveliest photos ever of Claire, her sweet husband, and her newest showroom…which just happens to look a lot like a castle. Ok, it’s official — this girl has it ALL.

SMP: Tell us how you got your start in the fashion industry?
I began working as a design assistant for one of my professors at Otis who was freelancing for a lingerie company. When I graduated, I was offered the position of Head Designer.

SMP: The first article of clothing you ever designed?
I made clothes for myself when I was a teenager…before I even imagined I would be a designer.

SMP: Do you remember the moment you realized you’d “made it” in the industry?
When my second ever runway collection made the cover of WWD. I really hadn’t “made it”, but it was such a huge deal for a relatively unknown designer to be featured in this way, and remains to this day, one of my favorite moments. My husband was up early checking the news of the day, and he saw it, and just about fell out of his chair! Another sweet surprise, also discovered by my husband checking the news, was of course the Mark Zuckerberg/Priscilla Chan wedding last year. That was probably more of a “made it” moment, and absolutely impacted our business.

SMP: Single greatest lesson you’ve learned in business?
Stay true to your integrity and your vision, and success will come. We have had many challenges and many blessings over the years, and we have learned to treat both with a sense of trust, perseverance and above all, gratitude.

SMP: Three things every woman should have in her closet?
A dress that makes you feel confident, a killer pair of shoes, and some great fitting jeans.

SMP: What can we look forward to in upcoming bridal fashion trends?
I am loving sleeves…whether short or long, I think strapless may have finally had its day.

SMP: Your biggest piece of advice for brides?
When choosing your gown, try to drop into your own heart, and hear your own voice. Lots of people have opinions, but if you can quietly listen to yourself and think about your fiancé and what you want to say to him, surrounded by your loved ones on this very meaningful day, the choice will become clear.

SMP: Some words to live by?
“There is a vitality, a life force, an energy, a quickening that is translated through you into action, and because there is only one of you in all of time, this expression is unique. And if you block it, it will never exist through any other medium and it will be lost. The world will not have it. It is not your business to determine how good it is nor how valuable nor how it compares with other expressions. It is your business to keep it yours clearly and directly, to keep the channel open. You do not even have to believe in yourself or your work. You have to keep yourself open and aware to the urges that motivate you. Keep the channel open… No artist is pleased. No satisfaction whatever at any time. There is only a queer divine dissatisfaction, a blessed unrest that keeps us marching and makes us more alive than the others.”  -Martha Graham to Agnes DeMille

[dotted]

Photography: Elizabeth Messina

[dotted]

These Featured Designers are members of our Look Book.
For membership information, click here
Family Session + Get the Look

This is my definition of heaven. A chubby, cherub-y faced baby with eyes for days and the sweetest little lips you’ve ever seen. A perfectly styled backdrop from the genius that is Lindsey Zamora. And photographs that make your heart swell from Taylor Lord. It’s actually so heavenly that it’s working against my whole “I will NOT have a third child” mantra. Add to that a GET THE LOOK from my amazing friend Natalie – who runs the fab site Chic Child – and the result is about as dangerous as it gets. Click here to see the whole heartbreakingly beautiful gallery!

From Emilie, Sophia Rose’s beautiful mommy…Baby Sophia was turning one, and it called for a family photo shoot. I imagined a beautiful glamping trip filled with teepees, dream catchers, and all the natural goodness of Austin, Texas. Taylor Lord was the perfect fit for the style of this shoot. And it meant so much to have her capture this special family moment since she worked with us at our Houston wedding two years ago. Her lovely work even got us featured on Style Me Pretty in August 2011! With Taylor on board, naturally we had to have Lindsey Zamora too! I saw some design work Lindsey did for Taylor’s photography workshop, and I knew she would be able to make my vision come to life. I explained my ideas, and Lindsey created the most beautiful little teepees and dream catchers in pretty, feminine colors that complimented my Sophia’s sweet and girly personality. The happiest of first birthdays to my baby girl.

[dotted]

I told you! It’s crazy adorable! Well to make the cute factor even more irrisistable, we enlisted the help of Natalie Schwartz who runs the site Chic Child. An awesome resource for any mother who loves to dress a baby up. Chic Child is a one stop shop for the cutest, most unique boutiques for children, curated to utter perfection by the two founders and a slew of the chicest of chic mommies. And lucky for us, Natalie was willing to share a little of her baby fashion know-how with us mere mortals.

BABY GIRL LOOK #1

Baby Gap does a fantastic job of continually coming out with clothing for little ones that are perfectly on-trend and worth the price point. Again, we see the flutter sleeves on a jacquard dress (which will be everywhere this fall). Tutu du monde creates the most covetable pieces that every little girl will want in her closet—this head piece is beyond, perfect for a celebration …even if it just stays on for the picture!

Gap Kids, Jacquard Flutter Dress, $44.95 | Tutu du monde, Odette feather headband, $35.00 | Elephantito, Flower Sandal (Metallic Silver) $39.75

[dotted]

BABY GIRLl LOOK #2

What I love about little Sophia Rose’s outfit is the element of whimsy and pure sweetness in both the flutter sleeve dress and pink tutu. I Love Gorgeous is one of those brands where every dress is photo-worthy, yet not over-the-top. A flower crown adds an air of etherealness to the look, and these Baby Bloch shoes are the perfect finishing touch that she will wear again and again.

I Love Gorgeous, Archie Baby Dress (Grey), $30.00 (was $60.50) | Crewcuts, Girls’ Flower Crown, $29.50 | Baby Bloch, Arabella (white), $33.00

[dotted]

BABY GIRL LOOK #3

Investing in a well-made and adorable tutu is actually a worth-while purchase (this coming from a mother of 3 girls!) Most of them will be worth their wear for several years, even as your daughter grows, and I love this one from Nellystella that is as cute for dress-up as it is with a pointelle tank worn out of the house. I love that in this photo shoot Sophia Rose is wearing nothing but the tutu (so cute!), as I think this look works best barefoot and with something simple and delicate on top.

Nellystella, Tutu Helena Excalibur, $80.00 | Goatmilk NYC, Tank Onesie, $30.00 | Littl by Lilit, Rose Quartz Briolette Necklace, $98

New York City Engagement Shoot from Judy Pak Photography

I think it pretty much goes without saying we looooove some Judy Pak around these parts. L.O.V.E. Yep, the all caps kind of love. And it’s all because of images like the ones waiting for you below. Her pictures make my heart sing, and I can only imagine how excited her couples are when they see all their priceless portraits. See what I’m gushing about right here.

From Judy PakSorayah and Morgan are an east coast west coast hybrid. Easy-going, sweet, and pretty meets smart, tall, and handsome…how can you go wrong?? I really had one of the best times shooting because they let their guard down and trusted me. We galavanted around the West Village and Central Park on a perfect New York City day.

[dotted]

Photography: Judy Pak

Romantic Florida Wedding from Annie Agarwal Photography

Sometimes all it takes is one look, one moment, one stop-you-in-your-tracks image for me to fall head over heels for a wedding.  And today that “love at first sight” moment was a stunning bundle of floral goodness from Petals with Poise; a bouquet so pretty, so incredibly gorgeous, there just are no words (literally).  Also speech-defying?  This darling duo’s entire wedding, which is like the perfect combo of classic meets romantic meets DIY amazing with image after beautiful image captured by Annie Agarwal Photography.  See them all right here in the full gallery.

As she woke up surrounded by family and close friends Rebecca had a feeling the day was going to be special, but little did she know that the day would in fact turn into her dream come true. The planning was only four months in the making, but with the help of creative bridesmaids and a willing fiancé, felt as if it had been destined to work seamlessly.

This was to be no ordinary wedding day. From the small, intimate details like the bride’s self-designed dress, her grandmother’s antique paisley brooch, to the holy tone set forth by the couple determined to put the sanctity of their personalized vows before God and loved ones above all else, everything was beyond the ordinary.

The backdrop, a quaint, Spanish-inspired villa from the 1920’s with lush, enchanting gardens and greenery, set the tone for what would be an evening friends and family would not soon forget. The bride dazzled with soft touches of elegance and grace, bringing her love of all things natural to the forefront as she whisked guests into a fantasy night turning the already stunning garden villa into a wonderland of sight and sounds. The baby’s breath-laced canopy (sewed together by her bridesmaids) hung over the alter and sprinkled white confetti over the couple upon being announced husband and wife. The ceremony infused with old world charm and personal touches left all sensing the couple’s love for God and one another. The live band charmed for hours, playing a blend of classic standards with selections from the couple’s favorite playlists helping guests blend old tradition with new life.

As the evening ended with the couple driving into the starry night, starting their new life together as one, the sense that history had been made and a new chapter of life had started, permeated through the cool autumn air.

[dotted]

Photography: Annie Agarwal Photography | Cinematography: Debbie Rolf | Floral Design: Marilyn Muina, Petals with Poise | Coordinator: The Bride Runner | Wedding Venue: Villa Woodbine, Coconut Grove, Florida | Shoes: Caparros | Wedding Dress: Designed by the Bride, Tailor made by Amilcar Ferrer | Bridesmaids Dresses: Designed by the Bride, Tailored by Adiela | Emerald earrings: A gift from the Bride’s Mother | 1960 Rolls Royce Bentley : Meilan Limousine

Grandma’s Famous Snicker Bars

So if you ask me, there is nothing better than most gooey, indulgent, pull-out-the-fat-pants recipe. Submitted by one of our readers, Whitney’s Grandmother’s Snicker Bars recipe is soooo holy moly amazing, we’ve officially decided to skip today’s gym sesh and say calories be damned. These bad boys are worth. every. bite.

Snicker BarsA homemade version of everyone's favorite candy bar.
prep time
25 Minute/s
cook time
40 Minute/s
total time
1 Hour/s 5 Minute/s
Serves 15Ingredients
  • 2 cups chocolate chips, divided use
  • 3/4 cup peanut butter, divided use
  • 1/2 cup butterscotch chips, divided use
  • 1 cup sugar
  • 1/4 cup milk
  • 1/4 cup butter
  • 1-7 oz jar marshmallow creme
  • 2 teaspoon vanilla
  • 1 1/4 cup salted peanuts
  • 1-14 oz package caramel squares
  • 1/4 cup evaporated milk
Instructions
  1. First Layer: Melt 1 cup of chocolate chips, 1/4 cup peanut butter, and 1/4 cup butterscotch chips in a saucepan over low heat. Spread mixture in 9×13″ pan.
  2. Second Layer: Boil sugar, milk and butter in a saucepan for 5 minutes. Add 1/4 cup peanut butter, marshmallow creme and vanilla. Mix in salted peanuts. Spread over 1st layer.
  3. Third Layer: Melt caramels and evaporated milk together. Spread over second layer.
  4. Fourth Layer: Melt 1 cup chocolate chips, 1/4 cup of peanut butter, and 1/4 cup of butterscotch chips in saucepan and spread over third layer.
  5. Chill for 40 minutes then cut into squares (don’t let it get too hard, because it will crack when you try to cut squares)

*NOTE: Put the pan in the fridge while making the next layer. It helps to spread the next layer more easily. BUT don’t let the pan of candy sit out for long periods of time before returning it to the fridge…it will make it sweat and turn your chocolate to a powdery spotted finish.

Grandma’s Lemon Party Cake with Earl Gray Frosting

I have the best news for you. Now, we actually can have tea & cake…in one bite! And a gorgeous bite to boot. Our next recipe – from Juliana Collett – is a Lemon Party Cake with Earl Gray Frosting and I for one, am completely obsessed. Aside from the gorgeous photographs, the cake is drenched in this lemon glaze, then topped with a not-too-sweet frosting inspired by the Earl of Gray himself. Does it get any better?


Lemon Party Cake with Earl Grey FrostingA sweet, lemony cake with an earl gray frosting perfect for afternoon tea.
prep time
cook time
total time
Serves 10Ingredients
  • FOR THE CAKE
  • 2 1/4 cups cake flour
  • 1 tablespoon baking powder
  • 1/2 teaspoon salt
  • 1 1/4 cups whole milk or buttermilk
  • 4 large egg whites
  • 1 1/2 cups sugar
  • 2 teaspoons grated lemon zest
  • 1 stick (8 tablespoons) unsalted butter, at room temperature
  • 1/2 teaspoon pure lemon extract
  • **********************
  • LEMON GLAZE
  • 1/4 cup sugar
  • 3 Tbs. fresh lemon juice
  • 1tbs Lemonccino
  • In a small bowl, combine the sugar and lemon juice, stir with a fork.
  • **********************
  • BLACK TEA FROSTING
  • 2 large egg whites
  • 1 cup sugar
  • 1/4 teaspoon cream of tartar
  • 1/3 cup strongly brewed black tea ( I use Earl Grey)
  • 1/8 teaspoon salt
  • 1/4 cup strongly brewed black tea
Instructions
  1. Center a rack in the oven to 350 degrees F. Butter two 9-x-2-inch round cake pans and line the bottom of each pan with a round of buttered parchment or wax paper. Put the pans on a baking sheet.
  2. Sift together the flour, baking powder and salt.
  3. Whisk together the milk and egg whites in a medium bowl.
  4. Put the sugar and lemon zest in a mixer bowl or another large bowl and rub them together with your fingers until the sugar is moist and fragrant.
  5. Add the butter and, working with the paddle or whisk attachment, or with a hand mixer, beat at medium speed for a full 3 minutes, until the butter and sugar are very light. Beat in the extract, then add one third of the flour mixture, still beating on medium speed.
  6. Beat in half of the milk-egg mixture, then beat in half of the remaining dry ingredients until incorporated. Add the rest of the milk and eggs, beating until the batter is homogeneous, then add the last of the dry ingredients.
  7. Divide the batter between the two pans and smooth the tops with a rubber spatula.
  8. Bake for 30 to 35 minutes, or until the cakes are well risen and springy to the tough – a thin knife inserted into the centers should come out clean.
  9. Transfer the cakes to cooling racks and cool for about 5 minutes, then run a knife around the sides of the cakes, unmold them and peel off the paper liners. Invert and cool to room temperature right side up.
  10. While still warm, poke each layer all over with a fork, and pour over lemon glaze (recipe follows). When cool, frost cake with black tea frosting & garnish with candied lemon slices.
  11. ********************************************
  12. FOR THE FROSTING
  13. Beat egg whites in a mixing bowl until foamy & thick, they should mound, but not peak.
  14. In a saucepan, combine the sugar, cream of tartar, black tea & salt. Bring to a boil. Boil for 3-4 minutes, or until a candy thermometer reads 242 degrees F and all sugar is dissolved.
  15. Begin beating the egg whites again and slowly pour in boiling sugar syrup in a slow steam. Continue to beat on high for 7 minutes or until stiff peaks form.
  16. Add 1/4 black tea by the tablespoon, beating after each addition.
  17. Continue beating until frosting reaches desired consistency, about 2 minutes. Use immediately.
  18. *****************************************
  19. FOR THE GLAZE
  20. Beat egg whites in a mixing bowl until foamy & thick, they should mound, but not peak.
  21. In a saucepan, combine the sugar, cream of tartar, black tea & salt. Bring to a boil. Boil for 3-4 minutes, or until a candy thermometer reads 242 degrees F and all sugar is dissolved.
  22. Begin beating the egg whites again and slowly pour in boiling sugar syrup in a slow steam. Continue to beat on high for 7 minutes or until stiff peaks form.
  23. Add 1/4 black tea by the tablespoon, beating after each addition.
  24. Continue beating until frosting reaches desired consistency, about 2 minutes. Use immediately.

Recipe_Vote (3)

DIY Wedding Inspiration from Loveridge Photography + Carissa Cady + Hello Friday

When creative minds like Loveridge PhotographyCarissa Cady Photography and Hello Friday Events come together, magic happens. Plain and simple. The kind of magic that will leave us pinning the day away, because each detail couldn’t be more perfect. Add the work of Gordon’s Floral Design StudioRosey CalligraphyCake or Pi and the gorgeous setting of Churchill and Claiborne Winery – and ladies and gents, we have a winner on our hands. See it all here. Oh! And don’t miss the fabulous DIY they sent our way below all the pretty!

[dotted]

Everyone loved the curly chair covers, so Hello Friday Events decided to include a DIY for this simple element.

Materials

12-14” diameter circle for template (can use a plate)
1.25 yards of a variety of fabrics (Stiff fabric such as organza work best, but nearly any fabric will work. A combination of fabrics creates a nice, textured look.). Each will create 9 strands.
3 yards x 16” of fabric for each chair for base (length and width can vary depending on chair)
Light colored pen or pencil
Scissors
Bull Clip

Step-1

Trace circle on fabric and cut out circle.

Step-2

Cut spiral toward center, cutting the small circle off at the end (leaving a pointed tip).

Step-3

Take starting end and double-knot onto bull clip.

Step-4

Keep adding strips to both sides of clip, pushing down to base of clip and alternating colors. It will get messy and full by the end. The number of strands depends on the fabric and fullness desired. Our chairs had about a dozen strands each.

step-5

Wrap longer piece of base fabric around the top of the chair and knot in the back, letting the remaining fabric hang down.

Step-6

Taking clip, reach behind the knot from the top and clip underneath (bottom of the knot).

Step-7

Fluff and you’re done!

[dotted]

This is a collaboration effort between two photographers. We wanted to create a swoon worthy styled shoot for our “Bloom Photography Workshop”, which is for women who are just starting their photography businesses. So, we teamed up with the ever-so-talented Hello Friday Events to organize an elegant and romantic shoot at Claiborne and Churchill, in one of San Luis Obispo’s gorgeous wineries. With natural tones as our backdrop, we added subtle pops of warm color in each detail. Succulents and peach undertones were our inspiration, which Gordon Floral Design pulled together with perfection. From the handwritten calligraphy from Rosey Calligraphy on the invitations to the DIY inspired chair covers, each detail came together to create a beautiful backdrop for our styled shoot.

[dotted]

Photography: Loveridge Photography & Carissa Cady Photography | Floral Design: Gordon’s Floral Design Studio | Event Design: Hello Friday Events | Location: Churchill and Claiborne Winery | Invitations: Rosey Calligraphy | Wedding Dress: Jasmine Haute Couture | Cake: Cake or Pi

Southern California Wedding from A Good Affair

A stand-out backdrop is always a big hit round here. It totally personalizes a wedding, adds an awesome focal point for the ceremony and bonus, it makes for really amazing photo ops; just ask Clayton Austin. But in the hands of A Good Affair, this custom backdrop is taking this Southern California wedding to a whole new level of pretty. Now sprinkle in romantic blooms by My Floral Bliss and the perfect vintage furniture infused by Found Vintage Rentals and boom, we have ourselves an all access pass to wedding heaven. See even more here in the full gallery.

[iframe http://player.vimeo.com/video/64287931 601 338]

From the Bride… I wanted a wedding that would be timeless. And I combined elements that I loved—lace, frills, books, a sense of elegance, shades of pink. It’s hard to use words to describe an effervescent fairy tale and give it justice. The day was perfect—it was so heartwarming to see all the pieces fall together—especially all the DIY elements that spent hours and many weekends at home putting together—like our table numbers made of folded book pages, all the stained paper flowers, and the cake toppers that were made from our silhouettes. All the elements came together, all of our loved ones came together and I couldn’t have had more joy in my heart.

[dotted]

Photographer: Clayton Austin Photography | Planning & Design, Custom Backdrop: A Good Affair, Wedding & Event Production, Natalie Good | Venue Catering & Rentals: Villa del Sol d’Oro | Musician Ceremony & Cocktails: Denny White | Florist: My Floral Bliss | Videographer: Good Times Productions | Bakery: Simply Sweet Cakery | DJ: Steve Burdick Events, Steve Burdick | Vintage Rentals: Found Vintage Rentals | Hair & Makeup: Lasting Look, Amanda Davison | Transportation: Classique Limo | Accommodations: The Langham Huntington Pasadena | Bridal Salon: Erin Cole | Gown Designer: Rivini | Veil: David’s Bridal | Bridal Shoes: Valentino – the red ones, Jimmy Choo – the gold ones | Bridal Jewelry: BHLDN | Bridesmaids Dress Shop: Nordstrom , Bloomingdales (Dresses by Adrianna Papell & Sue Wong) | Groom’s Formalwear: Hugo Boss | Groomsmen Formalwear: Magnanni | Engagement Ring: Icing on the Ring | Wedding Rings: Icing on the Ring – bride; Simone & Son – Groom

Grandma’s Caramel Brittle Clusters

Continuing our countdown of grandma-approved goodies is a recipe that makes me believe the holidays are right around the corner. They’re the treats my own grammy used to make whenever Christmas rolled around, but let’s be honest, I’d happily eat them any time of year. And thanks to this recipe from Natasha, I’m completely convinced I need these caramel candies in my belly right this second. So if you love as much as me, make sure to leave “VOTE” in the comments…need I remind you a KitchenAid mixer is up for grabs??


Caramel Brittle ClustersThis classic Christmas candy is perfect for the holidays -- or any time of year!
prep time
15 Minute/s
cook time
30 Minute/s
total time
45 Minute/s
Serves 15Ingredients
  • 2 cups of melted caramel
  • 1 and a half cups of macadamia pieces (I like to leave some whole)
  • 1 cup of crushed toffee pieces (I use my crushed brittle)
  • 1 cup of melted dark chocolate for dipping
  • Parchment paper on a cookie sheet
Instructions
  1. Mix melted caramel, 1 cup of macadamia pieces and 1/2 cup of crushed toffee pieces in a glass bowl.
  2. Spoon tablespoon size clusters onto parchment paper. Place clusters in the refrigerator to harden for about a half hour.
  3. Dip clusters in dark chocolate and sprinkle remainder crush toffee pieces on each cluster for extra crunch. Yum.
  4. Makes about 30 clusters. Enjoy!

Recipe_Vote (3)

Grandma’s Strawberry Bavarois

You know that feeling when you get into a total recipe rut. When you’re making the same three desserts over and over again just because they’re “safe.” Well, I can 100% guarantee this Strawberry Bavarois sent all the way from Tokyo will pull you out of a rut faster than you can say, “Pass the heavy cream, please.” It’s the perfect treat for a hot summer day — or any day, really — making Elli’s grandma our new go-to gal.

Strawberry BavaroisSweet, creamy, cool, and refreshing dessert. The perfect treat for a summer day.
prep time
40 Minute/s
cook time
total time
40 Minute/s
Serves 6Ingredients
  • 10-11 oz strawberries
  • 1 oz sugar
  • 3 tablespoons water
  • 1/2 cup heavy cream
  • 1 teaspoon freshly squeezed lemon juice
  • 6-7g unflavored gelatin powder
  • 1 tablespoon rum (optional)
Instructions
  1. Set aside 14 strawberries (6 for decorating, 8 for the gelatin powder). Hull & quarter the rest.
  2. Place the quartered strawberries, sugar, and 1 tablespoon of water in a food processor and whizz until smooth. Pour out in a large bowl.
  3. Pour the cream in a bowl and whip until it holds medium peaks. (You can do this while cooking the strawberries. See step below.)
  4. Hull and quarter the 8 strawberries. With the lemon juice and 2 tablespoon of water, place in a small saucepan over very low heat and cook until very liquid. Pour into a small bowl and sprinkle the gelatin powder in while the mixture is still hot. Stir well until the gelatin has completely dissolved.
  5. Pour the gelatin mixture into the strawberry juice in step 2. Add the rum if you like. Mix well.
  6. Fold one-third of the whipped cream into the strawberry mixture in step
  7. Gently fold in the remaining whipped cream and stir until no streaks remain.
  8. Pour into individual glasses (or ramekins) and place in the refrigerator
  9. until firm.
  10. Adorn with halved strawberries (and a dollop of whipped cream if you like) just before serving.

Recipe_Vote (3)

Grandma’s Cinnamon Rolls

Cinnamon Rolls remind me of home. Except that our secret recipe comes out of one of those poppy can thingies. Don’t judge people. If you haven’t yet ventured into poppy can cinnamon rolls thingies, well, you’re missing out. Although, after reading how easy these little gems that Amy sent in are to make, I’m thinking I might ditch the can permanently. Or maybe just on special occasions? I haven’t decided yet.

Grandmas Cinnamon Rolls
prep time
20 Minute/s
cook time
25 Minute/s
total time
45 Minute/s
Serves 8Ingredients
  • 1 1/2 cups warm water
  • 1 package yeast
  • 1/4 cup granulated sugar, plus some to spread between layers
  • 1/4 tsp salt
  • 1/4 cup oil
  • 4 1/2 cups flour
  • Butter for spreading between layers
  • Cinnamon for spreading between layers
  • *************************
  • FOR THE GLAZE
  • Butter (I used about 1/2 cup), melted
  • Powdered sugar (I used about 1/4 cup)
  • Vanilla (I used about 1/2 tsp)
  • Milk (I used about 1/4 cup)
Instructions
  1. Dissolve the yeast and sugar in the warm water.
  2. Mix in the flour, oil and salt.
  3. After mixing well, knead the dough into a ball.
  4. Let it sit, covered, in a room temperature spot until the dough is doubled in size (about 2-3 hours).
  5. Roll the dough out thin, then spread a layer of butter, cinnamon, and sugar on the dough. (Adjust the quantities to your liking, but I recommend not skimping!).
  6. Roll the dough into a log, then slice it into about 1 inch slices. Arrange the sliced rolls in a pan that has been prepared with cooking spray, leaving some space between each roll. If you use a 9x12 baking pan, you'll be making 2 pans worth.
  7. Bake at 350 degrees for 25 minutes. In my family, we text pictures of the finished rolls to make faraway family members jealous! ;)

Recipe_Vote (3)

South Carolina Wedding from Pasha Belman and Stunning & Brilliant Events

This couple travelled all the way from Canada to South Carolina to infuse their wedding with a little bit of that southern charm that is hiding around every corner of this gorgeous wedding. With Stunning & Brilliant Events behind the planning and Pasha Belman behind the camera, this is the kind of gallery you’ll eat right up!

Colors
Settings
Eatery

From the planner… It might seem a little bit out of the ordinary that a couple from Canada chose the Litchfield/Pawleys’ Island area for their wedding. However, South Carolina is a second home to Laila & Jason of Calgary, Alberta. Laila’s maternal family has had a house on the South Carolina coast for as long as she can remember and she spent her summers and holidays growing up on the Litchfield Beach. As Jason began to visit, he instantly fell in love with the laid-back Southern lifestyle which was the theme they wanted to incorporate into their May 23rd wedding.

With guests traveling from as far as Northern Canada, they felt keeping the intimate feel to their wedding and family feel to their wedding was important. The picturesque Bubba’s Love Shack was the venue for the Rehearsal Dinner that welcomed every wedding guest. The ceremony was held at the Litchfield Beach Club at Litchfield Beach & Golf Resort and performed by Laila’s Grandfather and served as the perfect compromise with the beach setting and southern feel. The reception was held at NOSH Restaurant in the Pawleys Island Hammock Shops – a historic and park-like setting. Every little detail from the birthday calendar guestbook, flip flop basket and southern grits favours made guests feel welcomed and the countless candles and flowers gave the venue a romantic feel.

The bride’s dress was simple and elegant and each bridesmaid wore a unique style from J.Crew. The groomsmen kept it casual in white button downs and grey slacks. The flower girls were cute as pixies with their silver tutus and flower crowns from Blossoms Events.

It was evident this wedding had the intimate feel the bride and groom were looking for when they chose this location and opened up their hearts and ‘second-home’ to their families and friends.

[dotted]

Wedding Planner: Stunning & Brilliant Events | Photographer: Pasha Belman | Floral Designer: Blossom Events | Cake: Incredible Edible Cakes | Bridesmaid Dresses: J.Crew | Entertainment + Lighting: DJ Scott and Company | Hair & Makeup: Angela Clark | Ceremony Location: Litchfield Beach | Reception Location: Nosh | Rentals: Rent A Tent

Grandma’s Brown Eyed Susans

For me, this cookie is the perfect gifting cookie. Wrapped up beautifully, Brown Eyed Susans are the kind of cookies that are universally loved. So to score a “Grandma Approved” version of the classic, well, I’m feeling like I hit the cookie jackpot. A huge thank you to Shelley’s grandmother for making our cookie adventures that much more delicious.

Grandmas Brown Eyed Susansyeilds 3 dozen
prep time
20 Minute/s
cook time
15 Minute/s
total time
35 Minute/s
Serves 18Ingredients
  • 2 sticks oleo
  • 3 tablespoons sugar
  • 1 tea almond extract
  • 2 c flour
  • 1/2 tsp salt
  • 1 c confectioner's sugar
  • 1/2 tsp vanilla extract
  • 2 tablespoons cocoa
  • 2 tablespoons hot water
Instructions
  1. Cream oleo.
  2. Add sugar, almond extract, flour and salt.
  3. Roll a tablespoon of dough into a ball. Flatten slightly with your thumb. Place on a greased cookie sheet and bake 400 degrees for 12 minutes. Remove and let cool.
  4. Make frosting by combining sugar, vanilla, cocoa and water in a bowl. Mix until smooth.
  5. Top cookies adding an almond before the frosting hardens.

Recipe_Vote (3)

Grandma’s Coconut Cake

I think that having a staple afternoon cake is vital to every hostess’ repertoire. Okay, maybe not vital but important. To have a quick, easy, melt in your mouth good cake that you can whip together when you know your girlfriend might pop over for the afternoon. Huge! Plus it makes the whole house smell like you’re a slave to the kitchen which is always a plus. This coconut cake, from Kathryn, is just that. Simple, gorgeous and melt in your mouth status.

Grandmas Coconut CakeMoist, rich pound cake made with shredded coconut and drizzled with coconut glaze.
prep time
20 Minute/s
cook time
1 Hour/s
total time
1 Hour/s 20 Minute/s
Serves 8Ingredients
  • FOR THE CAKE
  • 2 cups all-purpose flour
  • 1½ tsp baking powder
  • 1/2 tsp salt
  • 1 cup unsalted butter (at room temperature)
  • 2 cups sugar
  • 5 eggs (at room temperature)
  • 1 cup whole (or low-fat) milk
  • 1 tsp coconut extract
  • 3½ oz Angel Flake sweetened, shredded coconut
  • ********************************
  • FOR THE GLAZE
  • 2 tbsp unsweetened coconut milk (or regular milk)
  • 1/2 tsp coconut extract
  • 1/2 – 1 cup confectioners sugar
Instructions
  1. Preheat oven to 325°F. Grease and lightly flour a 9- or 10-inch tube pan. This cake is delicate so I wouldn’t recommend using a bundt pan.
  2. In a large bowl, whisk together flour, baking powder and salt.
  3. In a separate bowl, use an electric mixer (on medium speed) to cream the butter and sugar until fluffy (about 3 minutes). Add in eggs, one at a time, and mix well.
  4. Stir in the milk, coconut extract and shredded coconut. Finally, add the flour, baking powder and salt mixture, and stir to combine.
  5. Pour batter into prepared pan and bake until golden brown, about 1 hour.
  6. Meanwhile, prepare the glaze. Whisk together the coconut milk, coconut extract and confectioner’s sugar until smooth, adding more sugar as needed to thicken.
  7. Cool cake in pan for 5-10 minutes before removing. Drizzle with glaze while cake is still warm.

Recipe_Vote (3)