[section title=”The Planning”]
[field title=”Wedding Colors”]
Inspired by the late-summer Tuscan landscape, Karla envisioned a color palette that felt soft, romantic, and light. The palette centered around airy pastels, blush, seafoam, pale blue, sage, and soft butter yellow, layered against warm stone and natural greenery. The effect was feminine and luminous rather than bold or graphic, a palette that felt timeless, effortless, and perfectly in harmony with the Italian countryside.
[/field]
[field title=”Design / Vibe / Vision”]
Karla, together with her wedding planner Katia of The Tuscan Wedding, approached the celebration as the creation of an atmosphere rather than a defined theme—one inspired by the Italian countryside, the softness of late summer, and a shared appreciation for timeless fashion infused with a modern fairytale sensibility. Rather than following trends, their vision was guided by emotion and intention: a palette of beautiful pastels, sculptural silhouettes, airy floral compositions, and an overall sense of lightness that flowed seamlessly through every detail. The result was an aesthetic that felt elegant and curated without ever appearing styled—more akin to a fashion editorial unfolding organically within a garden setting than a traditional wedding. Each element was thoughtfully selected to feel cohesive yet effortless, allowing the landscape, the people, and the emotion of the day to remain at the heart of the experience.
[/field]
[field title=”Proposal Story”]
Karla and Darren’s love story began with a blind date set up by two friends, a quiet beginning that would soon unfold into a life shaped by travel, intention, and deep connection. In September 2024, while traveling together in Sardinia, Italy, Darren planned a moment that felt as effortless as it was unforgettable. On a warm, sunlit afternoon, the two were sailing off the coast near Cala di Volpe, surrounded by endless blue water and the stillness of the sea. Karla thought it was simply another beautiful day in one of their favorite places. Then Darren asked her to sit with him at the front of the boat, and, completely unexpectedly, got down on one knee. The proposal was intimate and emotional. Darren shared how certain he was about their future and how he wanted to spend his life exploring the world and building a home with Karla. She said yes through happy tears, laughter, and a moment that felt both surreal and grounding all at once. They continued sailing that afternoon, letting the moment unfold slowly, before celebrating with a romantic dinner overlooking the Mediterranean Sea. One year later, in September 2025, Karla and Darren returned to Italy to be married in Tuscany, completing a love story that began with a blind date, bloomed on a boat in Sardinia, and came full circle in the Italian countryside.
[/field]
[/section]
[board_carousel title=”Getting Ready”]


[/board_carousel]
[board_carousel title=”Bridal Portraits”]


[/board_carousel]
[board_carousel title=”Flat Lays”]


[/board_carousel]
[section title=”The Fashion”]
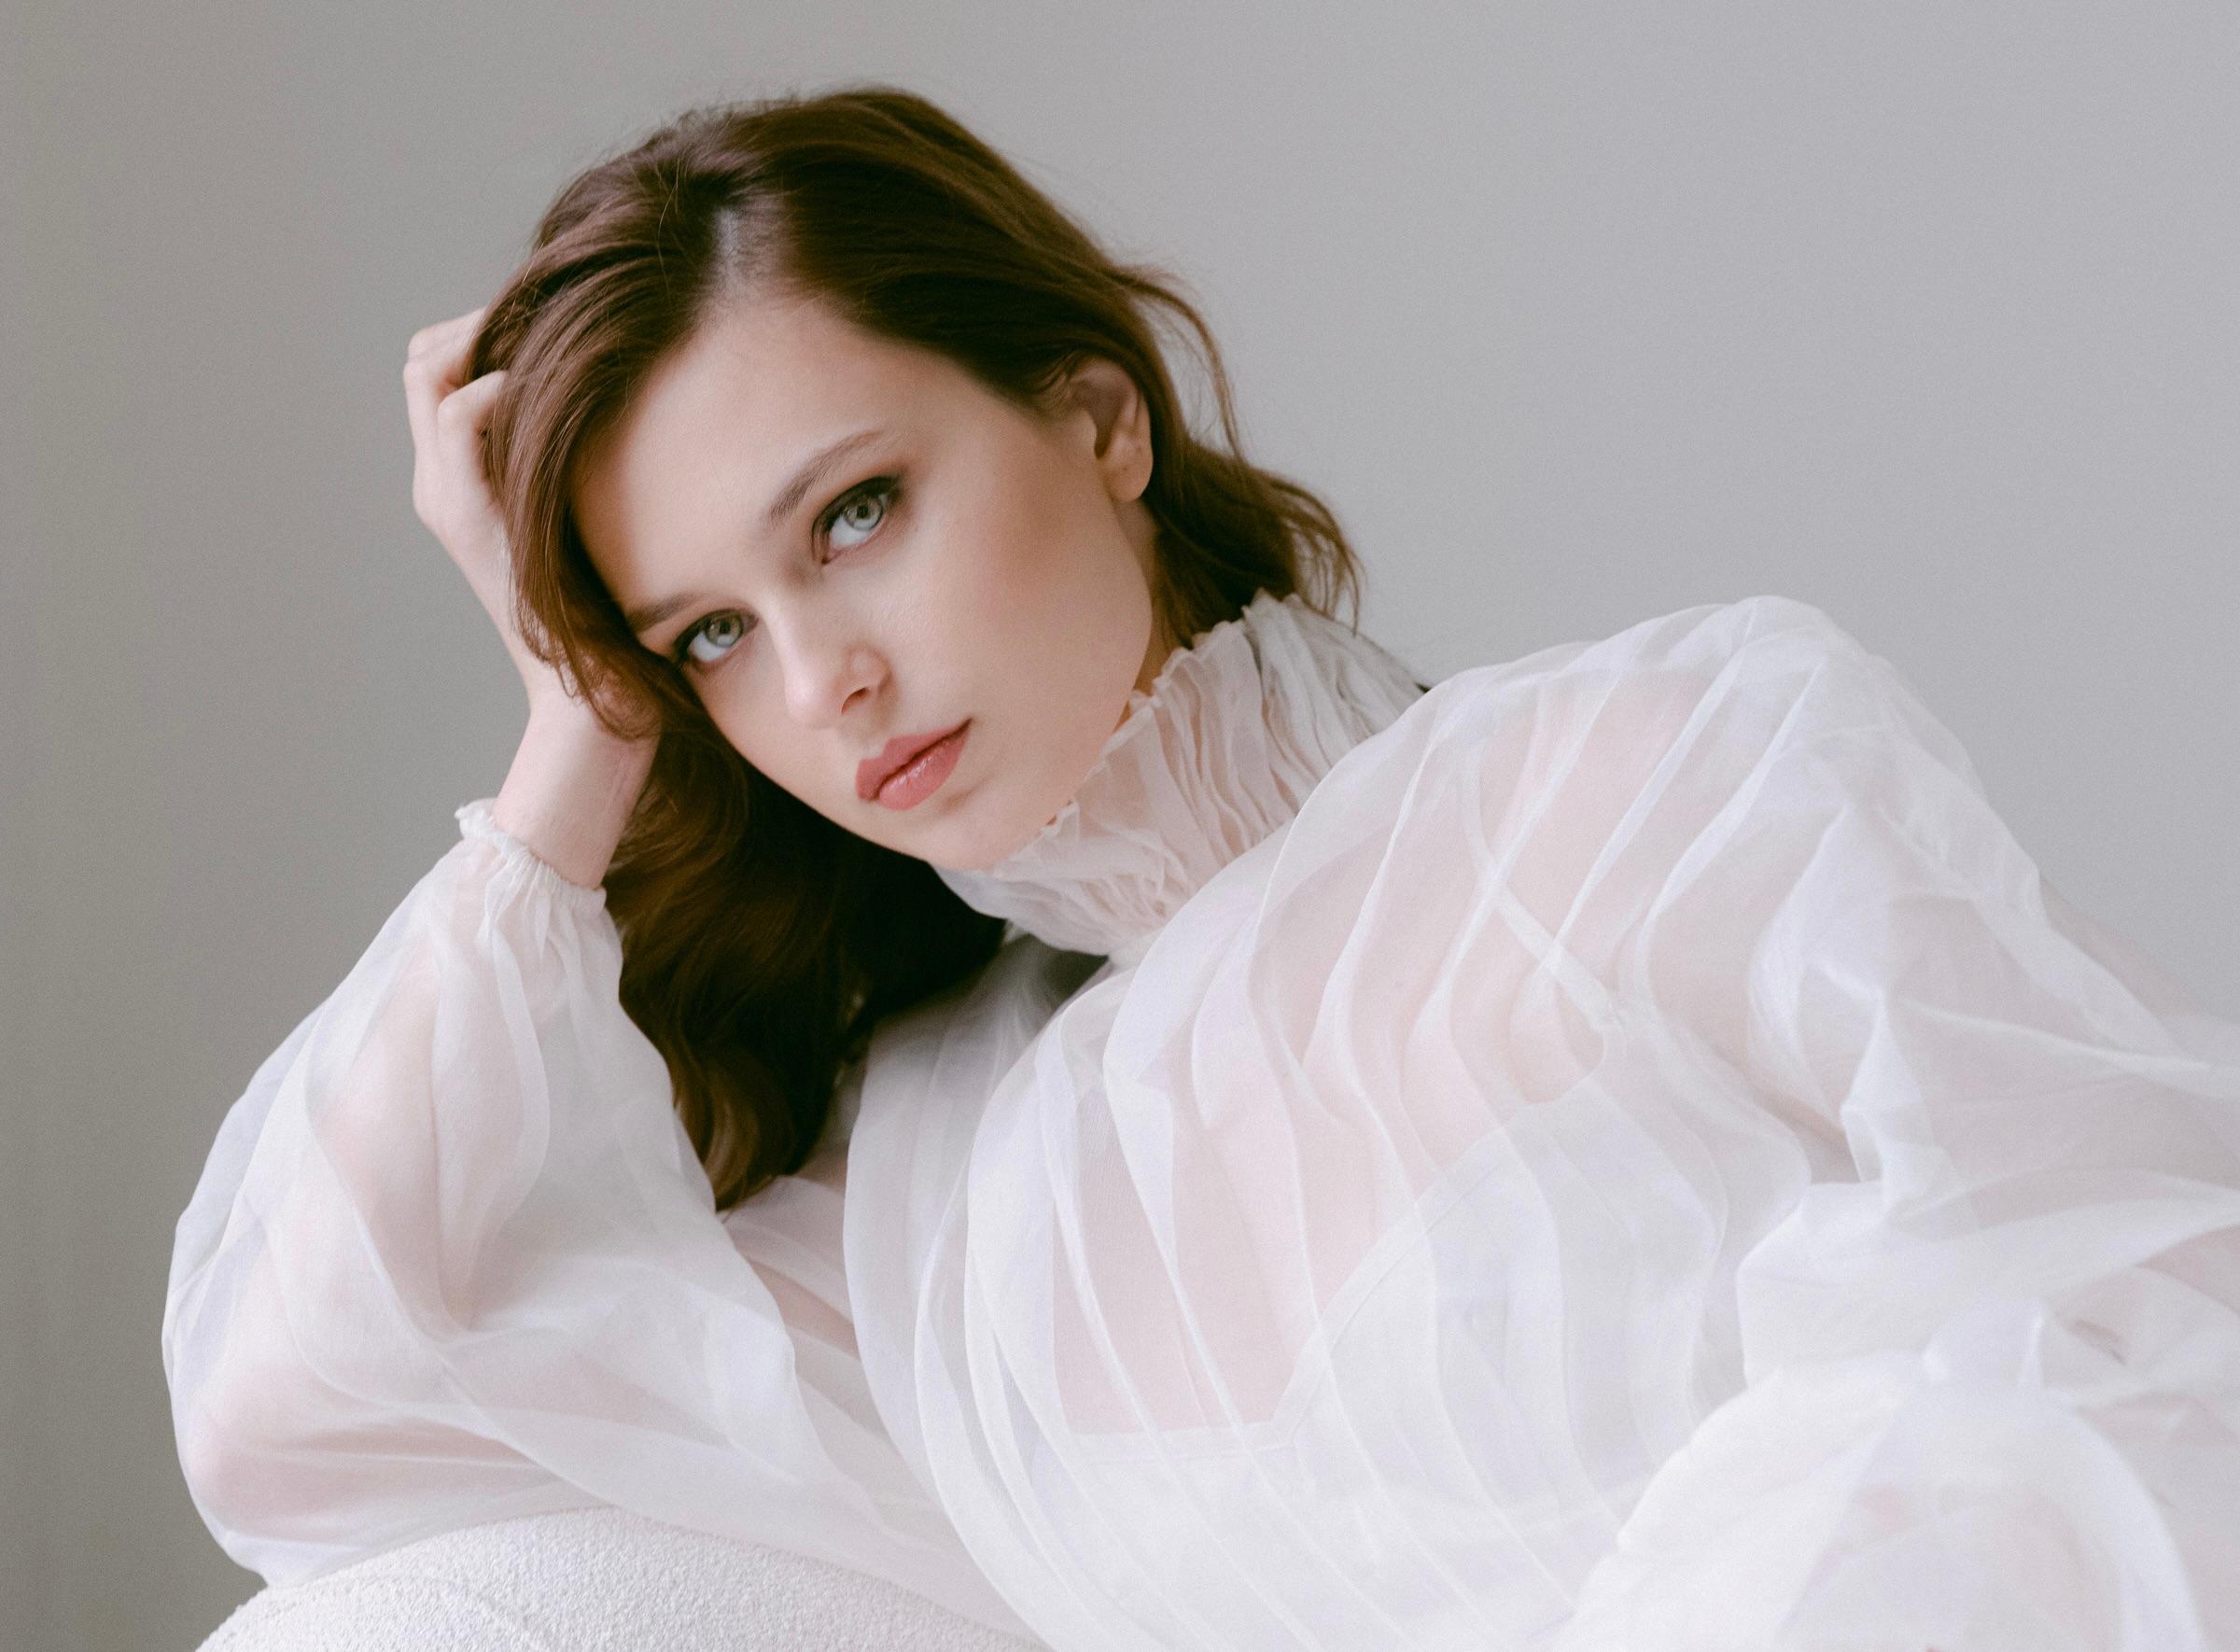
[field title=”Wedding Gown”]Karla chose a strapless lace gown by Ines Di Santo, drawn to its sculptural yet romantic silhouette and timeless Italian elegance. The structured corseted bodice and sweetheart neckline created a refined, feminine shape, while the delicate lace detailing and soft, sweeping train added a sense of effortless romance.
The gown felt both classic and modern, a perfect reflection of the setting in the Tuscan countryside and the understated sophistication Karla envisioned for the day. Elegant without feeling formal, and romantic without being overly ornate, the dress embodied everything she wanted to feel as a bride: timeless, confident, and completely herself.[/field]
[field title=”Bridesmaid Dresses”]
Rather than choosing a single bridesmaid dress, Karla wanted each bridesmaid to feel like herself. She invited her bridesmaids to select their own gowns in a soft, harmonious palette, allowing personal style, silhouette, and texture to guide each choice. The result was a beautifully layered look of pastels and movement: flowing satin slips, airy chiffon, soft pleats, and romantic ruffles in shades of blush, seafoam, sky blue, pale yellow, and sage. Designers ranged from McDuggal and Amsale to NANA Jacqueline, creating a mix that felt curated but never uniform. Together, the dresses felt joyful, feminine, and expressive, a reflection of the women themselves, and of Karla’s desire for the day to feel personal, warm, and effortlessly elegant.
[/field]
[field title=”Groomsman Attire”]Darren wore a white Hugo Boss tuxedo jacket paired with classic black trousers and a black bow tie, a look that felt timeless, refined, and perfectly suited to the Italian countryside. He completed the look with Loro Piana shoes and a Rolex Yacht-Master 42 in yellow gold, subtle and contemporary that added warmth and texture to the classic silhouette.
The groomsmen wore traditional black tuxedos, creating a clean, elegant contrast to both Darren’s look and the soft pastel tones of the bridesmaids, allowing the romance and color of the setting to take center stage.[/field]
[/section]
[board_carousel title=”Wedding Party”]


[/board_carousel]
[board_carousel title=”Ceremony”]


[/board_carousel]
[board_carousel title=”Cocktail Hour”]

[/board_carousel]
[section title=”The Details”]
[field title=”Food & Drink”]
A thoughtfully curated Tuscan menu showcasing local flavors provided by Roland’s catering: a rich aperitif with artisanal cheeses, cured meats, and chef-crafted bites, followed by a multi-course seated dinner of fresh pasta, premium meats or seafood, and regional wines. The evening ends with a live cake show-cooking, desserts, and after-dinner drinks.
[/field]
[field title=”Florals & Decor”]
The floral design by Il Giardino delle Fate florist was conceived as an immersive, nature-driven narrative, deeply rooted in seasonality and the philosophy of slow flowers. A refined palette of soft whites, gentle blush, pale blue, and fresh green tones echoed the surrounding Tuscan landscape, creating a sense of effortless harmony between the setting and the décor. The ceremony space was defined by a sculptural, floral low arch, designed with abundant blooms at the front and layered greenery behind, framing the moment with a natural yet architectural presence. Along the aisle, elegant, non-continuous floral arrangements guided the guests’ view, complemented by a crisp white runner and delicate petals placed on each chair, enhancing the romantic atmosphere without overpowering the space. As the celebration transitioned into dinner, the floral elements evolved seamlessly. Round tables were adorned with lush yet airy centerpieces, composed in low vessels to encourage conversation, while a serpentine flow of candles connected each table, casting a warm, intimate glow. Three tonal variations of candles added depth and visual rhythm, elevating the tablescape into a refined, candlelit landscape. Every detail—from the bridal bouquet to the smallest floral accents—was designed to feel organic, elegant, and timeless, creating a cohesive visual story that celebrated natural beauty, craftsmanship, and understated luxury.
[/field]
[field title=”Wedding Cake”]
In an elegant live show-cooking moment, the bride and groom took center stage, personally preparing and assembling their wedding millefeuille before their guests, delicately layered with chocolate drops and finished with fresh mixed berries.
[/field]
[field title=”Readings, Ceremony Music, Reception Songs”]For Darren and Karla, music was never meant to be just a background element—it was the heartbeat of their celebration. An intimate wedding with just over sixty guests became, through sound and energy, something far greater: a night that felt expansive, electric, and unforgettable.
From the very first notes, Tasten Sax transformed the atmosphere. What began as a refined and elegant soundtrack quickly evolved into a full-scale celebration, where the dance floor never lost momentum. The live saxophone moved effortlessly through the crowd, creating a sense of connection and shared joy that blurred the line between performers and guests.
As Darren later shared, “They truly made it a party.”
Despite the intimate size of the wedding, the energy was magnified—“It felt like 120 people.” That is the signature of Tasten Sax: the rare ability to elevate a space, amplify emotion, and turn a carefully curated gathering into a euphoric celebration.
Every performance is guided by intuition and presence. Reading the room, responding to the crowd, and building energy in real time, Tasten Sax crafted a party that felt spontaneous yet perfectly balanced—where elegance met pure, unfiltered fun.
For Darren, it was a dream come true.
For everyone else, it was a night they will never forget.[/field]
[field title=”Special Detail #1″]
Fireworks. At the moment of the cake cutting, the night sky came alive in a breathtaking display of light and emotion. The fireworks by Pirotecnica Soldi framed Karla and Darren’s celebration, elevating the moment into a truly unforgettable finale, suspended between wonder and romance.
[/field]
[field title=”Special Detail #2″]
Seating chart (luggage tags): the seating chart was reimagined as a bespoke design detail: elegant leather luggage tags, each meticulously engraved with the guest’s name. Inside every tag, a discreet card revealed the assigned table and seat, transforming a practical element into a tactile keepsake and an intimate gesture of welcome.
[/field]
[field title=”Special Detail #3″]
Menus with personalized calligraphy. The wedding menu By Laura Mazzetti – The Wedding Letter, was designed as a sculptural, fashion-forward detail within the tablescape. Its soft, rounded silhouette—layered in delicate, petal-like shapes—introduced a sense of movement and refinement, echoing the organic lines of the floral design. Rendered in powdery hues with subtle gold lettering and finished with a silk ribbon and a single blush rose, each menu resembled a curated accessory rather than a traditional paper piece. A tactile expression of modern romance, where form, texture, and craftsmanship came together in effortless editorial elegance.
[/field]
[/section]
[board_carousel title=”Couple Portraits”]


[/board_carousel]
[board_carousel title=”Reception”]


[/board_carousel]
[board_carousel title=”Wedding Weekend Events”]


[/board_carousel]
| Share this gorgeous gallery on | |
Photography: Andreas Georgiou | Event Planning: The Tuscan Wedding | Floral Design: Il Giardino Delle Fate | Cake: Roland's | Stationery: The wedding letters | Ceremony Venue: Antica Fattoria Di Paterno | Reception Venue: Antica Fattoria Di Paterno | Catering: Roland's | Beauty: Louna Beauty Wedds | Fireworks: Pirotenica Soldi | Lights: Wedding Music And Lights | Music: Tasten' Sax | Photo Booth: Over the Box Italia
Join The Conversation
favorite (0) share share (0) pin (0)