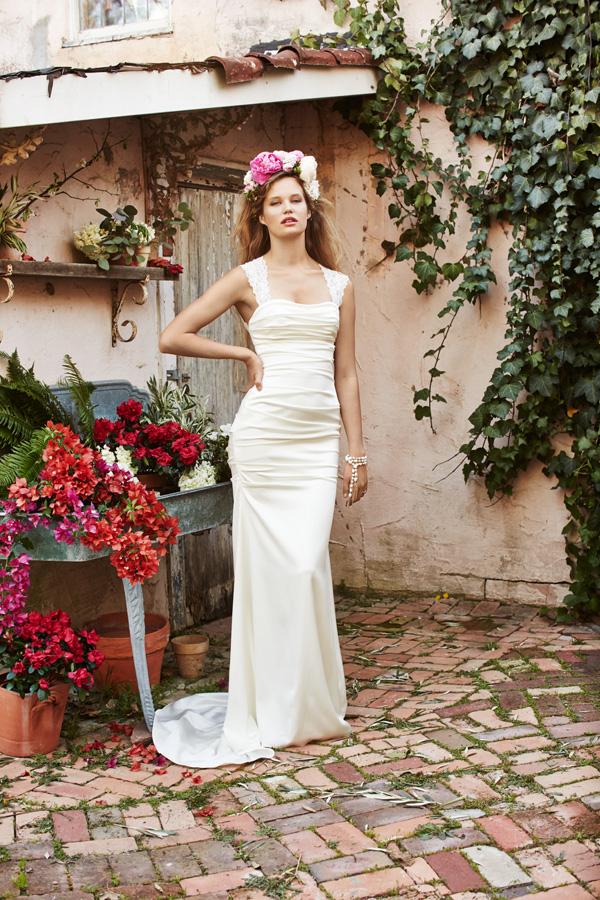
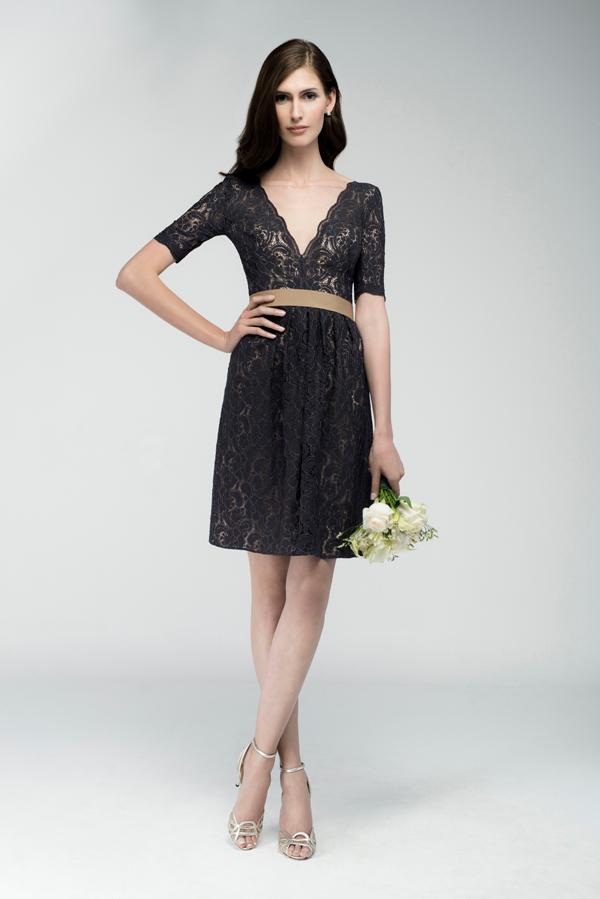
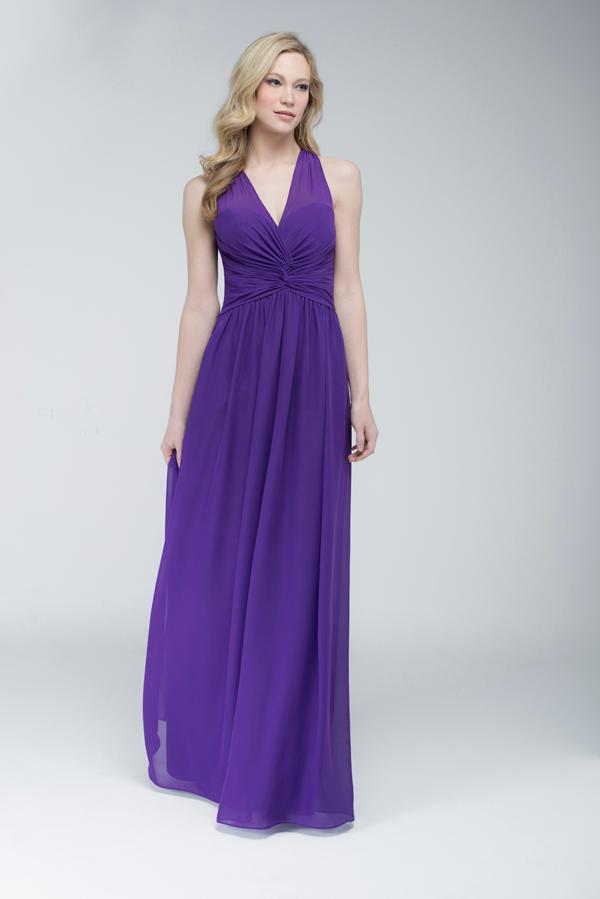
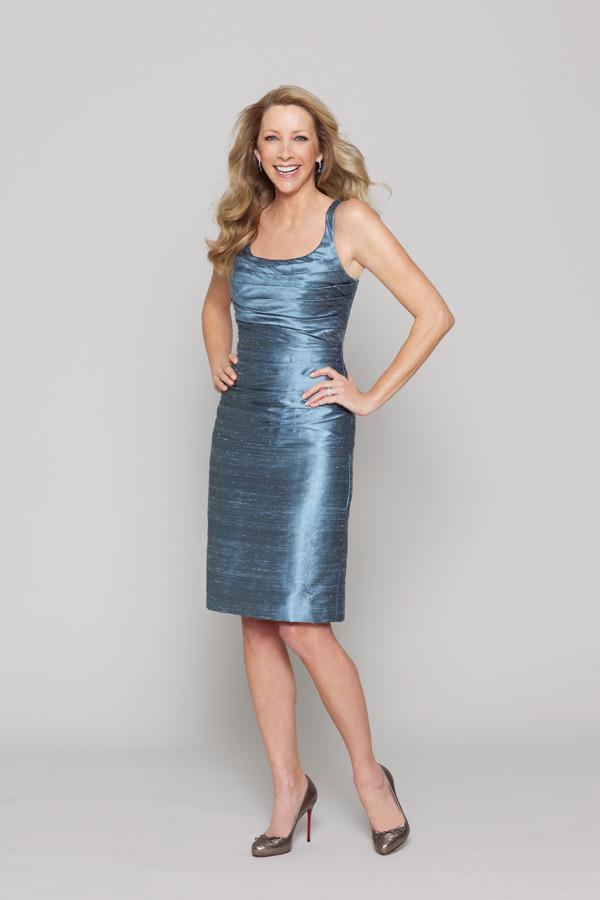
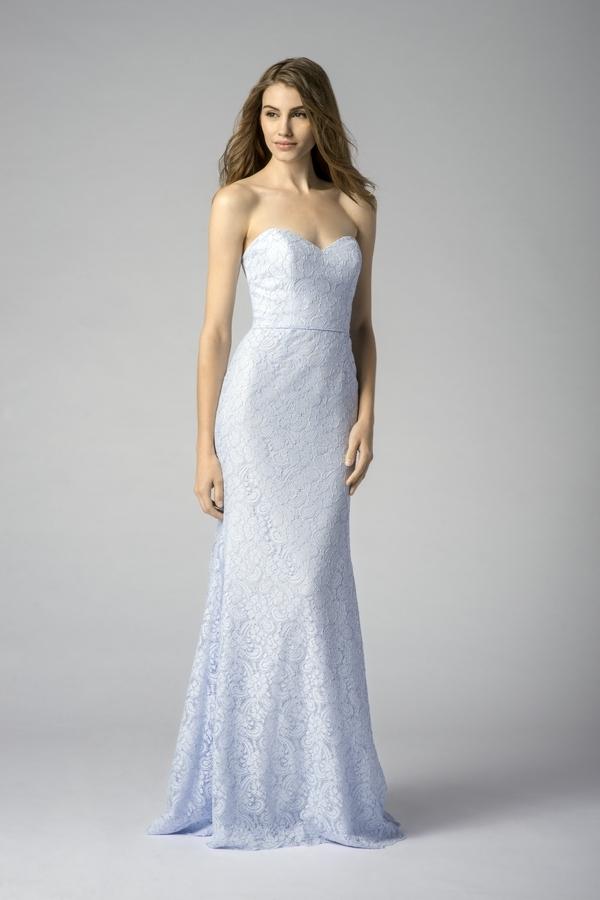
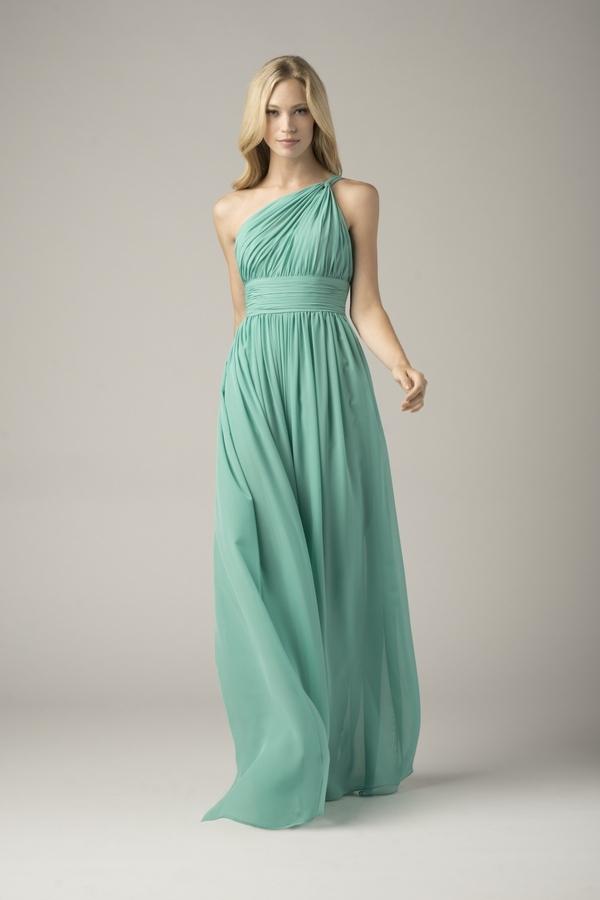
When it comes to wedding guests, you typically have your closest family and friends, maybe some distant aunts and uncles and of course, your parents’ friends….but what about goats?! For Ali and Pavel, this was the case, tying the knot at the brides family farm! With goats (in bowties of course,) and beautifully hung flower walls by Little House of Flowers, Natalie Jayne Photography had no shortage of photo opps. Add in rich, navy details with beautiful pops of color and Nouvelle Weddings had quite the fun fete to plan, bringing the brides classic vision with a modern and edgy twist to life! Take a look below and consider adding a pop of poppy to your wedding day details like those gorgeous bridesmaid dresses!


From Nouvelle Weddings…Ali and Pavel met by chance in a bar in Philadelphia. While Ali planned to take things slowly, Pavel viewed things differently and assumed they were dating from that moment. Their relationship did continue long distance for several months until Pavel was able to get a new job closer to Ali in Baltimore. After a few months there, Ali was relocated to New Jersey, so the relationship went long distance again. Then after another relocation of Ali’s job back to Maryland and Pavel switching positions another time, they were back together again, for good this time.


Pavel planned a very romantic surprise proposal for Ali along the Schuylkill River in Philadelphia. On their way to what Ali thought was a work-related event, they stopped for a walk along the river. With a photographer secretly shooting, a violinist playing in the background, and all of their closest friends and family hiding nearby, Pavel stopped and said: “There’s one thing you’re missing for tonight…”. He got down on one knee and pulled out a ring. From that point on, Ali’s memory is a black hole, but we have to assume there was lots of excitement, maybe some tears, and obviously a big YES!


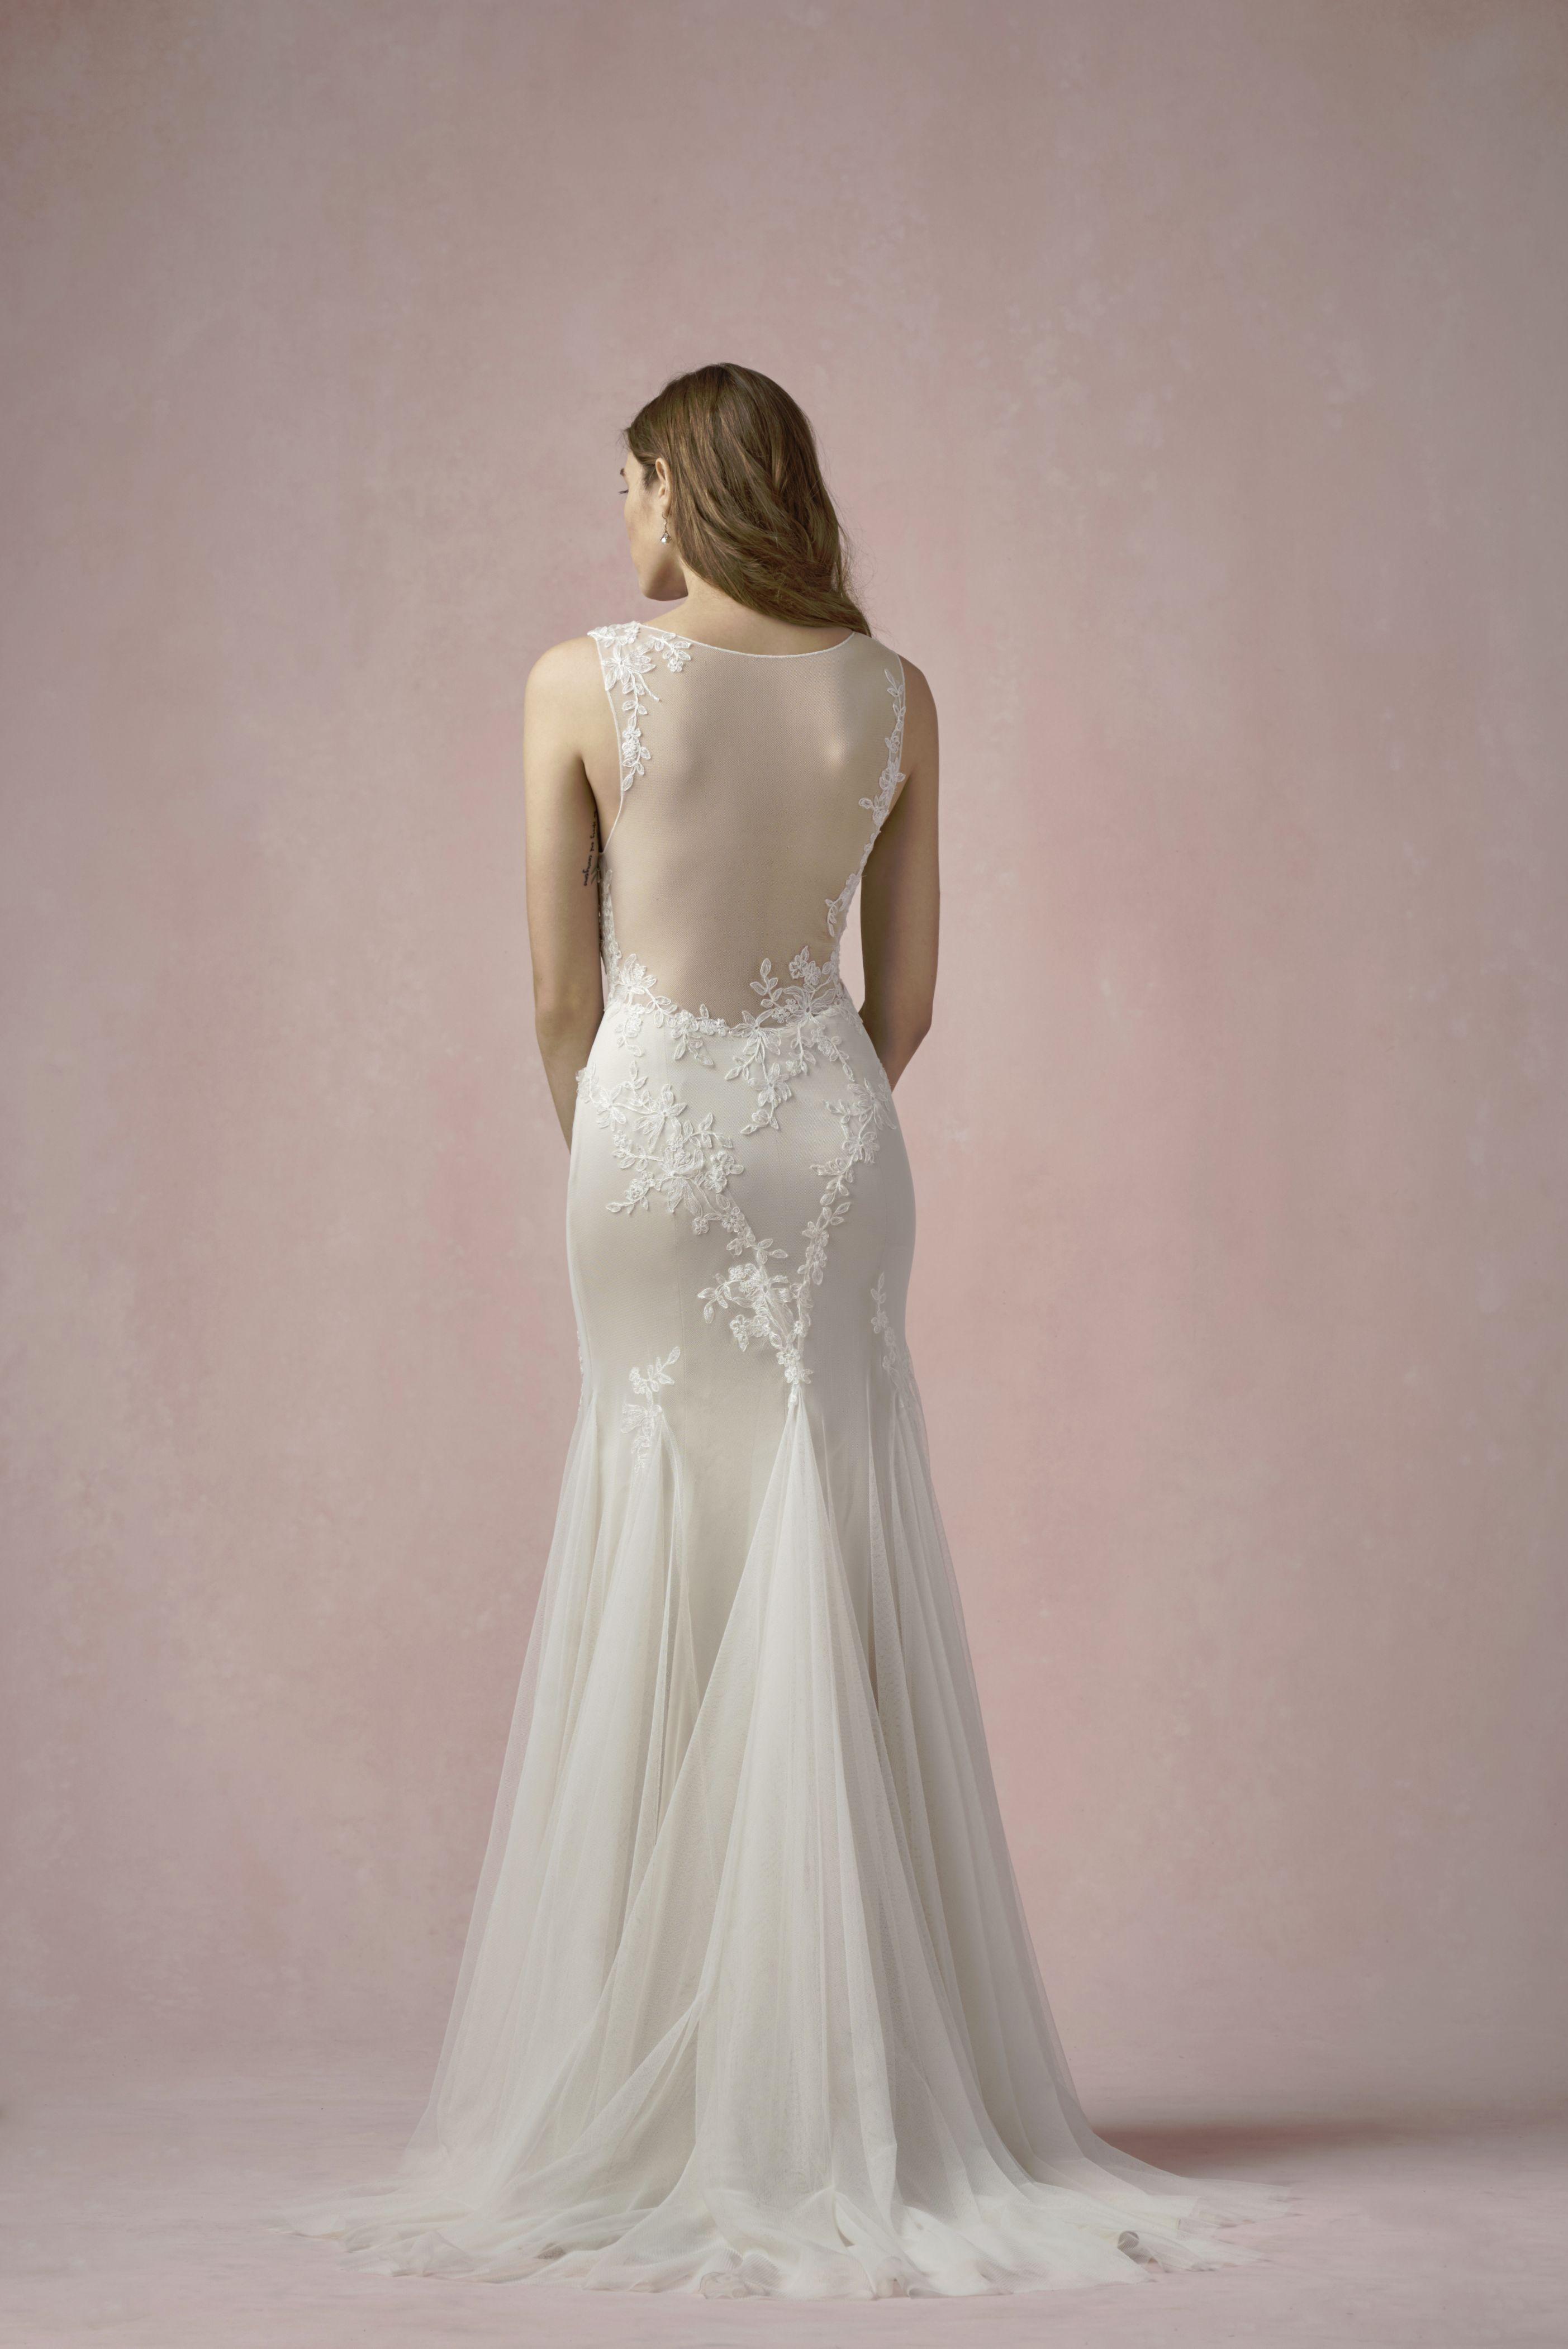
Ali and Pavel share a genuine kindness and caring for others. They love to entertain and wanted their wedding to capture all of the fun and intimate moments that they share with friends and family. When looking for reception spaces, they didn’t have to go far. Keeping everything super personal and intimate, Ali’s parents’ farm was the perfect venue. Ali wanted a beautiful wedding, but also wanted it to be fun and reflect her upbeat, happy personality, so color was a must. The tent was decorated in navy with flowers of red, orange, peach, and pink. Geode table numbers and crystals accented the centerpieces to provide that little hint of untraditional that Ali craved. As an extra fun touch, even the family’s goats were dressed for the occasion in bow ties. Watching Pavel and the groomsmen attempt to get the bow ties on the goats was a highlight of the afternoon for many family members. With a floral wall behind the sweetheart table and gold spheres hanging from the ceiling, Ali’s dream combination of classic, romantic and edgy came to life.


About Nouvelle Weddings…Nouvelle Weddings is a boutique wedding planning company in Baltimore, serving Maryland and the surrounding areas. Specializing in classic romance, they are well known in the area for beautifully crafted designs and incredible guest experiences. Couples love their varied portfolio and ability to handcraft designs that showcase each couple’s unique styles and personalities. Their dual focus on creating gorgeous designs and planning meticulous logistics allows clients to relax knowing that every detail has been thought through and carefully organized. The result is continued excitement throughout the planning process culminating into perfect wedding day memories for everyone involved.


Photography: Natalie Jayne Photography | Wedding Planner: Nouvelle Weddings | Floral Design: Little House of Flowers | Stationery: Jenifer Sirkis Designs | Ceremony Venue: St Marks United Methodist Church | Reception Venue: Bride's Parents' Home | Catering: Main & Market | Hair & Makeup: Updos For I Dos | DJ: DJ Ricky - Crow Entertainment | Transportation: Bayside Limo | Rentals: Eastern Shore Tents And Events
For membership information, click here


 Cut all the copper pipe, specified on page 145, using a tube cutter. Double-check that the like-size pieces are all cut exactly the same length to ensure a balanced build. It is helpful to label the sections with the letters written on a small piece of masking tape and stick them to each cut piece of tubing. This will help avoid confusion when
 Line up the circle cutter on the leather to cut a 2¾-inch circle, which means the blade will be 13⁄₈ inches away from the center point. Push the circle cutter down on the leather (placed on top of a cutting mat) with enough allowance on the sides of the leather to cut out a full circle. Push down firmly and swing the blade all the way around. While holding the leather in place, cut a circle out fully from the leather. Repeat to cut 3 more leather circles.
 Using a drill loaded with a 5⁄₁₆-inch drill bit, drill through the center point of each leather circle.
 Line up 1 leather circle so that its hole matches up with the center hole of a wooden wheel. Push the threaded side of an 8-inch hex bolt through the leather and the wood hole. The head of the bolt should be resting flush with the leather. Repeat with the remaining pieces of leather and wooden wheels.
 Add some thickness to the bolt with duct tape, right beside the wooden wheel. This will help steady the wheel and keep it straight inside the copper pipe. Take a 5-inch piece of duct tape and put the torn end of the tape along the bolt. Coil the duct tape tightly around the bolt. Insert the bolt with the tape into any copper pipe to check the fit. If it goes in easily, you should add a little more tape. If you are struggling to get it into the pipe, take away a little tape. You want a tight fit, but one that goes into the pipe without ripping the tape. Add duct tape to all 4 wheels.
 Slide a wheel casing (each bolt with tape) into copper pipe F, enclosing the duct tape inside. The pipe should be flush to the wooden wheel. Using the combination wrench, screw 1 nut halfway onto 1 hex bolt. Screw the second nut halfway onto another hex bolt.
 Grab a pressure tee and insert 1 of the wheel casings (with the nut attached) into 1 side of the long straight section of the pressure tee. Grab a wheel casing that does not have a nut attached and twist it on the opposite side of the pressure tee. As you are twisting it on, connect the open bolt inside the nut. You can look down through the top of the pressure tee to help guide you. Once the bolt is inserted in the nut, twist only the end of the bolt while holding the other, already-connected bolt steady, to get it to screw into the nut and meet the first inserted bolt. Take the wrench and tighten the 2 sides of the wheel casings together, making sure that both bolts are securely screwed into the nut. Repeat this step to form another identical wheel unit. The wheels will move stiffly at first, but with use the copper pipe will start to cut away a channel, which will help the wheel to spin more smoothly.
 Now we are going to build the upper portion of the rack. Twist all the pipes and fittings into place following the diagram on page 148. Twist each copper pipe into the fitting until the pipe stops moving. Lay this form on the floor and make sure everything is lined up straight.
 Once the rack is built, you will solder it together. Avoid getting solder on your hands and it is a good idea to wear eye protection. Copper solder works really fast, so it’s best to do 1 joint at a time, laying 1 back down flat to dry before moving to another joint. I like to keep the whole rack built and just remove the section that I am going to solder so I know everything is lined up perfectly as the solder dries.
 Open the solder and apply a line of solder around each inside rim of the fitting. Twist the pipe a half turn, making sure it is fully inside the fitting and lay it back down flat to dry. Repeat for all joints, waiting at least a minute between each one.
 Now, connect the soldered upper portion of the rack to the bottom portion with the wheels. Solder the 2 ends of the bottom wheel connectors G, into the top of the pressure tee on each wheel unit. Apply solder around the rim of each pressure tee. Since we can’t give these pipes a half twist, just make extra sure they are pounded all the way to the bottom of the pressure tee and level on both sides. Allow the solder to dry fully before use.
 You can give the garment rack a once-over with a sanding sponge to brighten it up. Or leave it roughed up with fingerprints and oxidation. It will oxidize naturally over time.