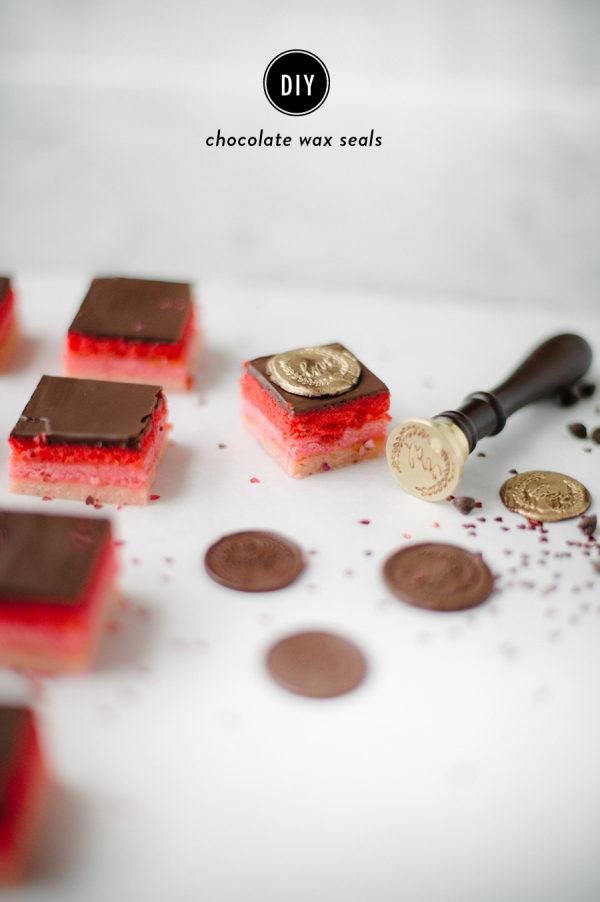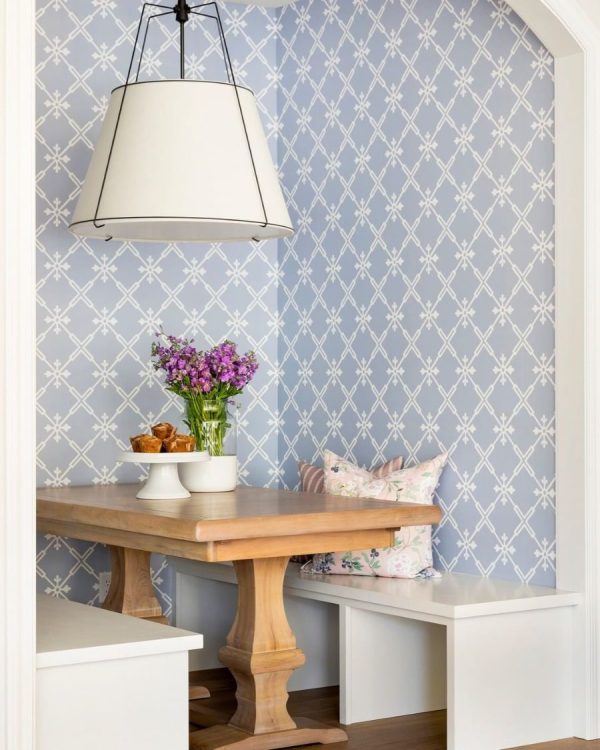
One of the hottest topics these days is the #shelfie. We’re talking open shelving, decorative shelving, an isolated floating shelf, a bookcase all decorated with bits and bobbles of meaningful decor, pretty decor and, obviously, books.
This FEELS like a task that should be able to be accomplished in an afternoon… A little of this here! A little of that there! Some layering on this shelf, some layering on that shelf…. And at the end of all that effort, something feels off.
So what makes a good shelfie? We broke it down into a few core elements that compose a great shelf, and then adding a few extra tips and tricks at the bottom!
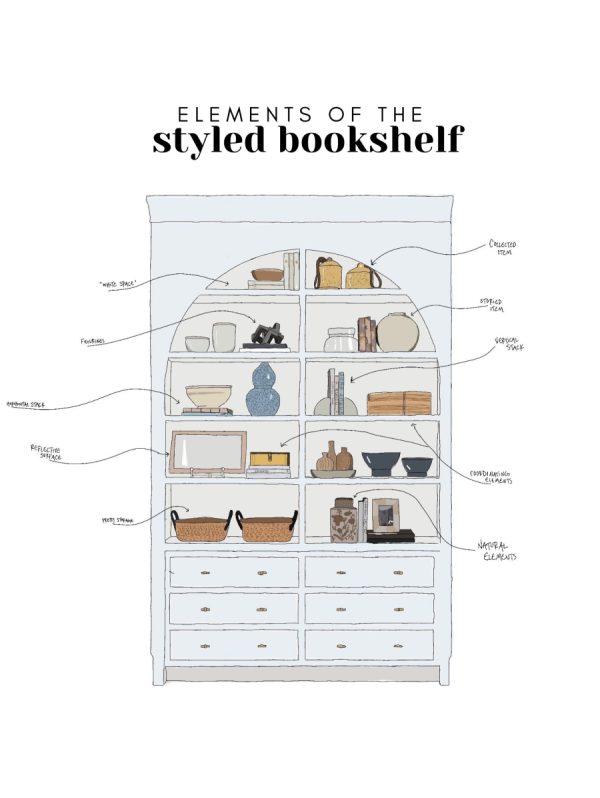
1. Collected Items
Some people collect pottery, others collect little bowls. Shelves are the PERFECT place to display your collections! After all, you want to display what you’ve worked so hard to assort, not hide it.
2. Horizontal Stack
One of the best tricks when it comes to displaying your books is to switch up the way they go on the shelf! This is especially useful when you’re working with books that are abnormally large. The “horizontal stack” allows for you to center up some books, place a nice vase or figurine on them and switch up how you read the spine.
3. Light Reflective Surfaces
When you’re dealing with a bookcase, chances are you’re dealing with a lot of soft, light-sucking surfaces. Giving a space “life” sometimes means giving it light, and in the case of styling, you’re shelf you’re definitely going to want to add a reflective surface or two. That could be a picture frame, small ornate mirror, metallic vase or anything that makes the light bounce around.
4. Storage
One of the best functionality elements of the shelf is sneaky storage. You can hide things in bowls, baskets bins, and cute cartons. Let your style serve a purpose for you too and you’ll be really happy with how well it looks AND how much it works for you.
5. Vertical Stacks
This is a given on a bookshelf as it is the standard way to display books, so think of this as your staple, anchored element. This is what the eye is trained to expect when approaching bookshelves, so keep this as a baseline standard peppered throughout your display.
6. Storied Items
Think of a shelf as a GREAT conversation starter and pepper in items with stories that you love and are great indicators of your personality. Don’t feel like this has to be exotic! It certainly can be, but stories of all location and price point are so fun here.
You could display a vase you got at a flea market while you were in Italy, or a vase you got for $. 50 and your bargain-hunting heart totally fluttered. You could display a camera that once belonged to your great, great grandfather, or the camera that was your first ever big-time investment… but is probably worth like $20 at most now. Whatever the story is, own it, and tell it!
7.Coordination Elements
This is where we get into layout. When you’re setting up your shelves thing of the whole unit as a scale — it requires balance. So if the top shelf has a squared basket on the left, consider putting your square bin on the right on the shelf right below it. Placement is by far the hardest part, but the best thing we can say here is to keep it balanced and to try out as many variations as your little heart desires until it feels *right,* and *right* typically means coordinating elements on different shelf levels.
8. Figurines
Since it is a bookshelf you’ll likely be dealing with a lot of absolute straight lines and squared up boxes. Figurines help to bring some more organic lines to the shelf-unit and help break up all those strict edges!
9. Natural Elements
A mixture of textures is important for balance, and being sure to add in natural textures is really important! Adding in natural textures is one of the quickest ways to bring in a “cozy” element to the shelves since you likely will not be fitting a textile :)
10. White Space
Many times the thing you’re missing most is the thing you least accounted for — blank space! You need to give your eye a place to rest. Everything doesn’t always need to touch and sequentially work perfectly together. A great collection of displayable items takes time! So you can breathe easy here knowing that your shelves won’t be perfect in a day, and in the meantime utilize that white space to your favor and let your eyes rest.
A Few Other Tips
-Be intentional about how you organize the books: You can organize by genre, size, color or author! You can seriously make a huge statement by choosing any of these options.
-Mix The stack: The traditional way to fill the shelves is to neatly stack your books vertically on the shelf one by one across the length. Mix it up! Add in some horizontal stacks, make smaller vertical stacks and every once in a while a tilted book looks a little chic.
-Pepper in other decor: Once you’ve mixed up how you stack your books, you now have new platforms for highlighting other elements. For example, a fun, collected figurine looks at home on top of a horizontal stack of books. A small, sturdy potted plant acts as a good bookend to hold up a vertical stack, and if you’ve got an area that needs attention, framed photos or peices of art always make a set of shelves look good!
curve ball
Now that you know the basic cadence of styling shelves, here’s where we really confuse you. KNOW the rules, then BREAK the rules — intentionally. A few of our favorite rule-breakers we’ve seen:
-Everything is filled with books. There are no figurines, greenery or vases. It’s a sea of books. It’s beautiful
-A sea of books TURNED AROUND so that you see the page side instead of the spine. Warning if you try to execute this one — it will be very difficult to find your books. It looked cool, but we can’t imagine it was easy to locate The Hobbit.
– Lots of figurines, a handful of books, some baskets, barely anything on the shelves. Sparce, sleek and ultra chic.
At the end of the day, the shelf is there to show off you and you’re style. So whatever YOU do is right for you. Happy decorating!
Join The Conversation
favorite (0) share share (0) pin (0)


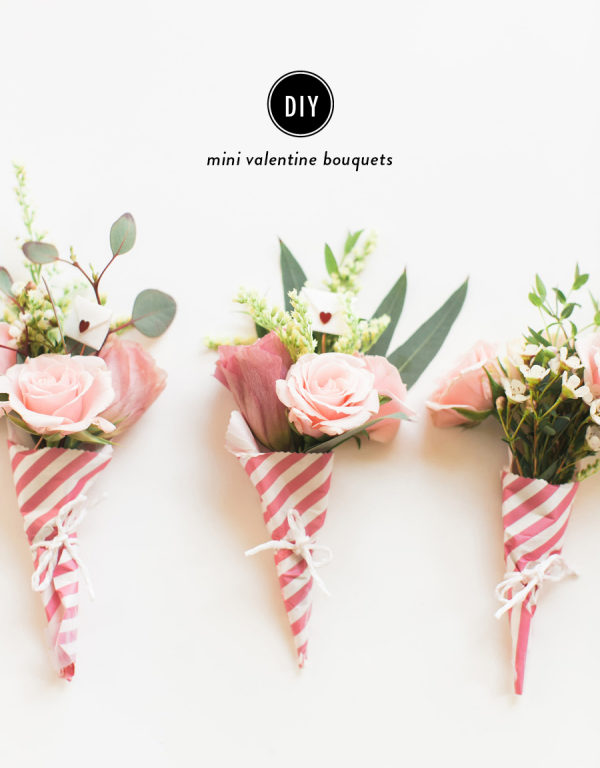
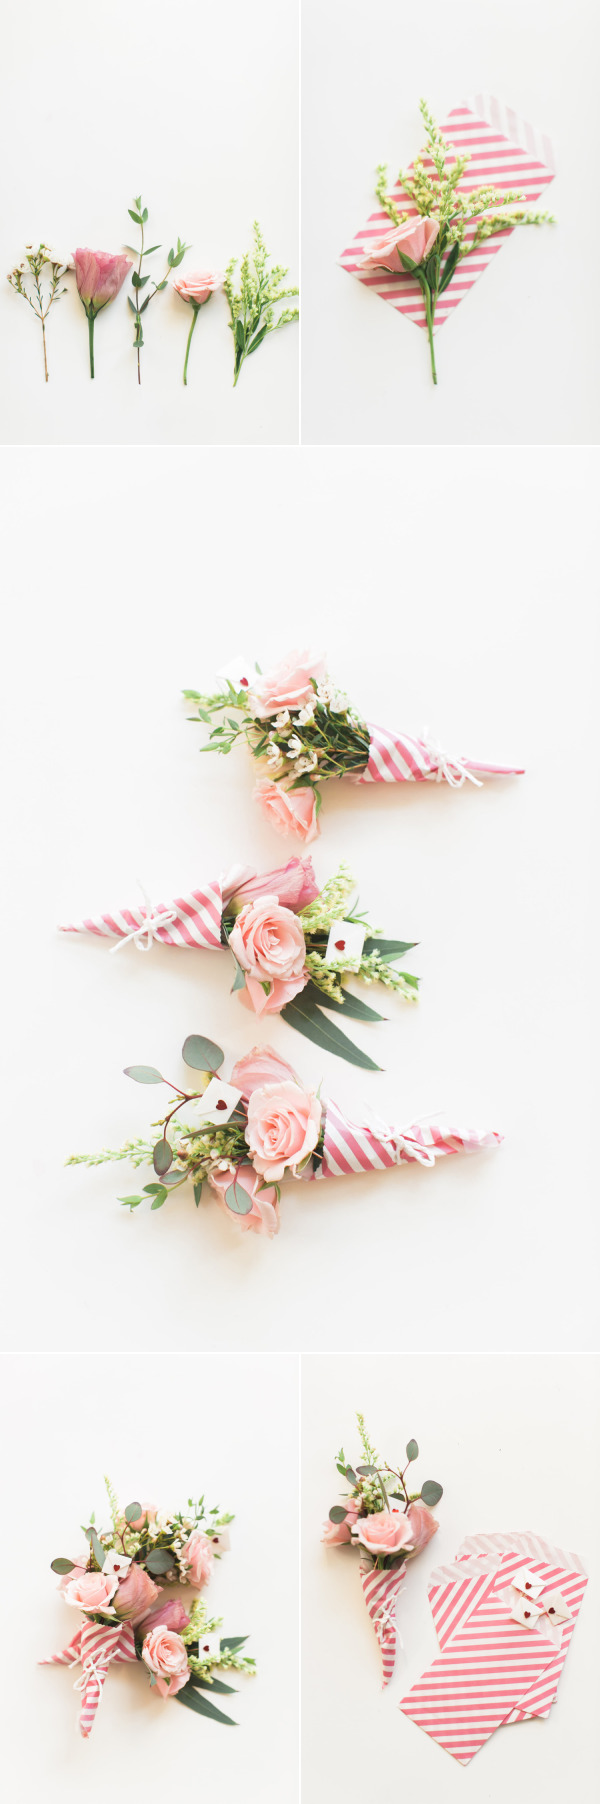
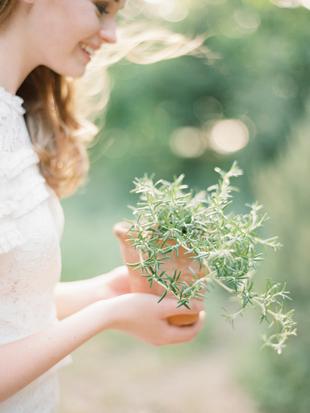
 Fresh flowers with small to tiny blossoms (think spray roses and wax flowers)


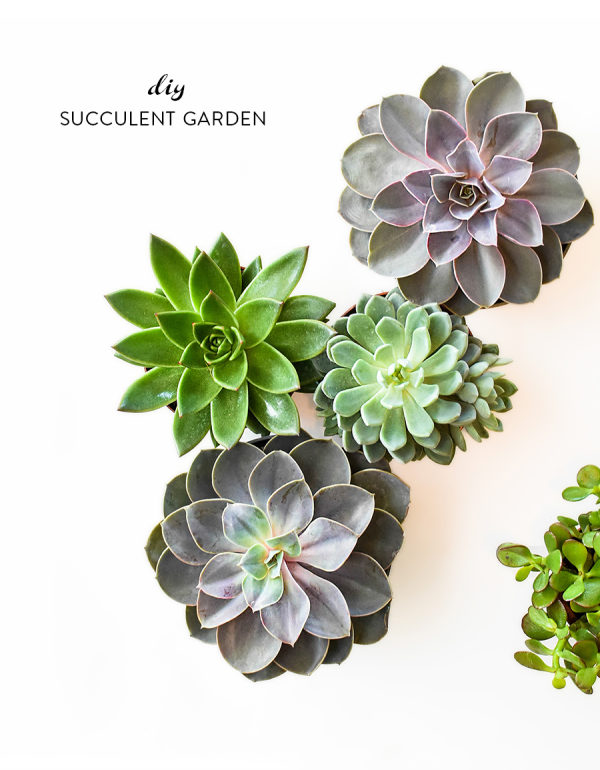


 Choose which container you would like to plant your garden in and from there you can figure out how many succulents you will need. Feel free to play around with the succulents in the bowl before you put the soil in to decide how you would like to place them.
 Fill the container 3/4 of the way with special potting mix specifically for succulents and cacti. Choose a fast-draining soil that retains little moisture as succulents do not like wet roots.
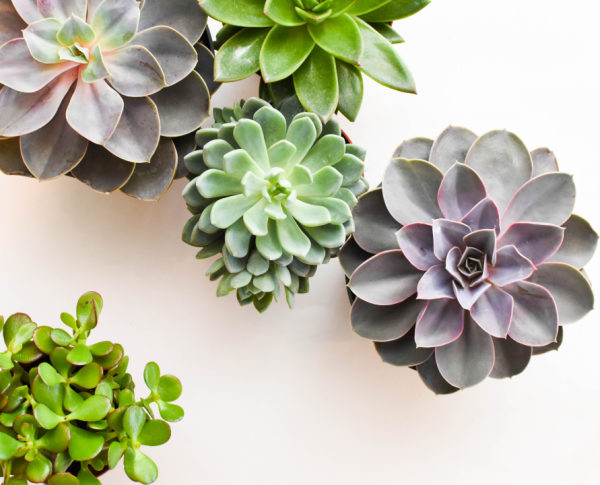
 To plant start with your largest succulent. It doesn’t necessarily have to be placed directly in the middle of the bowl but it will offer you a focal point to build from. Remove the succulent from its plastic pot by turning it upside down in your hand and pulling off the pot, then gently breaking up the bottom to loosen the roots before setting it in the container. It can be helpful to plan your placement beforehand.
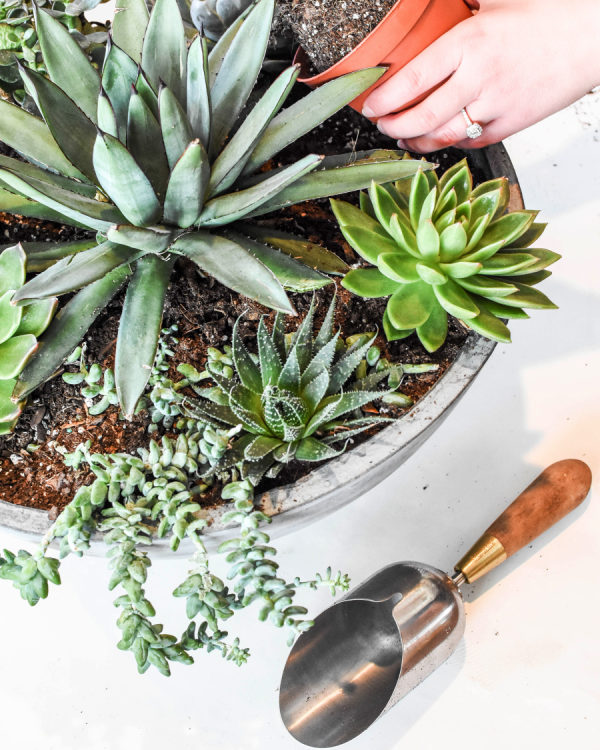
 Enjoy your beautiful creation!